“A prudent person foresees danger and takes precautions. The simpleton goes blindly on and suffers the consequences.”
So it is the case also in building and construction.
Here is a primer of how and why and where things go wrong – if they do go wrong. As with most things, problems start in the administration and design of projects. From there, they snow-ball.
To summarise:
- Stay away from problematic jobs: they will cost you money, and worse, time. You can tell whether it’s gonna be trouble just by looking at the architect’s designs, and by knowing who the builder / project managers are.
Architects
- What does the architect do? The architect comes up with a design. The architect is primarily interested in making a building look good. They also want the building to have extreme versatility – for it to be uber convenient; eco-friendly – for it to have the ability to recycle human refuse into heat and light and potable drinking water etc. etc;
- What are the interests of the architect?
- They want to make a name for themselves. So they come up with all sorts of designs which might make you wonder whether they were smoking weed or crack cocaine? It will not do for an architect to make an ordinary building, with a straight edge: no, no, no! He must make the building flutter and shimmer in the wind. She must otherwise design it with an ocean liner on top of it; or she must make it resemble a half-folded “deck of cards” etc. etc.
- Architects’ interest are not the same as others’: Generally the problem with the architects are that they invariably design buildings which are contrary to the interests of the other stake holders in the game: it might not be feasible to build such a building given: (i) time, (ii) structural integrity, (iii) and/or costs. E.g. the Marina Bay Sands and the Burj Khalifa were phenomenally expensive. The architect is not incentivised to worry so much about cost/time. The great Gaudi, on the subject of the extremely long construction period of the Sagrada Familia, is said to have remarked: “My client is not in a hurry.” He can say that because he isn’t paying the bills.
Engineers
- What does the engineer do? The engineer’s job – a difficult one – is to make sense of the architect’s design and to ensure that the building does not fall down.
- What is the interest of the engineer? He is primarily concerned with ensuring that nobody dies, and that the building is structurally sound, and that somebody doesn’t sue him 5 years later because the building imploded.
Shop Drawer
What does the shop drawer do?
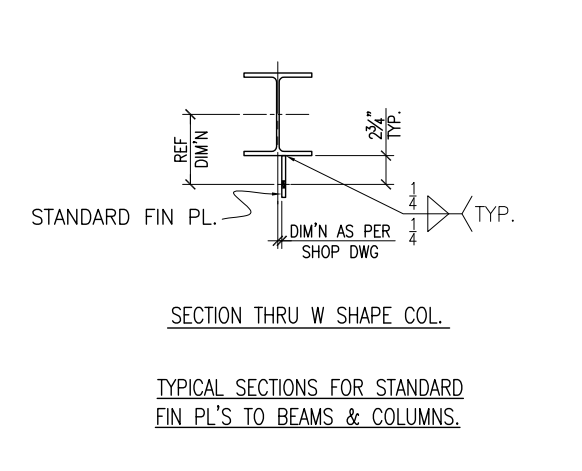
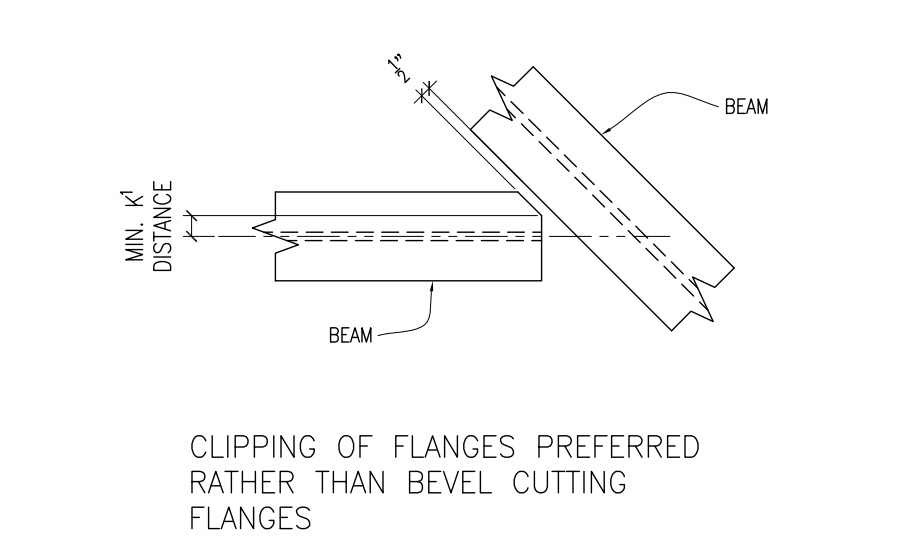
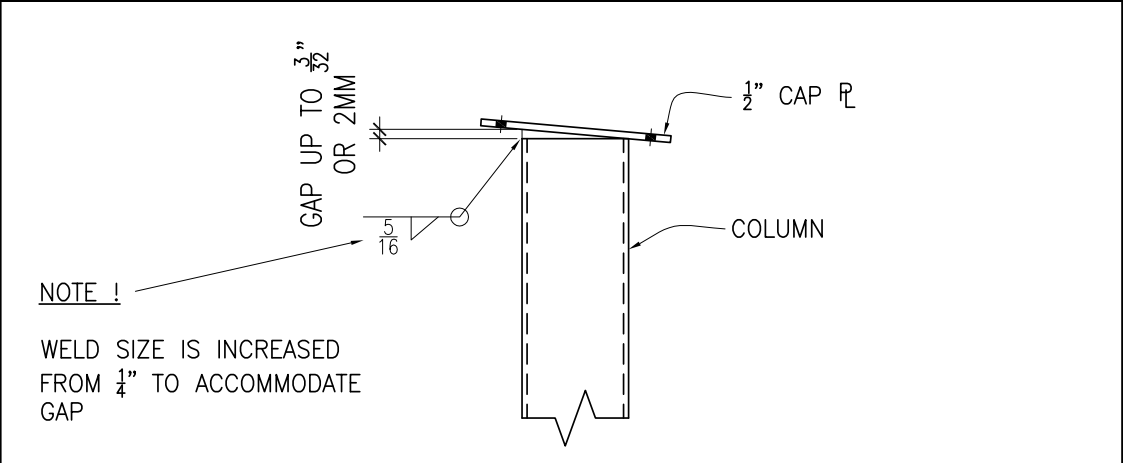
- It is the shop drawer who has to make sense of the above madness and to make sure the structure can actually be built (and sometimes designs up for tender simply cannot be feasibly built).
The Consequences of Bad Designs
Here are the consequences:
- Extra Costs:
- Reworking flawed designs on site. Rectifying on site is probably x5-10 times more expensive than getting it done right in the workshop. Who pays? Not the designer.
- Reworking designs – in the office before fabrication. It’s cheaper than on site, but you’ll spend a lot of time here. See the explanation below for more detail.
- The builder will be squeezed of cash. It may mean that you (and other trades) might not get paid on time, if at all.
- Time Lost:
- If you get a bad design, that means it is your job to spend time communicating those changes to the architect and/or the engineers. There can be hundreds and sometimes thousands of emails flying back and forth on the job. Now you have to worry about leaving a document trail behind. Are you being compensated for this?
- Architects will usually have to issue revisions to their designs as their cock ups come to light. Other trades may be affected? Which ones? Who knows and who cares! Blast those revisions out to everyone on the job. So rather than specifically target the communication re: those revisions to affected people only, they email blast out those revisions to everyone on the job – from the MEP folks to the birds sitting on a near by tree. Everyone is notified. That means all of those trades have to spend their time scrutinizing those changes to make sure that it does not affect them. And if those changes force further changes, then the entire cycle repeats itself. The cost blow out is exponential. One or two changes every now and then is ok, but when you are looking at about 15 drawings, amongst 100s of changes a week, that becomes extremely tedious, time consuming and onerous.
- If a design doesn’t conform to AS standards who pays? Not the architect – who’s job it is to design it properly in the first place. No, you can pay for that instead. Don’t pay for someone else’s mistakes: stay away from bad designs and problematic jobs.


.jpg)