We comply to Australian Governments privacy policy as in the URL given below
https://www.oaic.gov.au/about-us/our-corporate-information/key-documents/privacy-policy/
We comply to Australian Governments privacy policy as in the URL given below
https://www.oaic.gov.au/about-us/our-corporate-information/key-documents/privacy-policy/
Tekla provides a few tools for experts users. Careful study of model, diligence and discipline in placing members, Set up of template model makes it possible to use these tools with maximum efficiency.
These are the tools which will increase productivity with expertise.
These tools are good only with people who have a lot of experience, and who have access to our in house developed API tools for Autocad and Tekla.
Our clients will get the full advantage when they use us for detailing
Contour Marking: It is an information written in an NC file that passes information to the NC machine on the layout and the parts that are welded together.
Tek1 do care about every client so we thought of seeking the help of Trimble Connect warehouse and found an plugin suiting the criteria.
How the Convertor Works
The convertor converts all the NC files to DXF. By default it converts the members in Front View. To obtain the contour marks that are available at the back face few changes had to be done on the convertor setting for efficient changes.


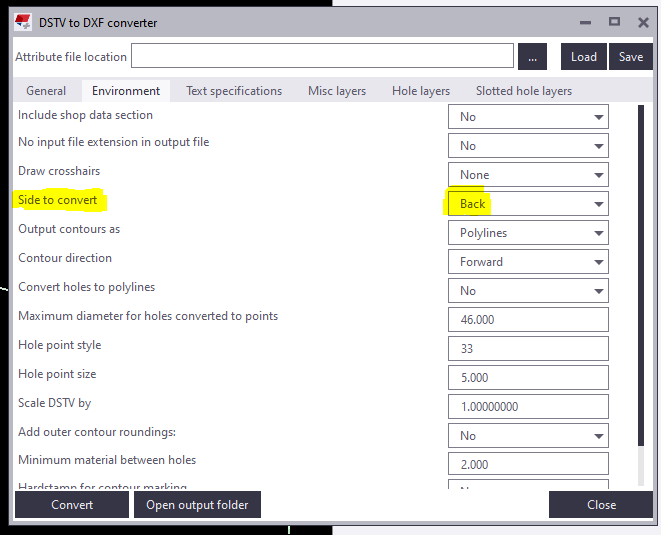
SETTINGS TO CHANGE FOR EFFICIENT EXPORT
Change “side to convert” under Environment tab as Back in the convertor to create DXF with contour marks at Back view.
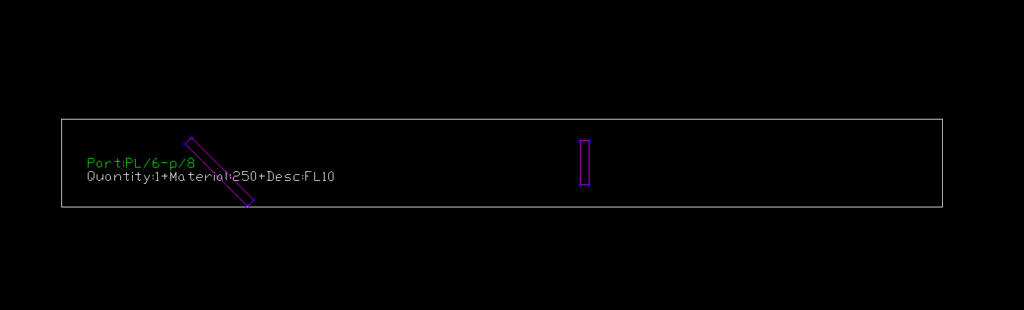
For plates if Back option is chosen you get DXF Files converted like below images. So few advanced settings has to be done.

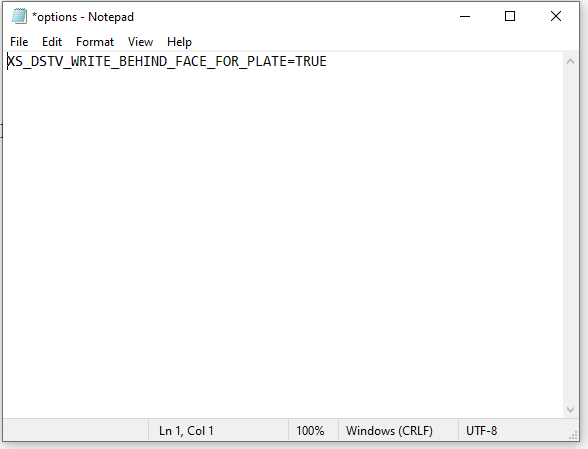
For plates members follow the below steps:
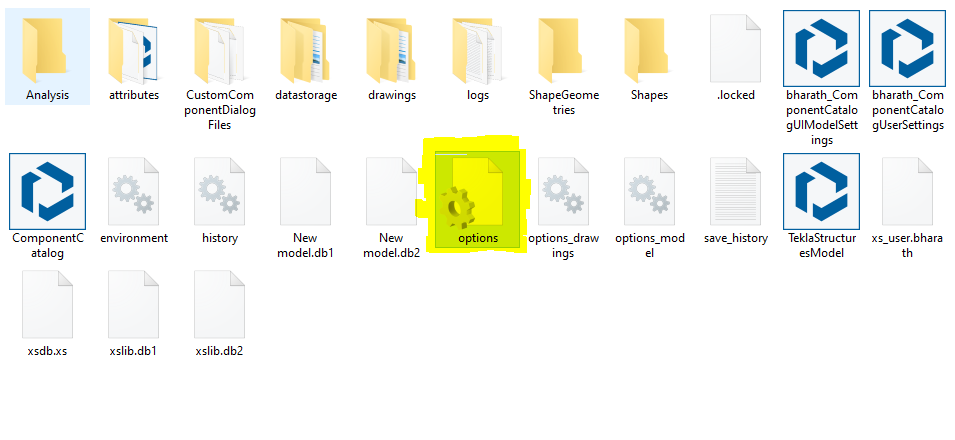
1) Open the model folder
2) Create a new text document
3) Type “XS_DSTV_WRITE_BEHIND_FACE_FOR_PLATE=TRUE“
4) Save the document as “options.ini“
Refer below snip for Clarity
Now repeat the conversion the convertor works efficiently providing a quality output.
Refer Tekla Structure support link for detailed explanation of the convertor settings.
DSTV to DXF Converter | Tekla User Assistance
Bharath Nagarajan – Blogger
Tek1 Pvt Ltd