Month: October 2025

  • QR Code on Drawings

    We are now placing smart QR codes on drawings. Why? What benefit is accrued by doing so?

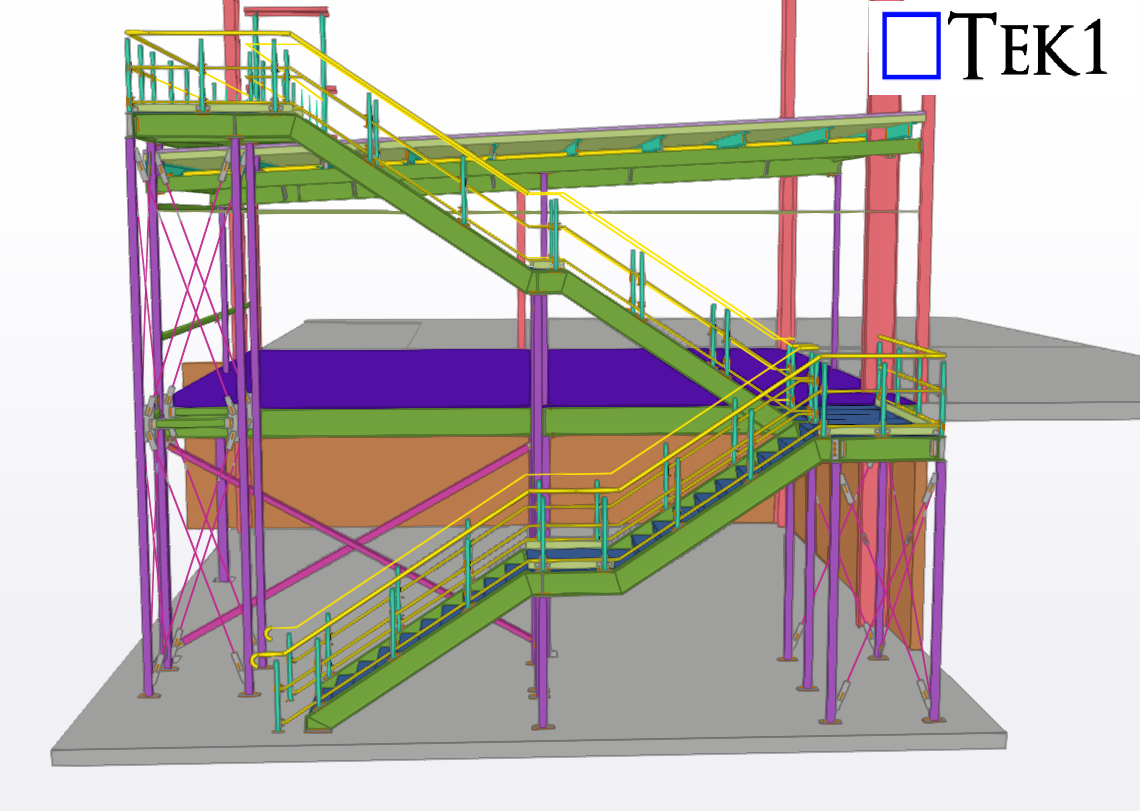
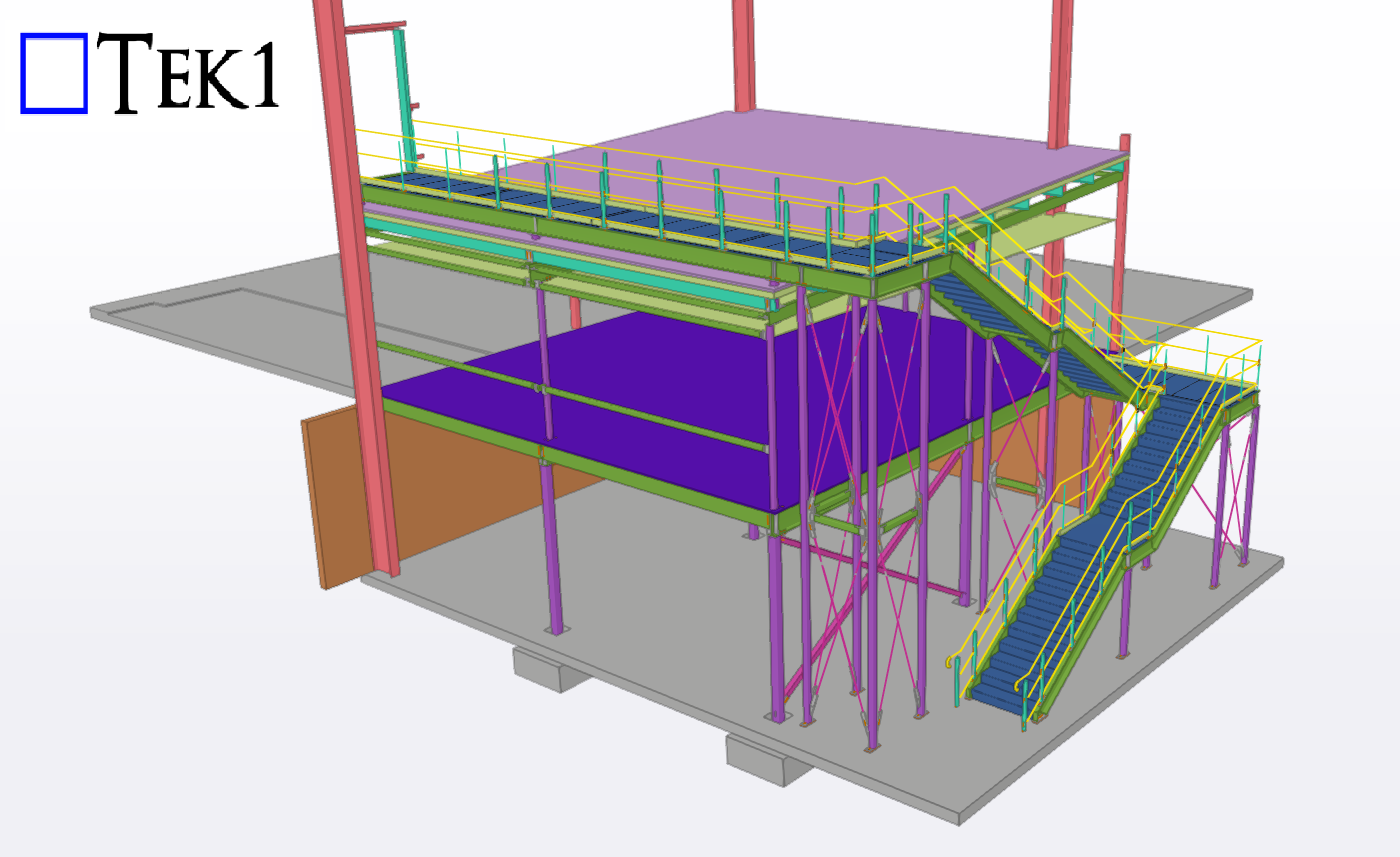
    1. You can see a 3d view of an assembly.
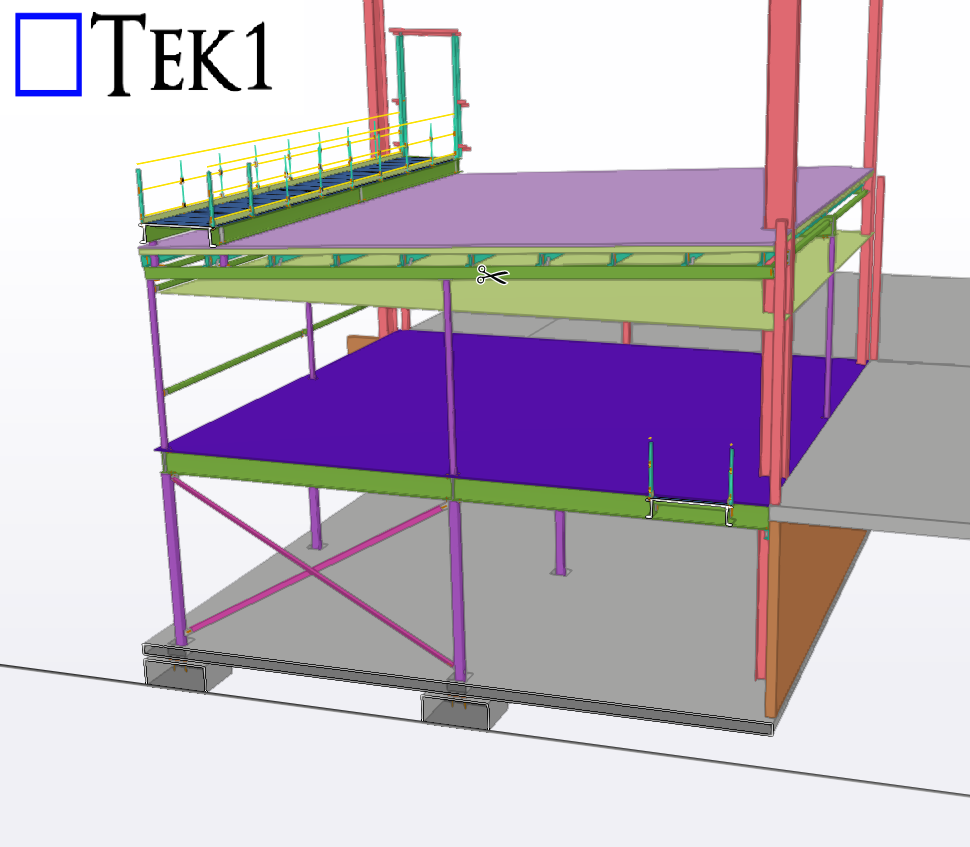
    2. You can conduct spot measurements of the assembly.
    3. You can check whether your drawing is the latest revision.
    4. You can add markups directly to a document number – and see it’s revisions over time

    Instructions on how to make it work

    • Set up a project on prolox.io
    • Get the project’s public access token.
    • Log into the Prolox’s Tekla’s client application. Use your prolox login email and password and the project’s public access token.
    • Using Tekla 2023 and with the relevant model open (please open only 1 model) – run the client code.
    • All the values will be updated.

    Rules – To prevent obsolete data from being used or shown

    • If you update the model, you must re-upload the IFC file in prolox.
    • If you update the revision number, you must re-do the prolox Tekla client program. This will update the revision numbers in prolox.
    • If you delete a drawing you must update the revision number for the deleted drawing and re-run the TeklaQRCode program. (so that all revision numbers are updated on the cloud, and so that if anyone scans an old drawing, they will be immediately notified.)

    Updating the Drawings:

    • When you update the drawing PLEASE USE THE SAME REPOSITORY. This is so that we can have old revisions.

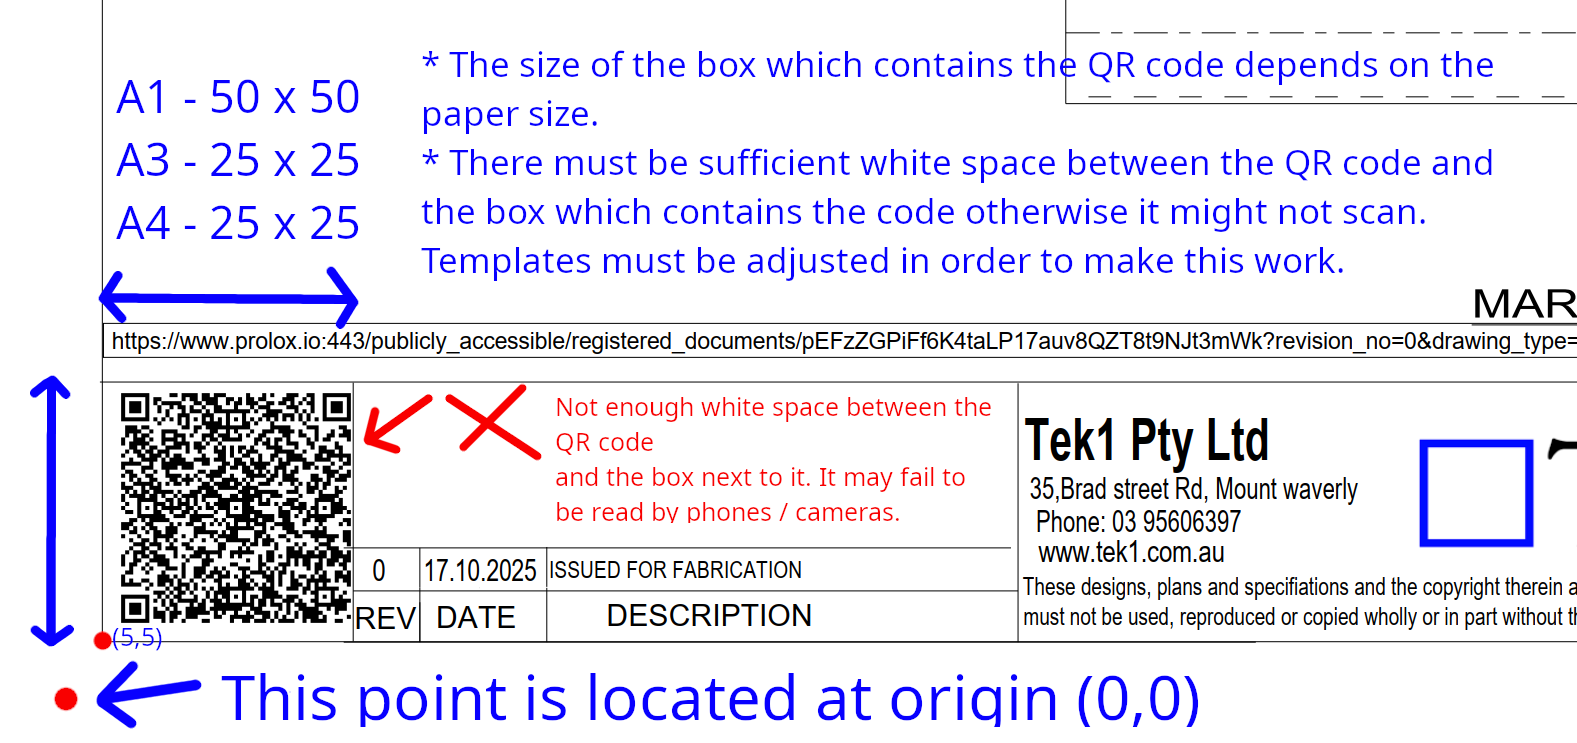
    Setting up the template

    • You must set up the drawing template to that the QR Code program works and puts the QR code in the right location. If you don’t set it up properly it will fail.
    • Assume each page has an origin point of (0,0) at the bottom left hand side of the page.
    • The drawing template’s borders start at (5,5).
    • There must be a good amount of white space between the QR code and borders, otherwise the QR code may fail to be read. Which means the entire thing fails.
    QR standards / documentation.

  • Mezzanine floor & stair handrails

    Mezzanine floor & stair handrails

    TEK1 recently completed a Mezzanine steel & stair for a prominent organization in Australia. The goal was to provide detailed support steelwork for mezzanine floor & stair including handrails.

  • Do not stick your neck out

    Do not stick your neck out

    While detailing a project for a leading organization in Australia, the client asked us to calculate material quantities for production and procurement.

    However, this involves high risk.As detailers, we don’t control the nesting process — which depends on factors like sheet size, scrap management, and fabrication methods. Each fabricator uses different nesting techniques. If we provide material calculations without knowing their exact process, the numbers could be inaccurate.Any miscalculation could lead to over- or under-procurement, and the blame may fall on the detailer.

    Even if the client is willing to pay for it, detailers should avoid taking on such high-risk tasks. Stick to your scope and let the fabricator handle material estimation based on their own nesting and production methods.

  • When an LGS Truss Isn’t Enough : Why We Replaced It with a Hot Rolled Steel Beam

    When an LGS Truss Isn’t Enough : Why We Replaced It with a Hot Rolled Steel Beam

    Introduction – The Hidden Challenge

    Would you choose safety over deadlines if your truss design failed?

    On a recent project, I faced this exact situation. What began as a standard detailing exercise turned into a real test of structural limits, client expectations, and project timelines.

    1️⃣ The Problem – Missing Structural Member

    The original structural drawings didn’t specify any steel member in a critical load path.
    👉 So, we designed a 2-inch top hat LGS truss and tested it with truss engineering software.

    But this truss had a bigger responsibility: it sat under seven roof trusses, carrying their combined load.

    Even after reorienting webs and adding reinforcements, the truss kept failing.

    2️⃣ The Risk – Why It Failed

    The lightweight section simply wasn’t enough for the load path.
    If left uncorrected, this would have caused:
    ❌ Roof instability
    ❌ Unsafe installation on site
    ❌ Expensive rework

    3️⃣ The Solution – Switching to a Hot Rolled Steel Beam

    Instead of forcing a weak solution, I raised an RFI and proposed using a Hot Rolled Steel Beam.

    This solved multiple issues at once:
    ✅ The truss could sit on the beam
    ✅ Loads transferred clearly from Roof → Truss → Steel Beam → Columns
    ✅ The beam doubled as a door opening header

    Got Approval from Client

    4️⃣The Hidden Cost of Such Situations

    Here’s the part nobody talks about:

    • The client got a stronger, safer structure — but we absorbed extra costs and faced blame for delay.
    • This type of deep analysis and truss engineering wasn’t factored into the initial quote timeline.
    • If it was quoted as a 1-week job stretched much longer due to RFIs, redesign, and steel conversion.

    5️⃣Lessons for Every Project

    This project taught us an important truth:

    👉 Sometimes LGS detailing alone cannot solve every load scenario.
    👉 Clients must also recognize the value of RFIs, engineering checks, and redesigns to avoid unsafe or delayed outcomes.

    For detailers and builders alike, this is a reminder that engineering isn’t just drawing lines — it’s about ensuring real-world performance.

    Closing Thoughts

    In the end, the client got a zero-compromise roofing system. But the journey reminded us: strong detailing means asking hard questions and proposing better solutions, even when it’s outside the original scope.

    If you’ve faced similar detailing dilemmas — where LGS meets its limit — let’s connect. I’d be glad to share how careful coordination can prevent costly site surprises.

    Priyan Gandhi
    LGS Detailer, TEK1 Pty Ltd

    💬 Have you faced this kind of detailing challenge? Comment below.