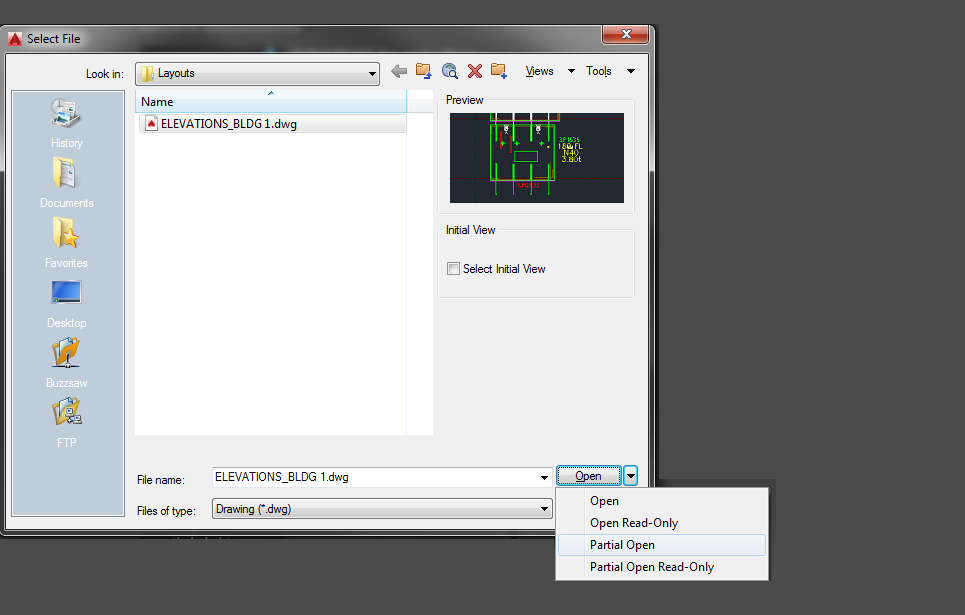
What is the task at hand?
You have a set of 30 panels. You need to draw metal edges around the edges of all these panels. That’s easy, but it’s subject to certain specific requirements.
If it’s a Perth job then:
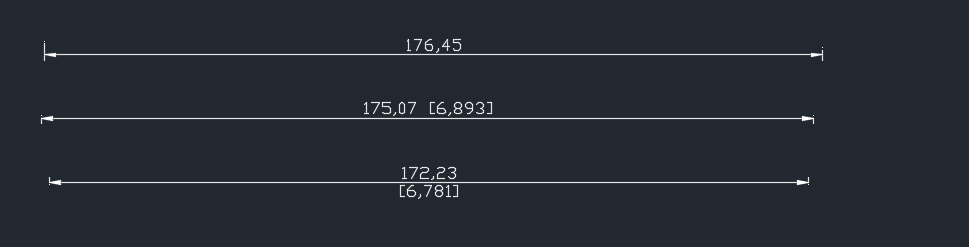
- The metal edge can only be a maximum of 3.0m long.
- Minimum distance: 0.4m long.
If it’s an Adelaide job these are the metal edge requirements:
- The metal edge can only be a maximum of 2.4m long.
- Minimum distance: 0.4m long.
That means you may need to do some maths. And you actually have to draw the things in. It’s a royal pain, and more than likely, you’ll make mistakes.
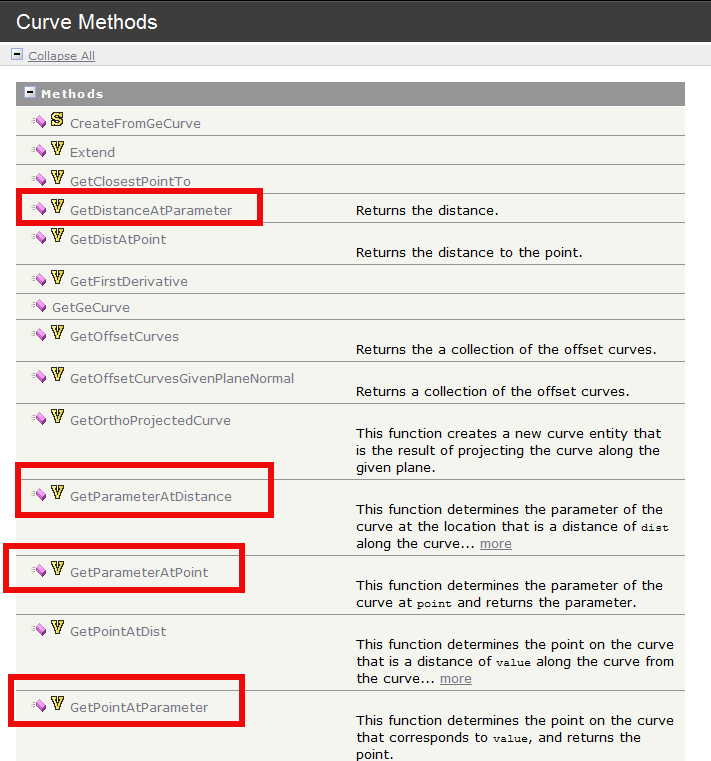
Video Demonstration of the Draw Metal Edges Tool
This tool obviates the need for manual calculations and drawing by hand. Chances of pick point errors and wrongly stipulating an unmakable and unorderable metal edge is there by significantly diminished.
Here is a video demonstration:
Draw Metal Edges from Tek1 on Vimeo.