What is load bearing precast element?
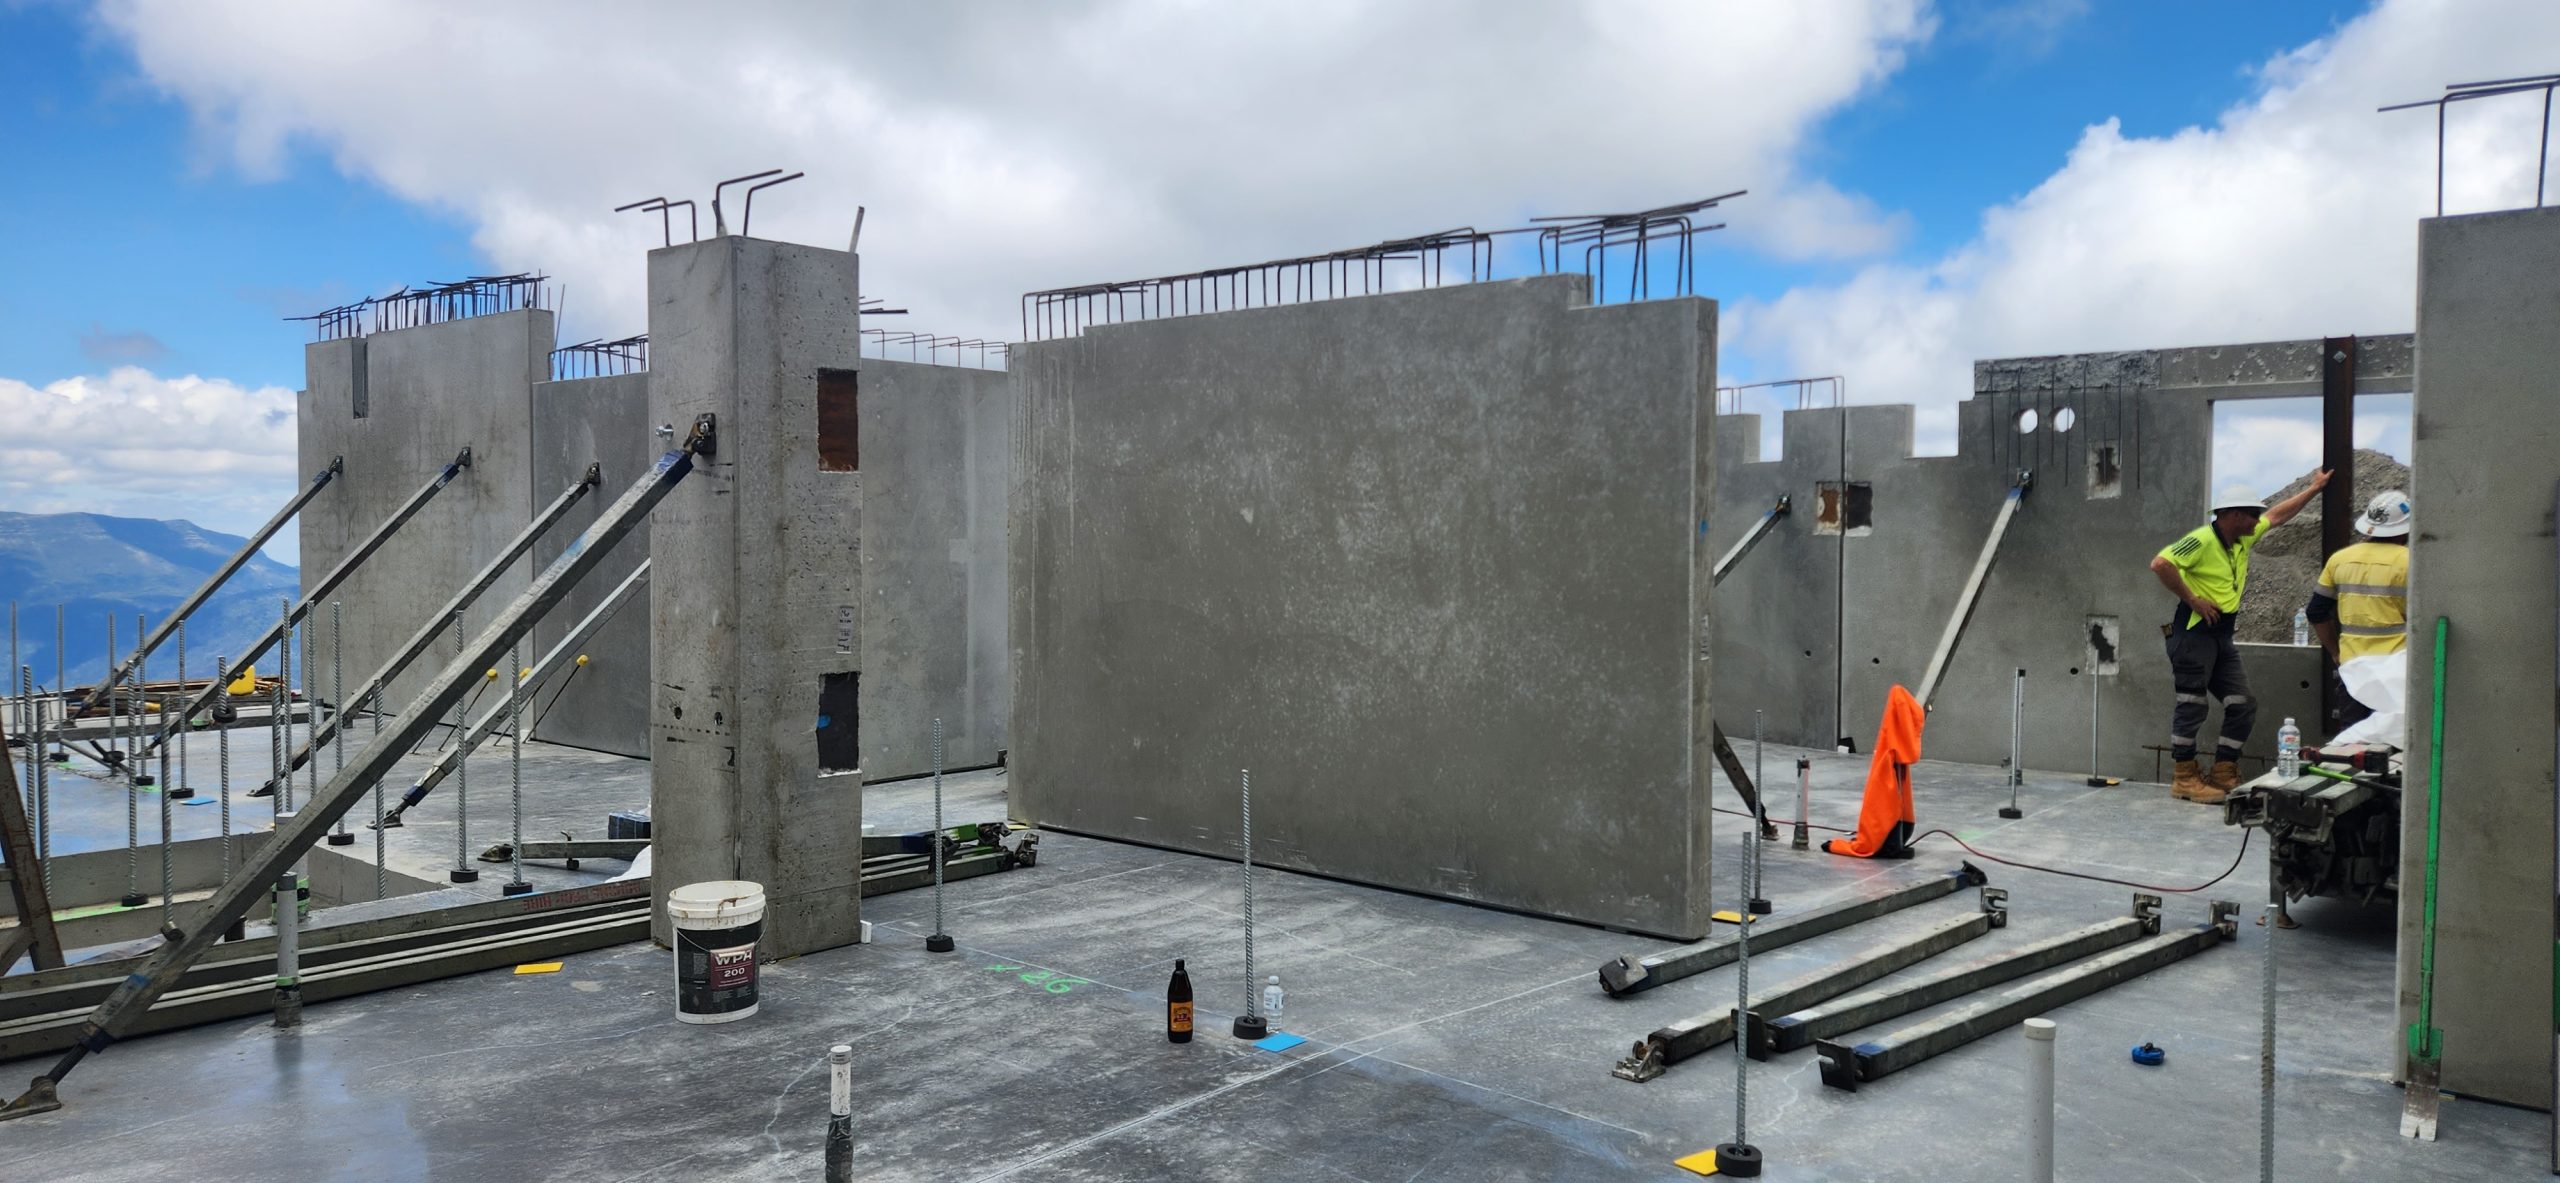
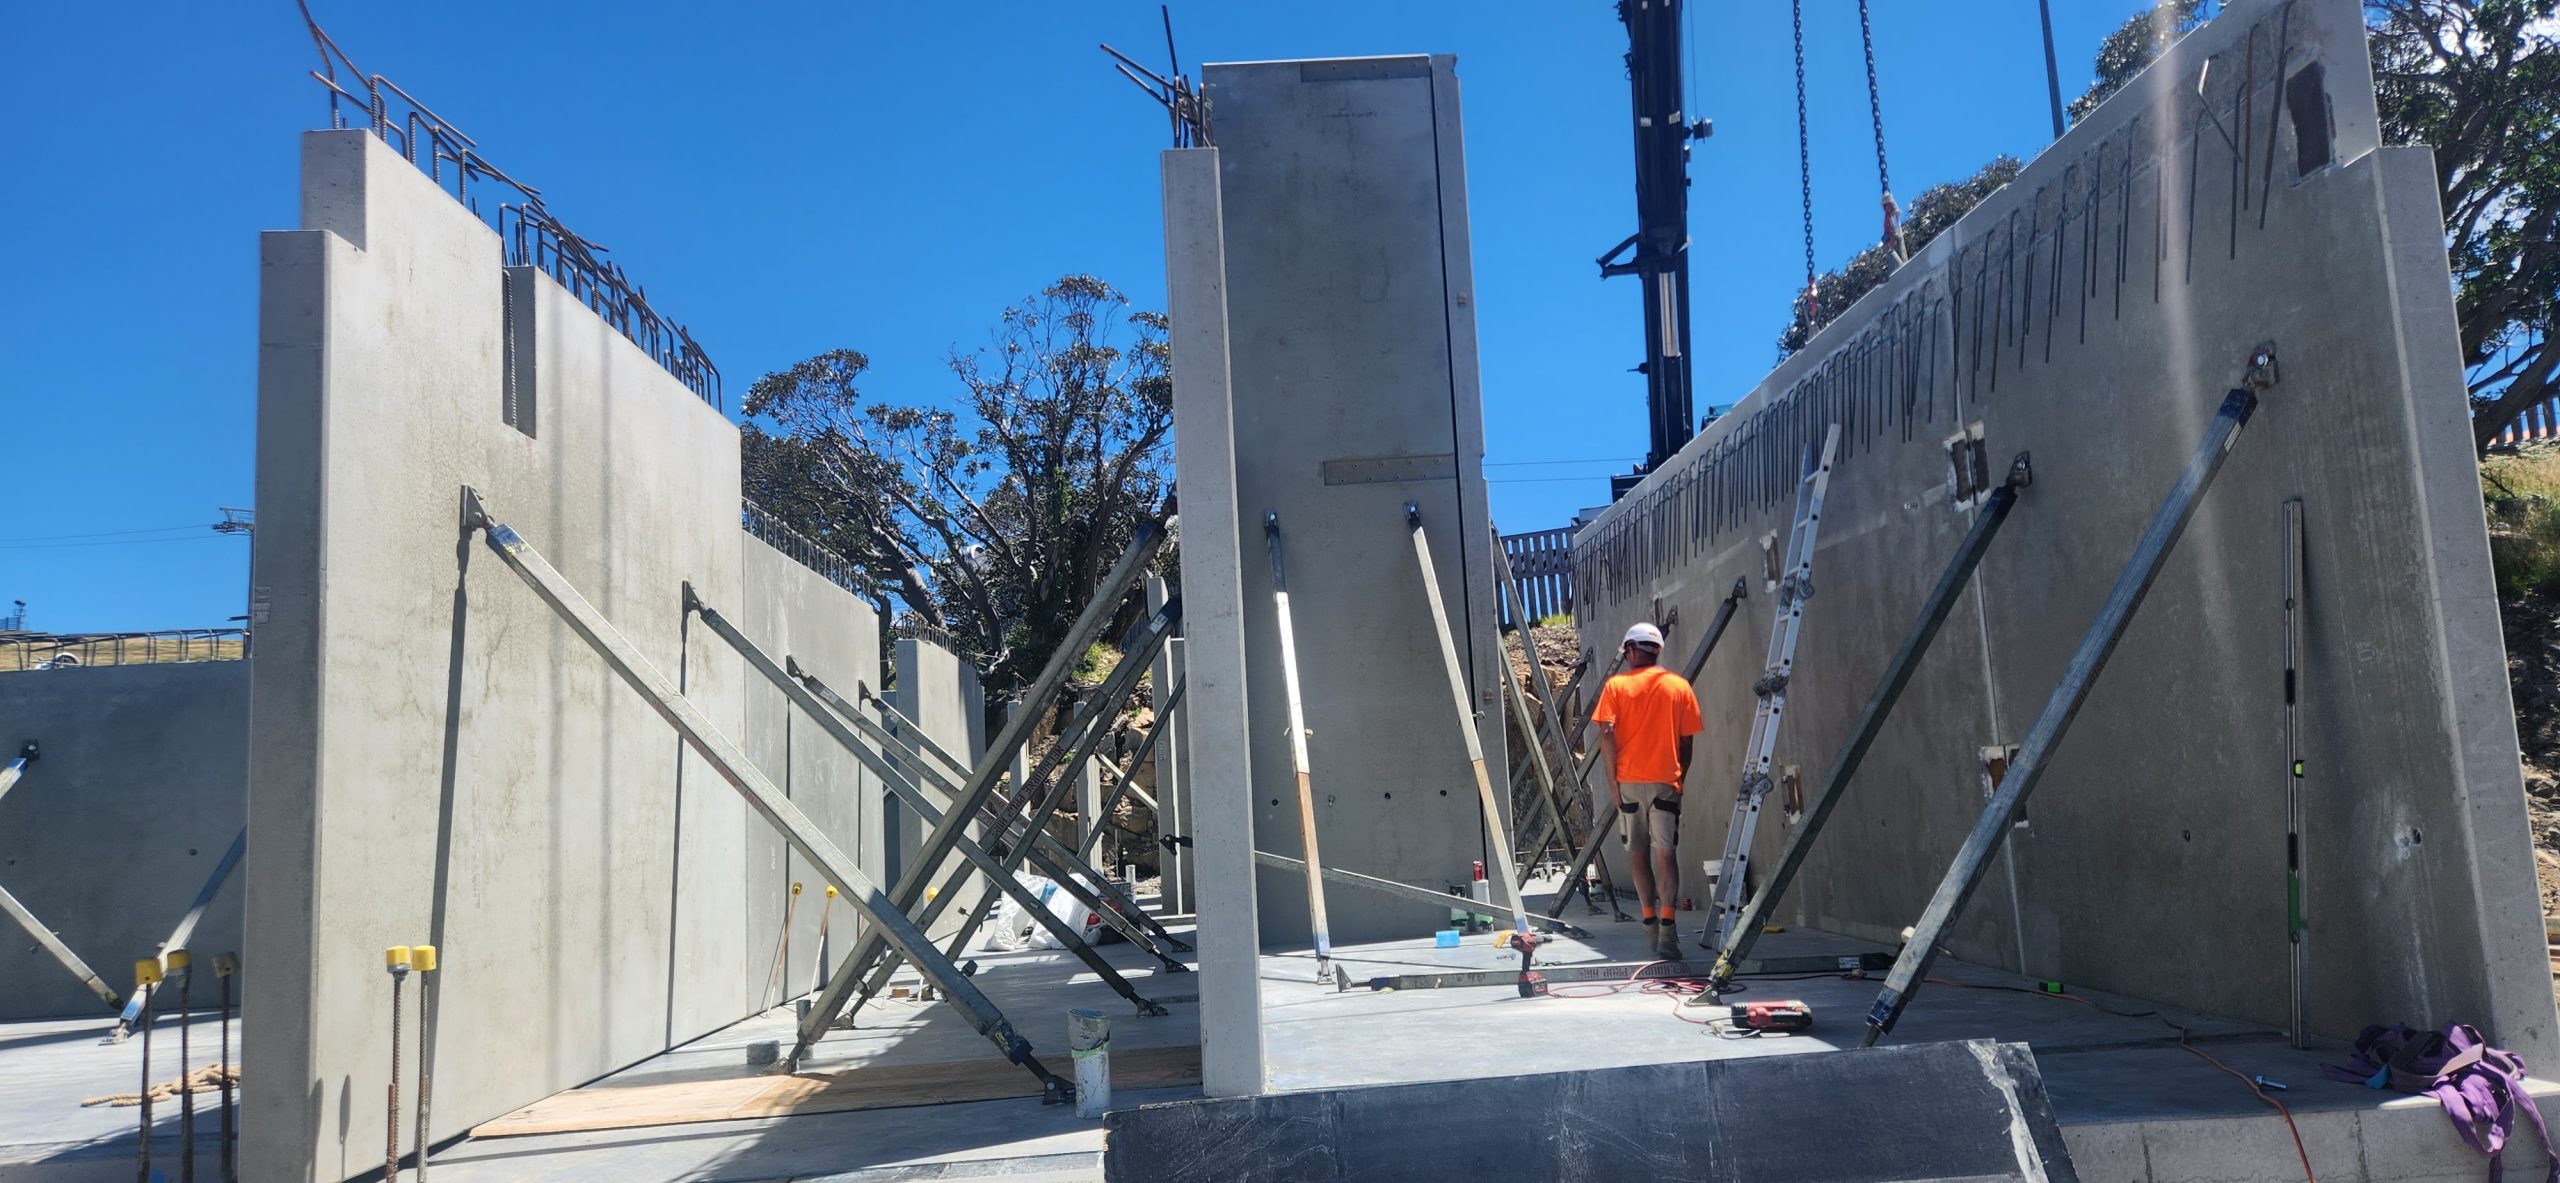
Load bearing precast element is anything that receives load from a precast or structural members and transfers the load to another structural member or precast. These precast elements can also be used along as façade, boundary walls, or for architectural design purposes.
What is non-load bearing precast element?
Non-load bearing precast element is anything that may receive load but must not transfer loads to any other structural members or precast. Normally these kind of walls are used only for partition, façade, boundary walls, or for architectural design purposes
What is Partially-load bearing precast element?
Partially-load bearing precast element is anything that receives load from a precast or structural members and transfers the load to another structural member or precast. But only a portion of precast receives and transfers load and the remaining portions will act as non-load bearing ones. (Single precast element which acts both as load bearing & non-load bearing)
Data’s, panel types & other details for
| Load-bearing element | Non-bearing element | Partially-load bearing element |
| Grade, can be higher upto 80MPa | Grade enough be 40MPa (UNO) | Grade, can be higher up to 80MPa |
| Gap between two elements are filled with grouting material of required grade | Gap between two elements are filled with Soft joint caulking only. no grouting. | Gap between two elements are filled with grouting material of required grade, extent of filling is for load bearing portion. Remaining portion will be soft joint caulking only |
| Dowels to be black finish (UNO) | Dowels to be Galvanized finish | Dowels to be Black or Galvanized finish, as per load bearing extend (UNO) |
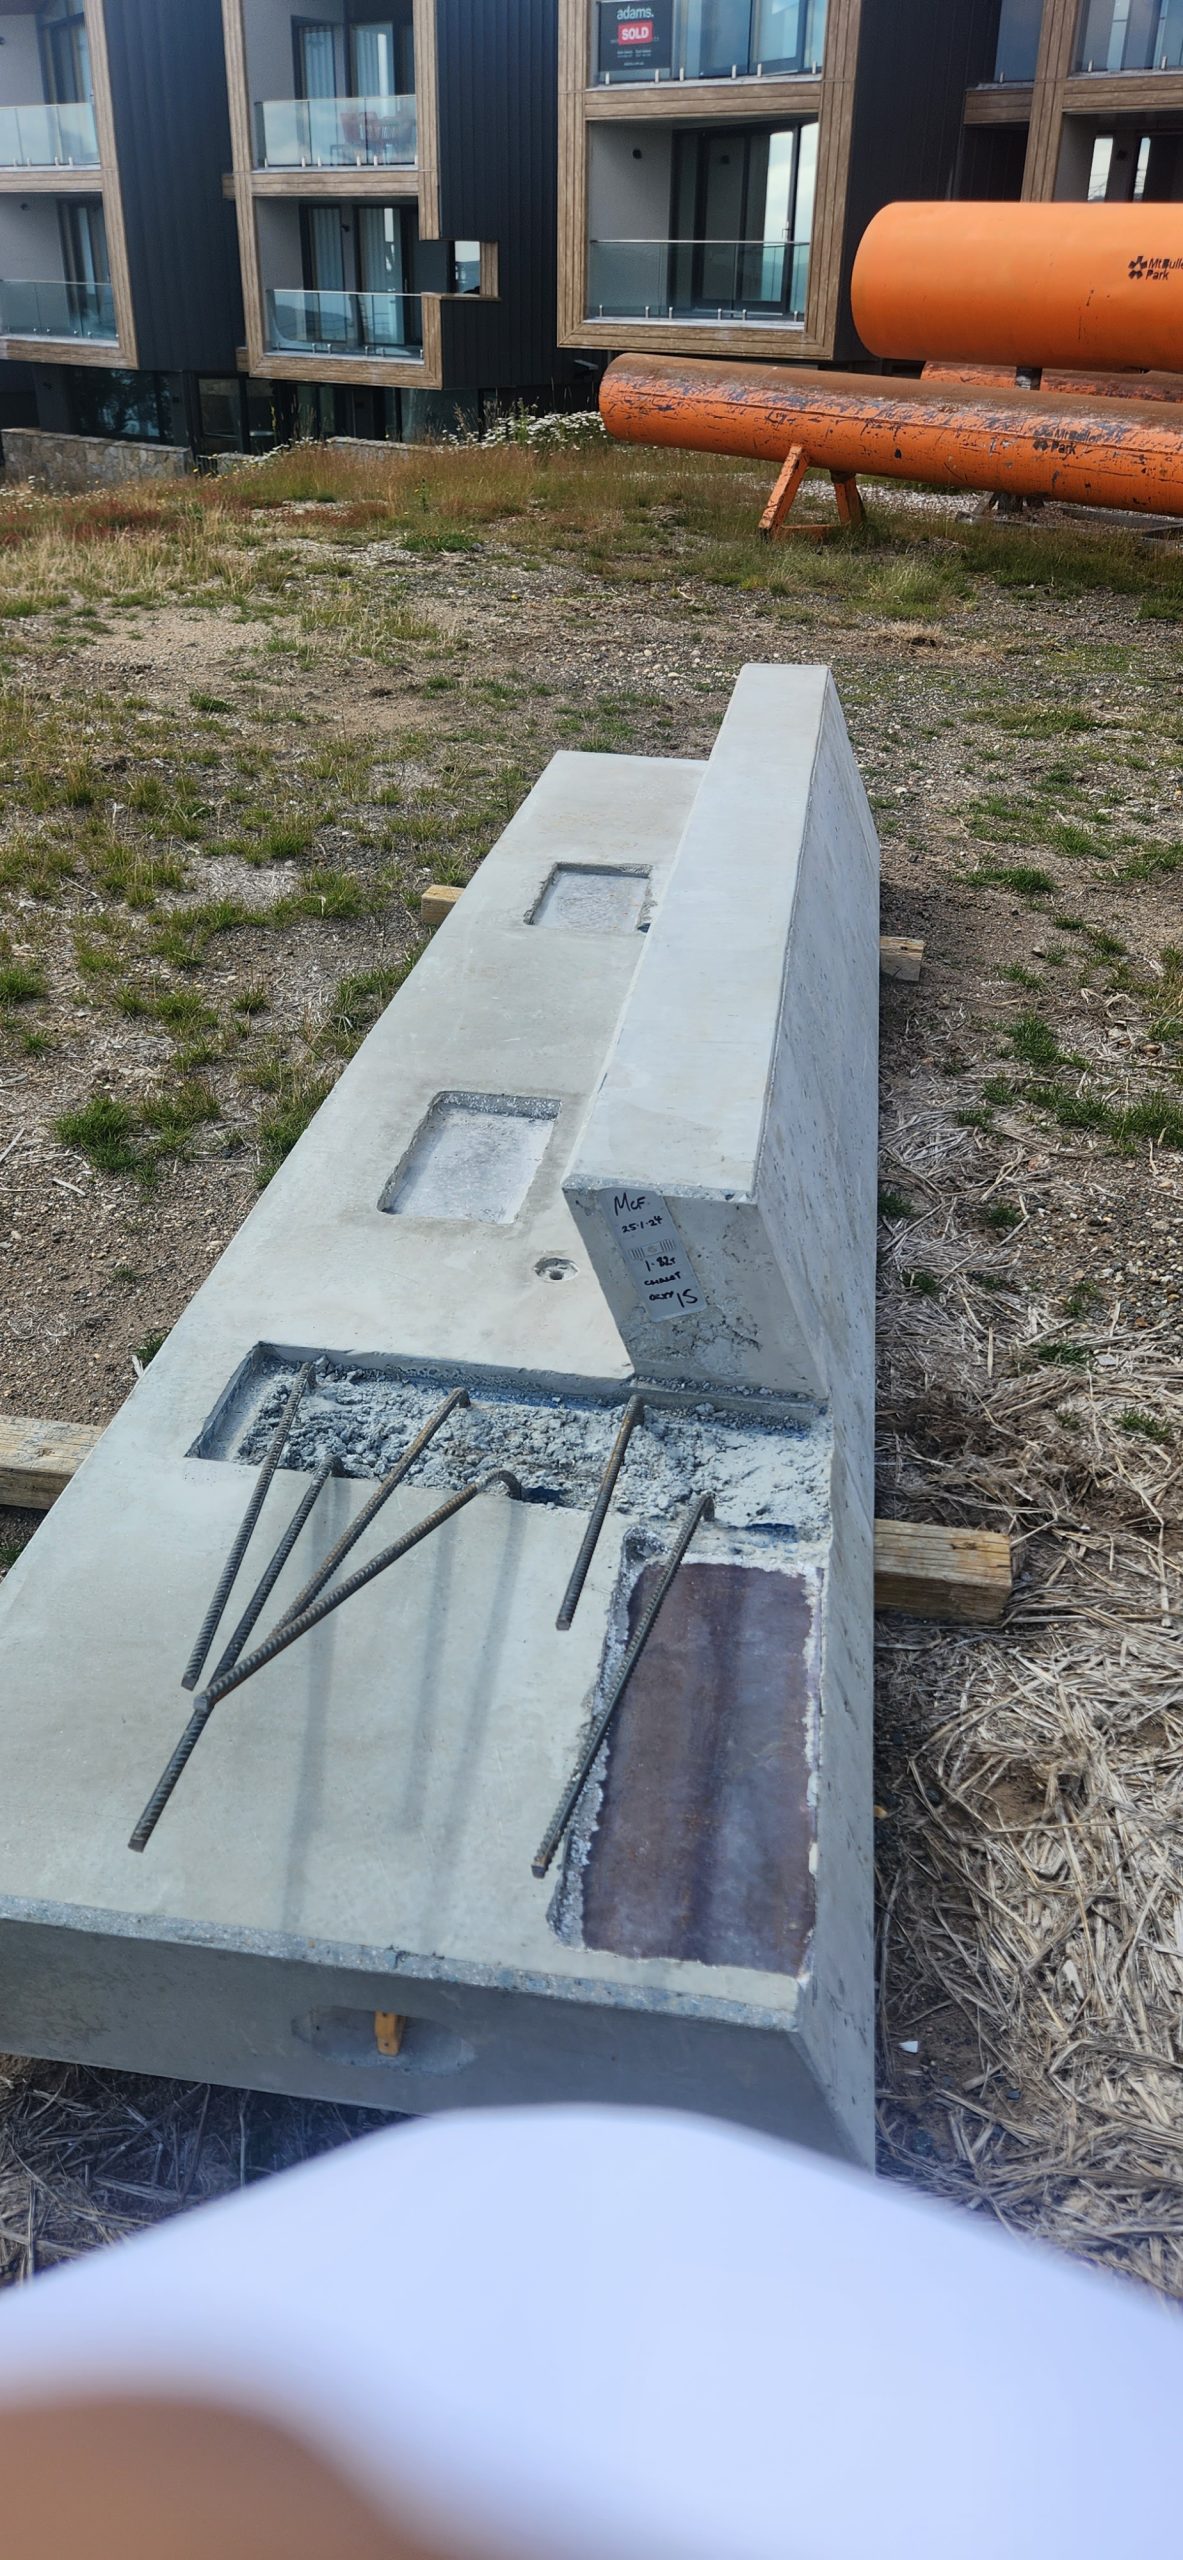
| Dowel length, size & spacing as per Engineer’s requirement | Dowel length, size & spacing as minimum as possible after discussing with Manufacturer or Engineer | Dowel length, size & spacing as per Engineer’s requirement for LBP portion Dowel length, size & spacing as minimum as possible for NLBP portion |
| Dowel & Grouting materials will transfer load to adjoining element | Dowel will be used to position the precast element & no grouting material present to transfer load. So loads will not be transferred. | Combination of LB & NLB criteria |
| No ring seal around the dowel | High density foam ring seal around the dowel | No ring seal around the black dowel High density foam ring seal around the Galvanized dowel |
| Grouting material will cover the dowel, so oxidation in dowel is negligible | No Grouting material, oxidation in dowel is possible. So high density foam ring seal is used and dowels are galvanized to prevent oxidation in dowel | Combination of LB & NLB criteria |
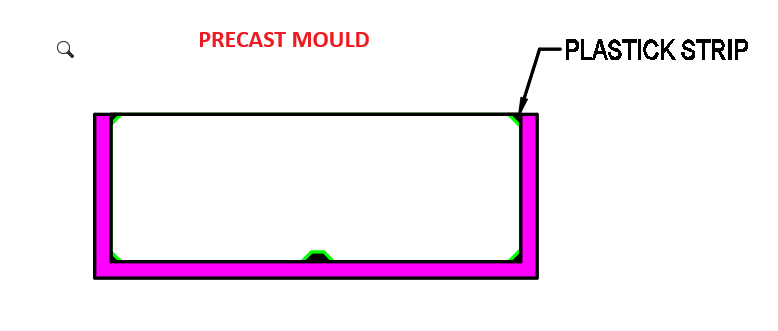
| No additional tubes or caps needed | Plastic tube will be placed over upper half of dowel. Compressible cap will be placed over the top of the dowel bar. | Combination of LB & NLB criteria |
| Connection with slab must | Connection with slab may not needed with respect to engineer requirement | Combination of LB & NLB criteria |