

This is a demonstration of how we use Excel-Add ins and AutoCAD plugins to simplify the process by which order forms are created for Precast panel jobs.
Please watch the below video:
Print Bubble Deck Order Forms from Tek1 on Vimeo.
This is a demonstration of how we use Excel-Add ins and AutoCAD plugins to simplify the process by which order forms are created for Precast panel jobs.
Please watch the below video:
Print Bubble Deck Order Forms from Tek1 on Vimeo.
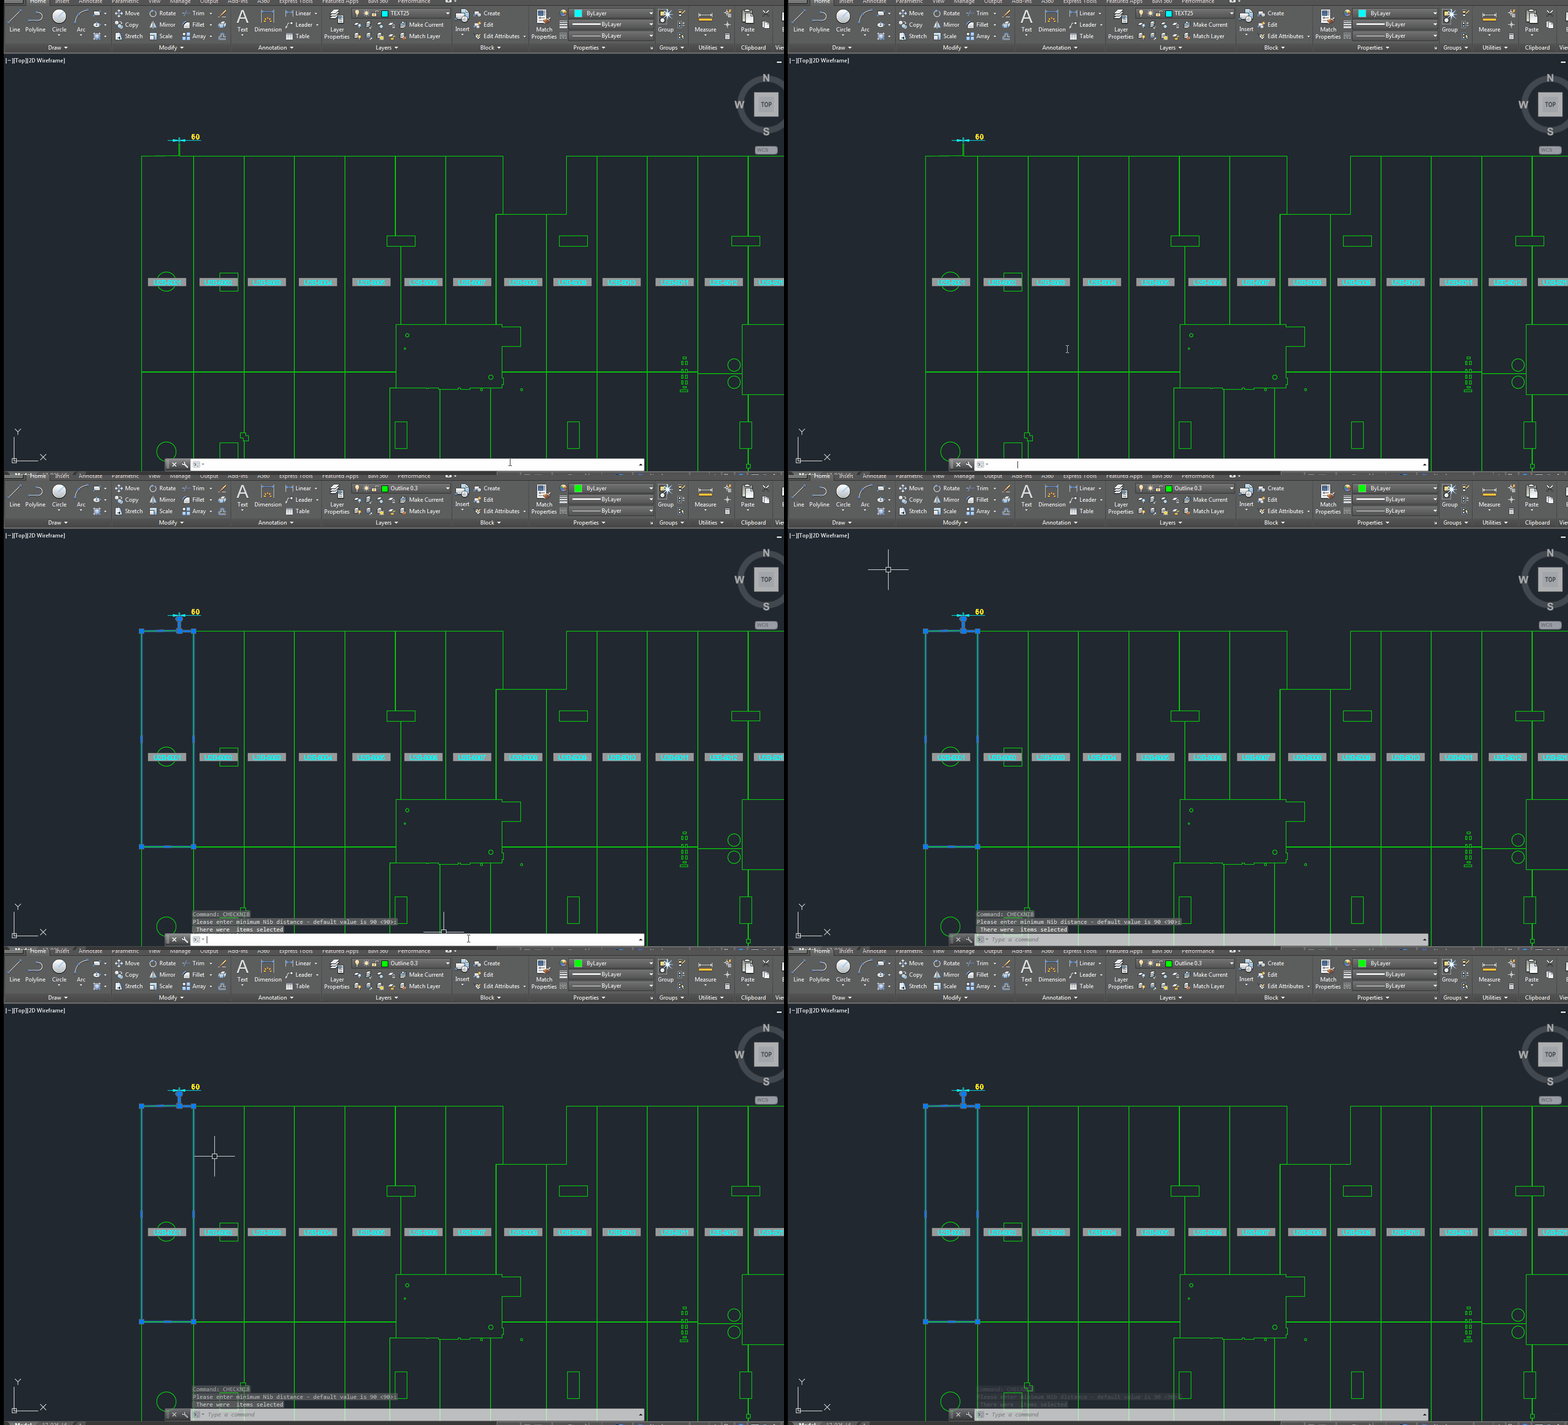
A gif showing how easy it is to check for nibs on bubble deck slabs using my command. There are certain panels which we have that have protruding elements – salient features. These can be problematic if they go to production unnoticed. Given there are entire teams of people doing things, it can be hard to track – people forget that they cannot draw a panel with such a dimension.
This is a plug in which enables one to easily identify all such panels with nibs like this:
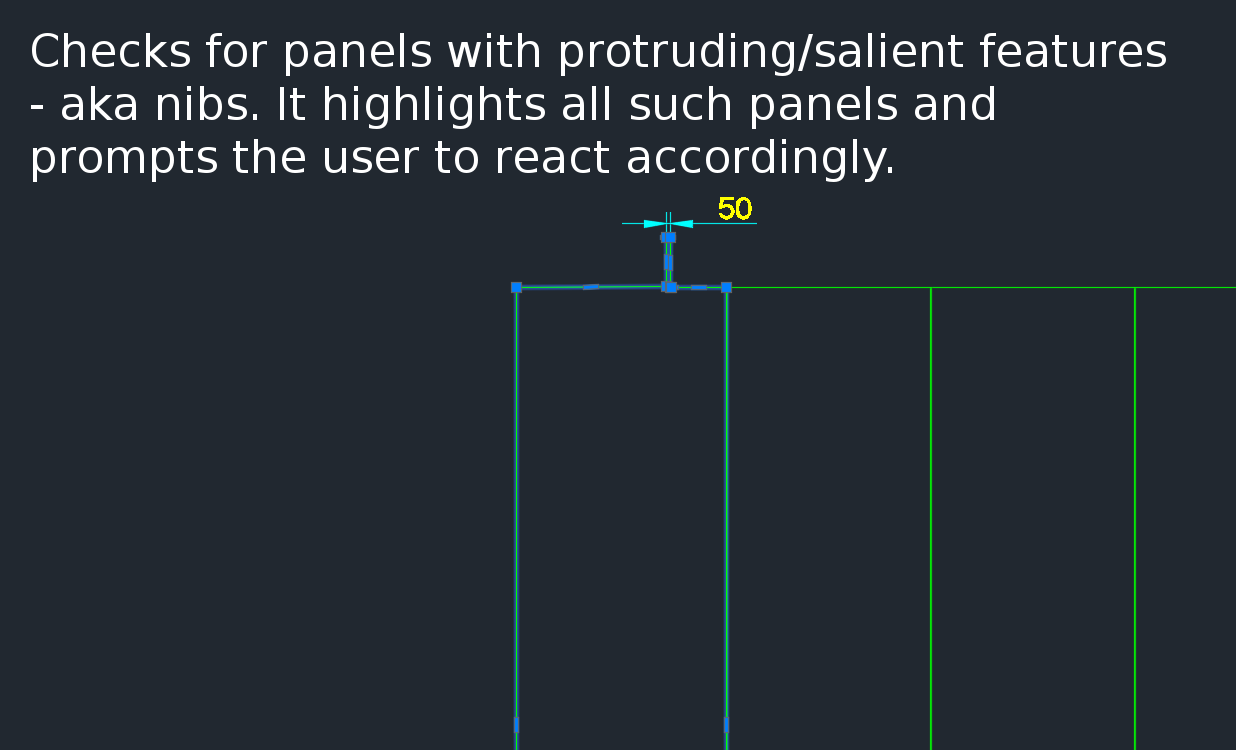
Here is a video demonstration:
Bubble Deck Detailing – checking for panels with salient features from Tek1 on Vimeo.
Summary:
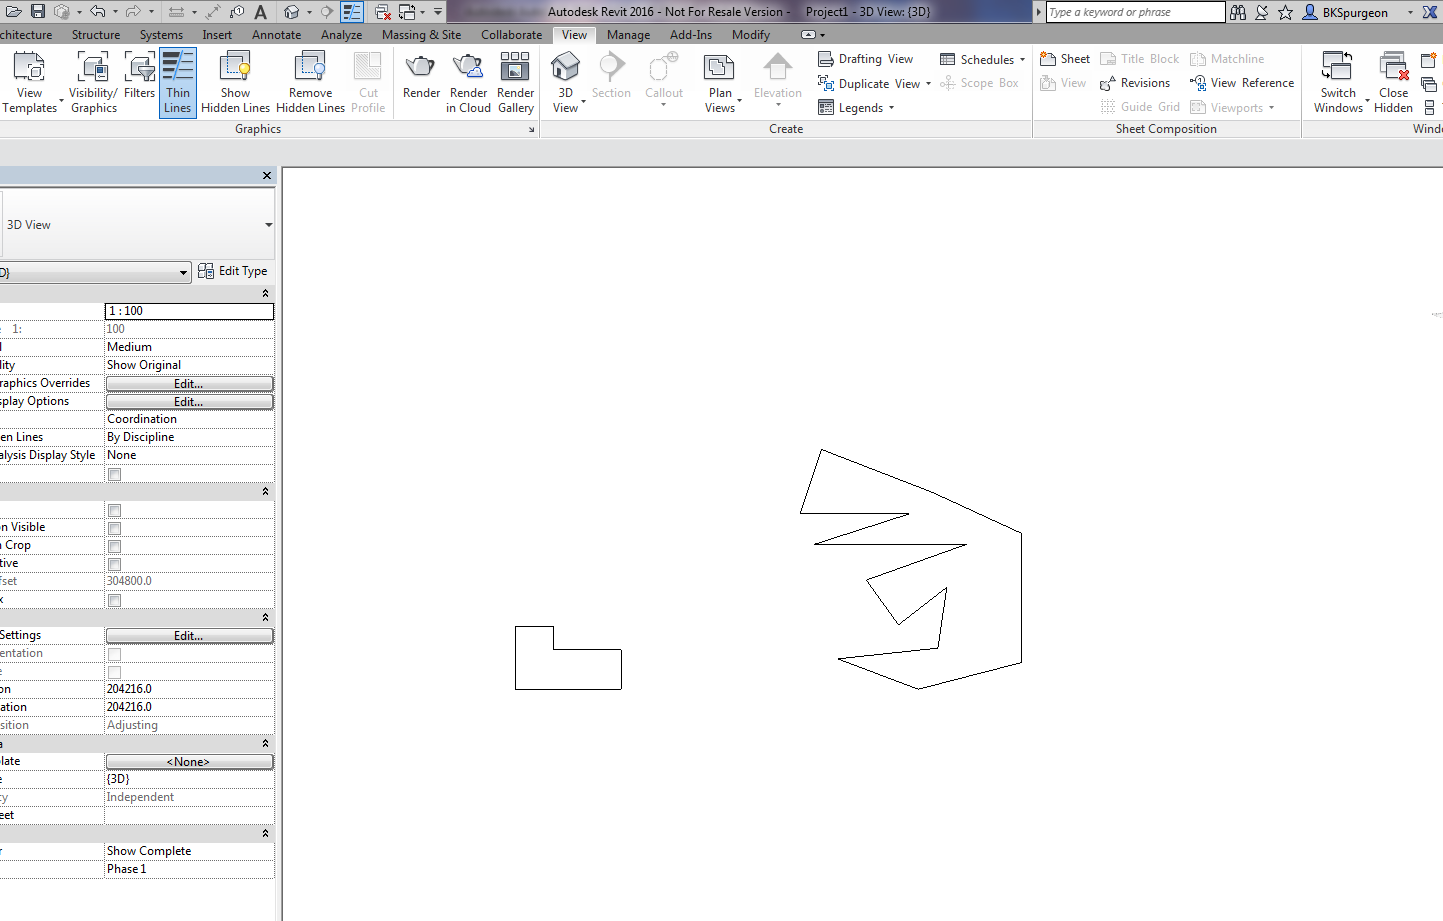
This is a demo of my latest plug-in which demonstrates a proof of concept – i.e. a MVP (Minimum Viable Product). The programming was a little trickier than normal – because we are not using the .NET API, but the COM Interop API and the Revit API – something which I have not really explored prior to this post.
If you have drawn some panels in AutoCAD, this plugin allows you to quickly and accurately convert those panels into Native Revit walls. You can then give Architects and builders those Revit files – otherwise it will be very difficult for them to work with AutoCAD files.
This gives you a competitive advantage over your competition, because you can quickly and easily do it – and it makes the job of architects and builders easier – especially given the rapid push everyone’s making into BIM technologies.
Enough talk. Here is the demo. Enjoy:
Create Panel Walls in Revit Directly From AutoCAD – Demo from Tek1 on Vimeo.
(I’ve made the command so that it works even when you have AutoCAD open. This allows detailers to quickly switch to Revit and AutoCAD and to delete and restart if need be. Also requiring that AutoCAD be open ensure that detailers know exactly what file they are working with and what files they are converting. It eliminates a whole lot of errors.)
This is a beautiful little plug-in – it allows you to dimension a curve – a complex curve with a jig. It allows the user to choose the types of dimensions that he wants. It’s pretty cool.
I must do an entire series on jigs.
And I will slowly, when I get the chance.
Tekla – AutoCAD Interoperability Tool
Tekla licenses are pricey. About $30k + maintenance per license. What if I told you that you needed 30-50% less licenses than you currently hold. That’s a huge cost saving, isn’t it?
If you only need 5 licenses (as opposed to 10), then you’ve saved $150k instantly, plus maintenance.
AutoCAD licenses are significantly cheaper.
But if only the work you did in AutoCAD could be transferred into Tekla? That would save you some licenses. That’s just what I’ve done here in my latest project. Now a significant portion of any modelling job can be done in AutoCAD and simply imported into Tekla.
You can check it out here:
Tekla – Autocad Interop. from Tek1 on Vimeo.
Human Resources Problem
Interoperability will also help improve the quality of your work: it’s tough finding people who are highly skilled in Tekla. What if I told you that you could use an AutoCAD draftsperson instead of someone well versed in Tekla, to do the same job? Now you have a potentially infinite pool of candidates to draw from.
Tools
Interested In more?
I’d love to be able to help. Just call or email us.
You need to download the catalogue because the interop DLL connects to the catalog. Without it, we cannot verify that your profiles actually exist in Tekla.
Here is the cataloge download link:
Trouble Shooting
Bubble Deck – What’s so good about it?

If you can build something quicker, than translates into making money quicker. There’s a premium on speed.
Less manpower on site. That means less potential problems to deal with. Which eventually translates into money. Generally speaking, the problems and costs associated with a project are proportional to the number of people involved in it.
Bubble deck slabs, because they are filled with air, are significantly lighter. Also you can have wider spans – without as much column support. This is very desirable from an architect’s point of view.
The BubbleDeckGroup tout it as being cheaper to manufacture. Personally, I’m sceptical of this claim. I think it’s the same, if not more.
They also say it’s more environmentally friendly. It probably is relative to other solutions, but I don’t think it’s actually helping the environment. It’s sort of like the marketing on a cigarette packet saying that it’s “healthier” than other cigarettes. It is probably healthier, but cigarettes as a whole, generally speaking are not healthy.
What are the costs?
Everything has to be designed correctly and properly early on. This is not necessarily a bad thing. It forces designers to plan and think things out, before the actual construction. But if the design team does a bad job, you can be sure that the entire project is going to be delayed, and is going to be monumentally expensive.
In this blog post we will explain what N12-200 EF means.
Please see the below diagram of a precast panel elevation
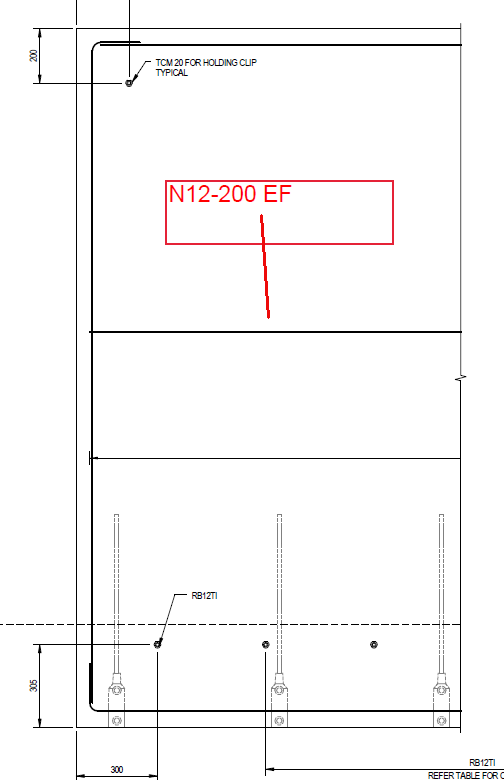
Well, what does N12-200 EF it mean?
Let’s break it down.
This is the diameter of the rod. 12 mm.
The 200 portion means that the rod should be spaced 200 mm apart.
This means that the rod should be on each face. i.e. on both panel faces. This is best served via a diagram.
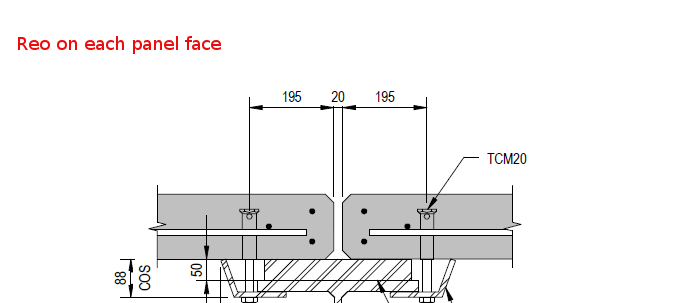
I hope you learned something!
Lapping – what is it?
It’s got nothing to do with being over taken on the F1 track. Lapping refers to the “overlapping” of reinforcement with another section of reinforcement.
Why do we lap?
Lapping Requirements?
Trench Mesh Laps
Please see below:
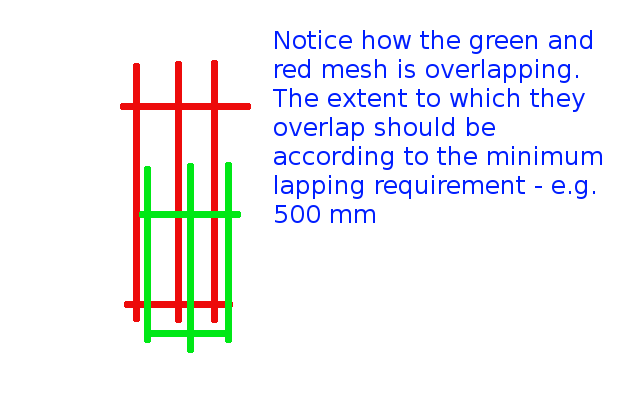
Square mesh lap
Very similar to the above – please refer to that diagram.
Reinforcing Bar Laps
Please see below:
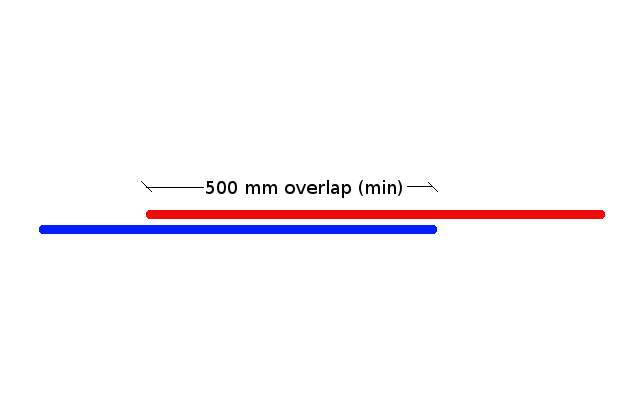
I hope this helps you. Any questions? Feel free to ask. I may even write up another post if the question is good enough.
The Mould Face
This post attempts to explain the following two questions, for those starting to learn the precast trade:
What is a precast panel?
These my friends are precast panels:
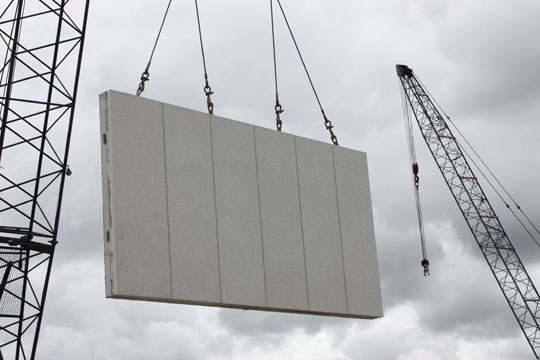
What is the mould face?
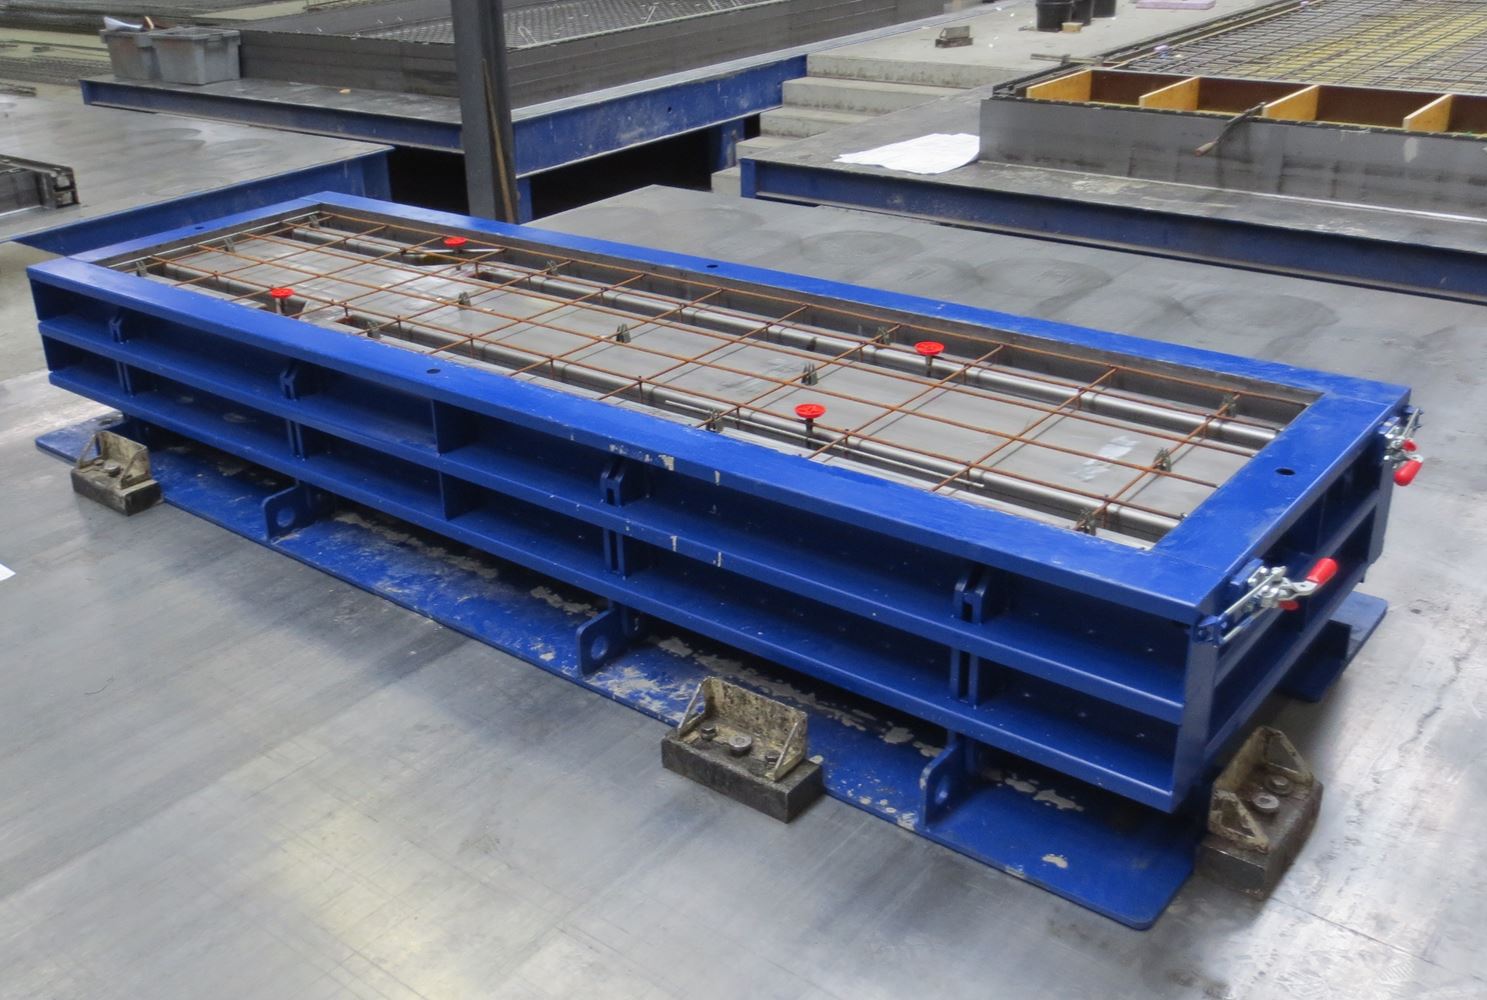
So then what is the near face / far face / mould face?
What is the significance of the mould face?
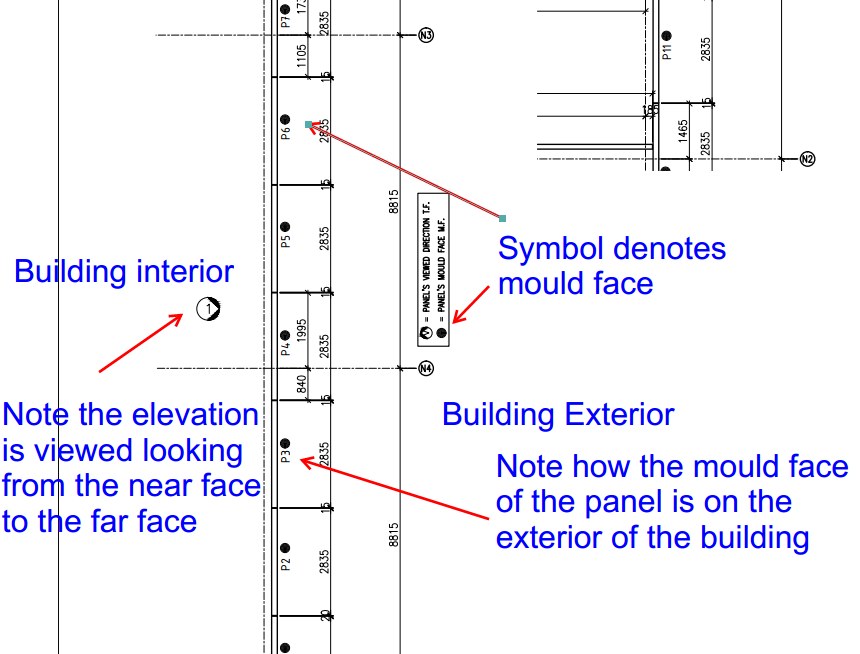
When you draw a panel, you want to indicate on your drawings that the mould face is on the building exterior.
Standard Shop Drawing Practices
This diagram should certainly clear things up for you:
I hope you learned something. Any questions, please ask.