Tag: steel detailing

  • The Importance of Bolt Placement and Edge Distance in Detailing

    The Importance of Bolt Placement and Edge Distance in Detailing


    Detailers must exercise caution when working with bolts and edge distances, as these are common areas for errors in structural detailing. In this blog, I’ll share my experience with a bolt edge distance issue and how it was resolved.


    The Scenario
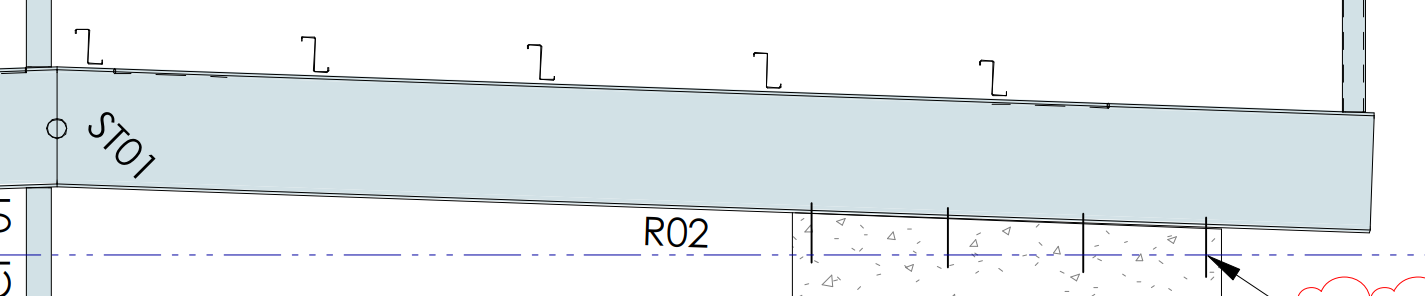

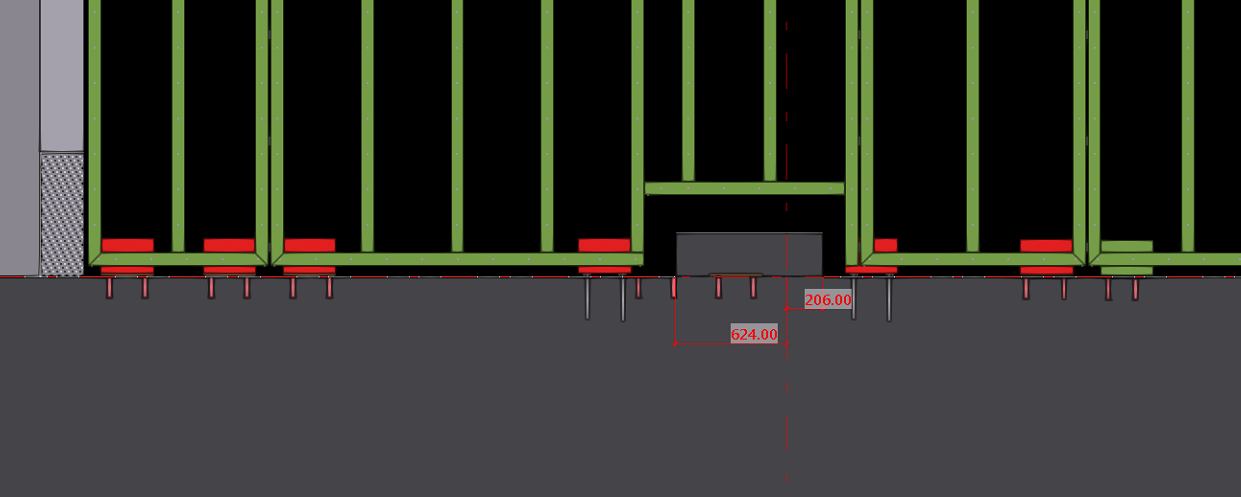
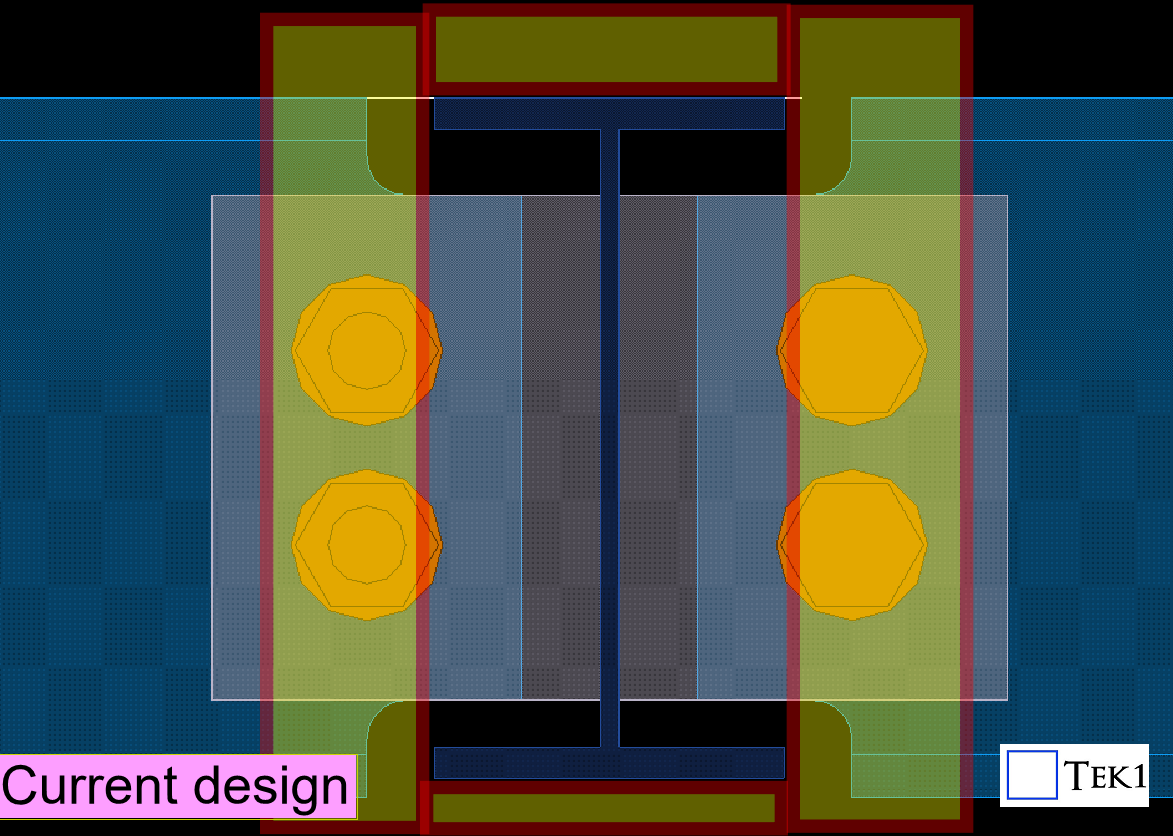
    In a recent project, the design required a UB (Universal Beam) to sit on a 200mm-thick concrete wall, secured with M20 chemset bolts.

    Upon review, it became clear this setup wasn’t feasible:

    • Anchor Distance: M20 bolts require a minimum anchor distance of 120mm.
    • Edge Distance: A minimum edge distance of 80mm is necessary.

    Additionally, the beam wasn’t centered on the wall, further complicating the bolt placement.


    The Proposed Solution

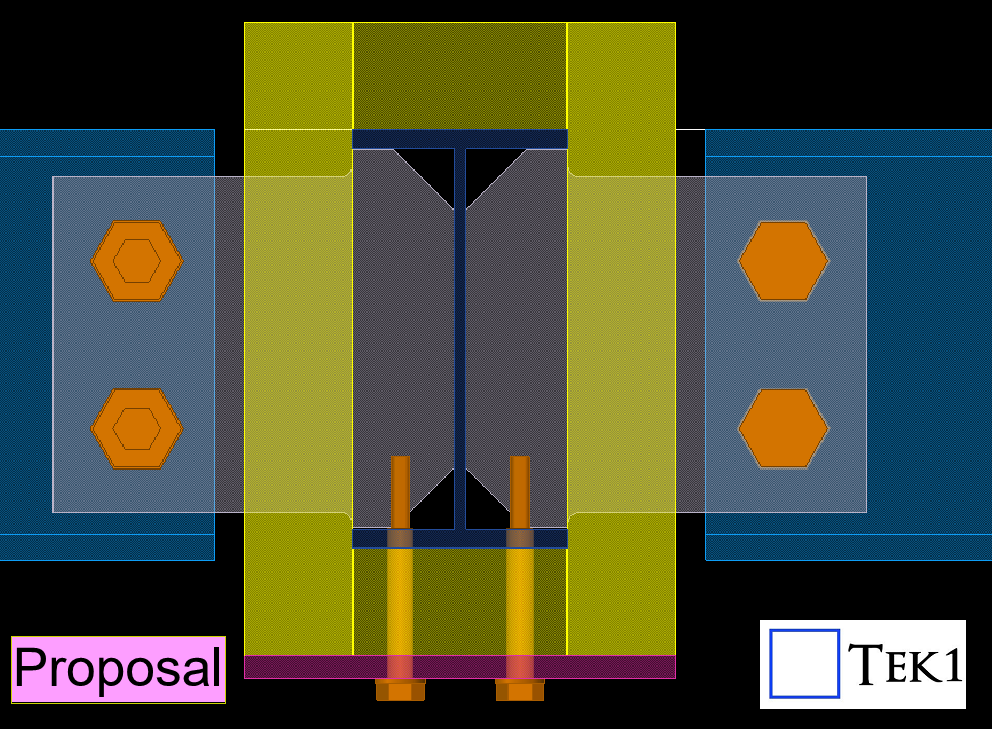
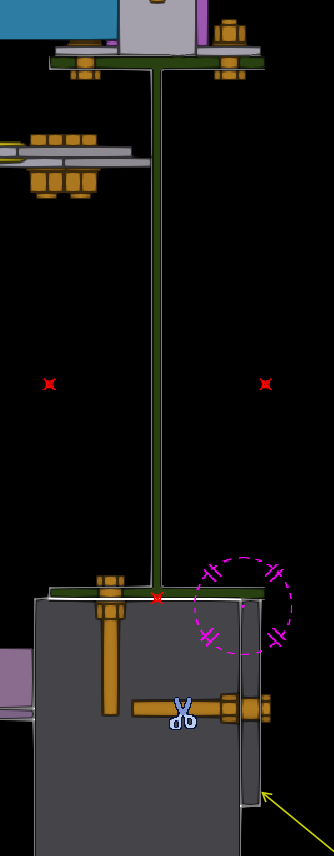
    To address the issue, I proposed welding plates to the bottom of the beam. This adjustment allowed the beam to be bolted to the side of the wall rather than its top.

    The Engineer’s Feedback


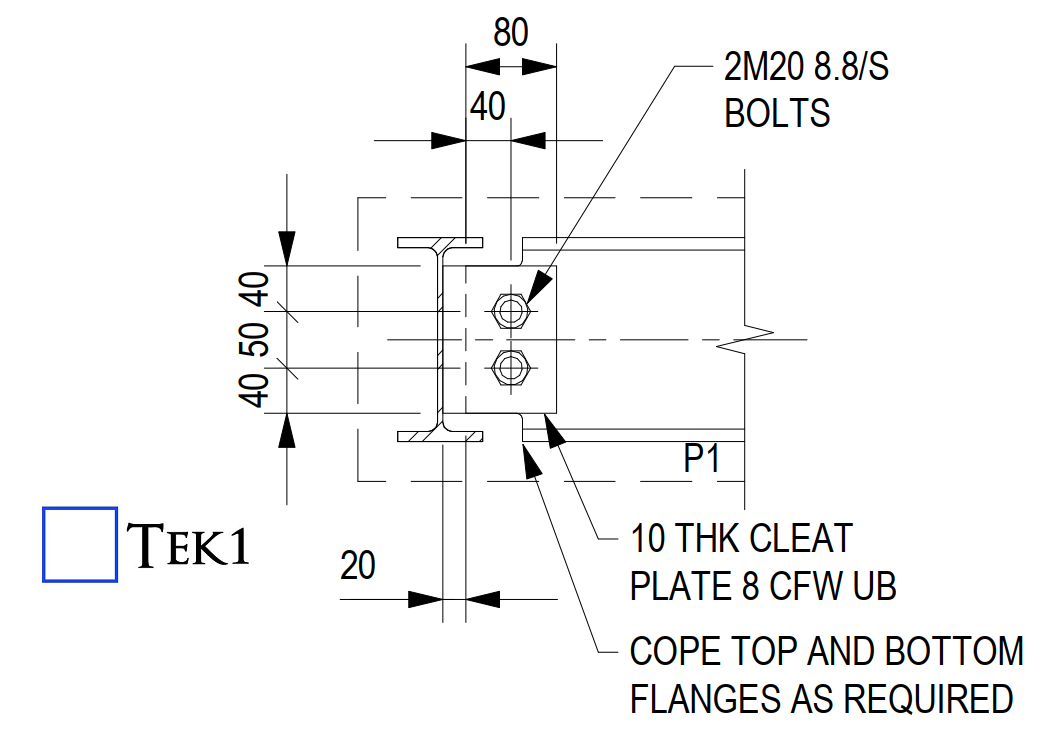
    After reviewing the proposal, the engineer suggested a simpler solution: using a single row of bolts instead of two. This change eliminated the edge distance problem.Engineer mentioned that one row of bolt is enough for this beam.

    In this project, the engineer did not accept our proposal, as they determined that the beam does not require that level of support. However, as detailers, it is our responsibility to highlight the issue and propose suitable solutions.

  • Locknut anchor bolt guide

    Locknut anchor bolt guide

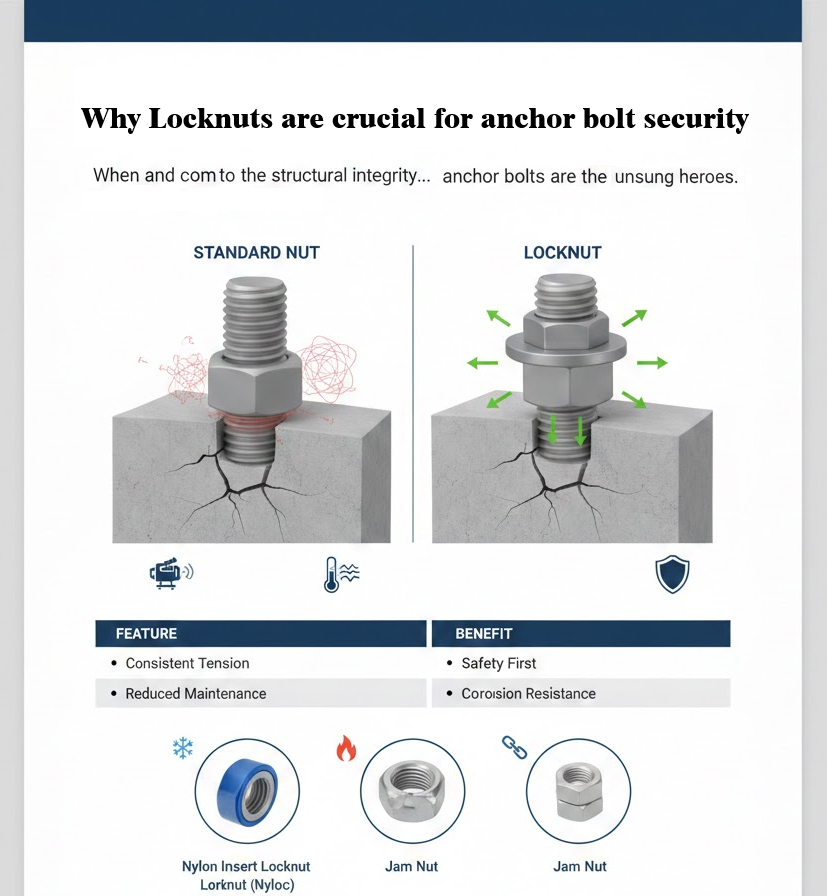
    Why Locknuts Are the Unsung Heroes of Anchor Bolt Integrity

    Anchor bolts are the literal foundation of structural stability. They secure steel columns, heavy machinery, and critical structural components to concrete foundations, resisting uplift, shear, and dynamic forces.

    But even the strongest anchor bolt is only as reliable as its ability to stay tight.

    In industrial environments where vibration, movement, and thermal cycling are constant, relying on a standard nut alone is often not enough. This is where locknuts become a non-negotiable component of anchor bolt assemblies.

    The Hidden Risk: Vibration-Induced Loosening

    When we think about structural failures, we often imagine snapped steel or crumbling concrete. However, one of the most common—and preventable—failure points is vibration-induced loosening. Enter the locknut – the small but mighty component that ensures your anchor bolts stay steadfast.

    The Mechanics of Loosening

    Standard nuts rely on the friction between the bolt threads and the nut threads, maintained by the tension (clamp load) of the bolt. However, two main factors can compromise this:

    Thermal Expansion: Fluctuating temperatures cause the bolt and the fixture to expand and contract, periodically reducing the clamp load.

    Vibration: Constant motion from machinery or wind loads can cause minute “slips” in the threads.

    What is a Locknut and Why Does it Matter for Anchor Bolts?

    A locknut is a specialized fastening device designed to resist loosening when subjected to vibration and torque. Unlike standard nuts, which rely solely on friction created by initial tension, locknuts incorporate various mechanisms to maintain their grip, even when external forces try to reduce that tension.

    Conclusion

    Don’t let a $2.00 part jeopardize a $200,000 project. Using high-quality locknuts on your anchor bolts ensures longevity, reduces maintenance costs, and—most importantly—guarantees structural safety.

  • Avoiding Errors In Updating Modified Drawings

    Avoiding Errors In Updating Modified Drawings

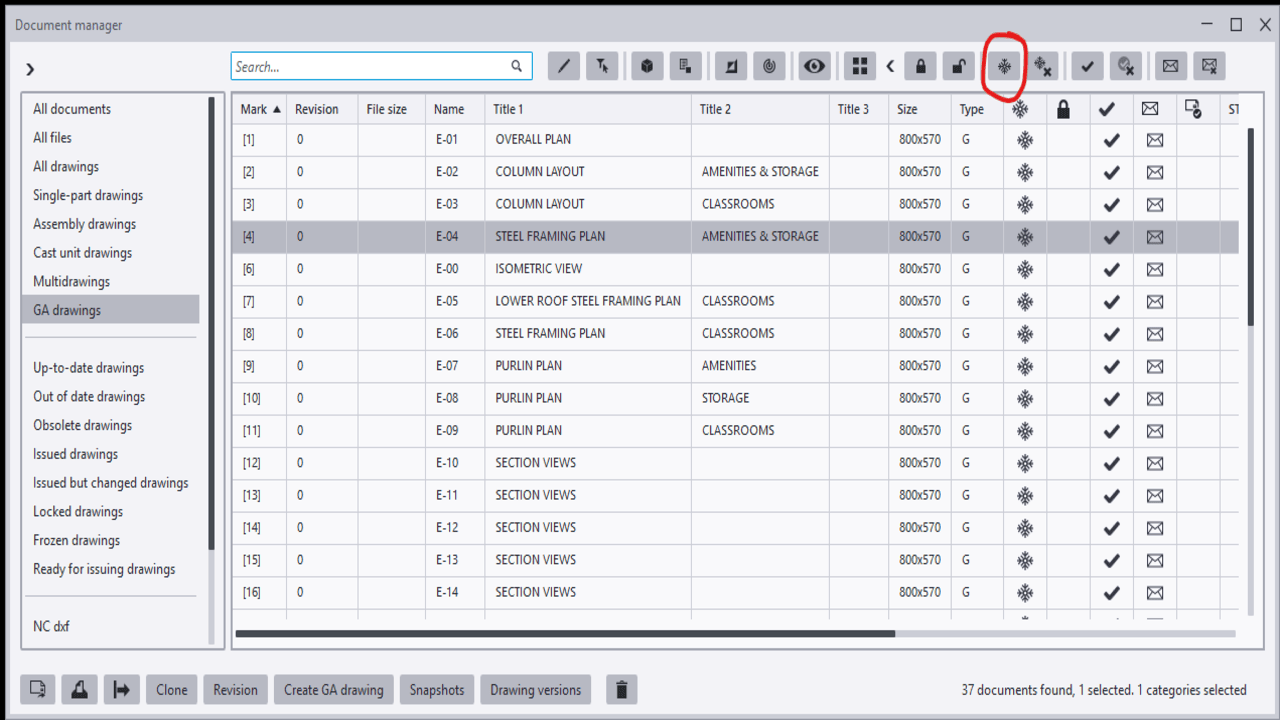
    When the model is amended after issuing the first set of drawings, the affected assembly drawings will appear as “Parts Modified” after numbering is completed. While updating such drawings, certain considerations are important to ensure effective and quick detailing.

    1. Freeze Option

    When Freeze is OFF, Tekla automatically updates dimensions according to the movement of parts. While this may seem convenient, the decision to turn Freeze ON or OFF depends on the nature of the amendment.

    • If no new members are added to the assembly and only existing parts are moved, it is recommended to keep Freeze OFF, as Tekla will correctly update the dimensions.
    • If new parts are added to the assembly and Freeze is turned OFF, Tekla will automatically generate additional dimensions for the new members and may also alter existing dimensions. This can result in extra work to restore the original dimensioning arrangement.

    Guideline:

    • When no new parts are added, turn Freeze OFF.
    • When new parts are added, turn Freeze ON.

    2. Snapshot Option

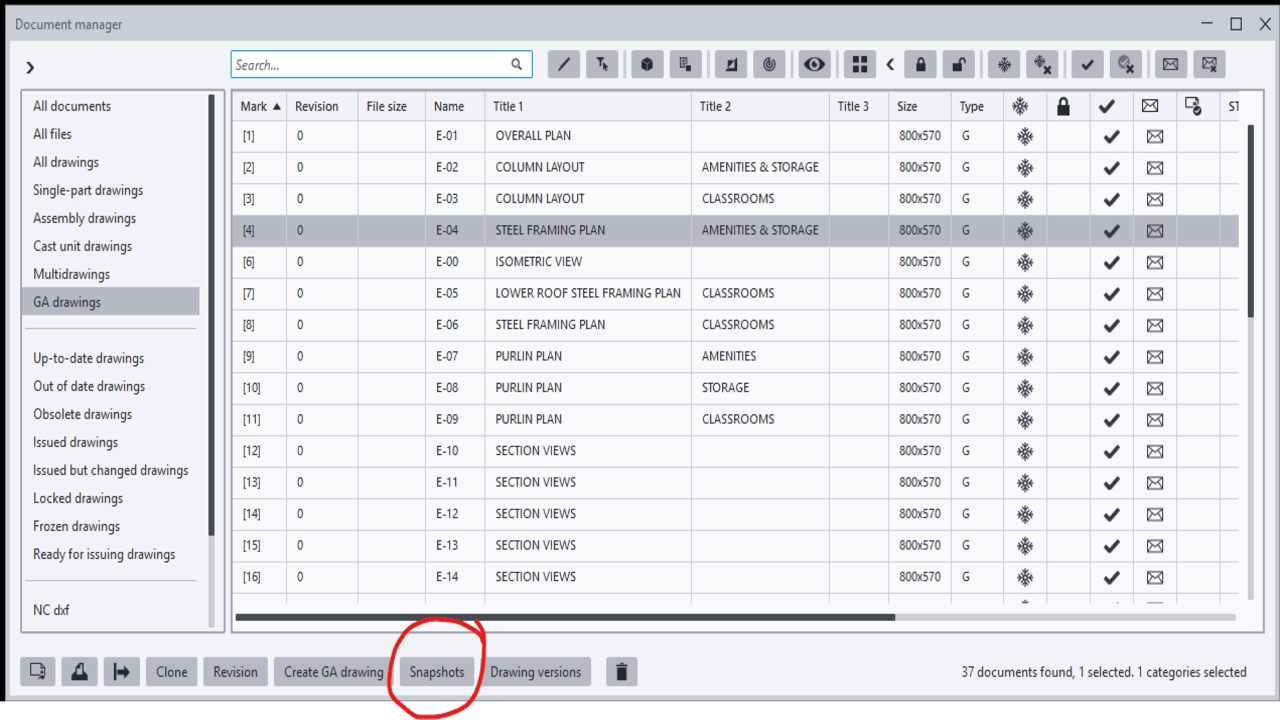
    Among the drawings marked as “Parts Modified,” not all drawings necessarily contain actual changes. Some assembly drawings may appear as modified because they share common connection components with other assemblies that were amended.

    In such cases, the drawing may not have any visible changes and may only require an open-and-close action. However, there is a risk that certain dimensions may be automatically deleted or altered by Tekla during the update.

    To avoid missing dimensions or unintended changes, the Snapshot option is highly useful. It allows detailers to compare the drawing before and after the update. By reviewing the differences, any unnecessary or unintended modifications can be identified and corrected, thereby minimizing the risk of errors.

  • Difference Between TEKLA “Export IFC” and IFC4

    Difference Between TEKLA “Export IFC” and IFC4

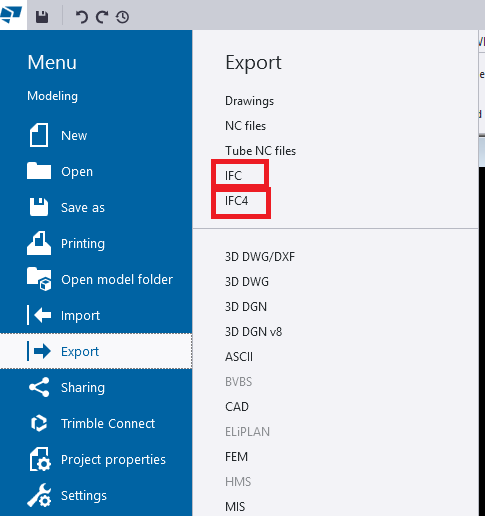
    When we export models from TEKLA Structures, we mainly see two options:

    • Export IFC (this mostly means IFC2x3 format)
    • IFC4 Export

    Both formats serve the same purpose—model interoperability—but they work differently, support different levels of data, and offer different quality of geometry.

    In this blog, we explore the key differences, benefits, and when to use each format.

    1. What is “Export IFC” (IFC2x3)?

    This is the old IFC format used by most companies for many years.

    Key points

    • Works in almost all BIM software
    • Shows Geometry is basic and sometimes rough
    • Limited property information
    • The File size is Bigger

    Best For

    ✔ General coordination
    ✔ Clients who request IFC2x3
    ✔ Old software compatibility

    2. What is “IFC4 Export”?

    This is the newer and more advanced format.

    Key Points

    • Geometry looks cleaner and smoother
    • Curved members (Hollow sections, pipes, elbows, etc.) look perfect
    • More detailed data (bolts, welds, assemblies)
    • Smaller file size in many cases
    • Better for new BIM tools

    Best For

    ✔ Modern BIM tools
    ✔ Better visual quality
    ✔ Detailed model sharing

    3. Quick Comparison

    FeatureIFC2x3 (Export IFC)IFC4
    GeometryBasic (Rough)Smooth & Accurate
    Curved ShapesApproximatePerfect & Precise
    File SizeLargerSmaller
    CompatibilityVery HighMedium
    Details LimitedMore Detailed
    convert IFC object to Steel MemberWork wellCan’t convert

    4. Which One Should You Use?

    • Use Export IFC (IFC2x3) if the client asks for it or if compatibility is important.
    • Use IFC4 if you want cleaner geometry and more detailed information.

    5. Final Summary

    • IFC2x3 (Export IFC) → Best for compatibility
    • IFC4 → Best for quality and smooth geometry

    If your client or BIM Execution Plan (BEP) does not specify the format, use IFC4 for best geometry

  • Hunter Street Ramps & Gates

    Hunter Street Ramps & Gates

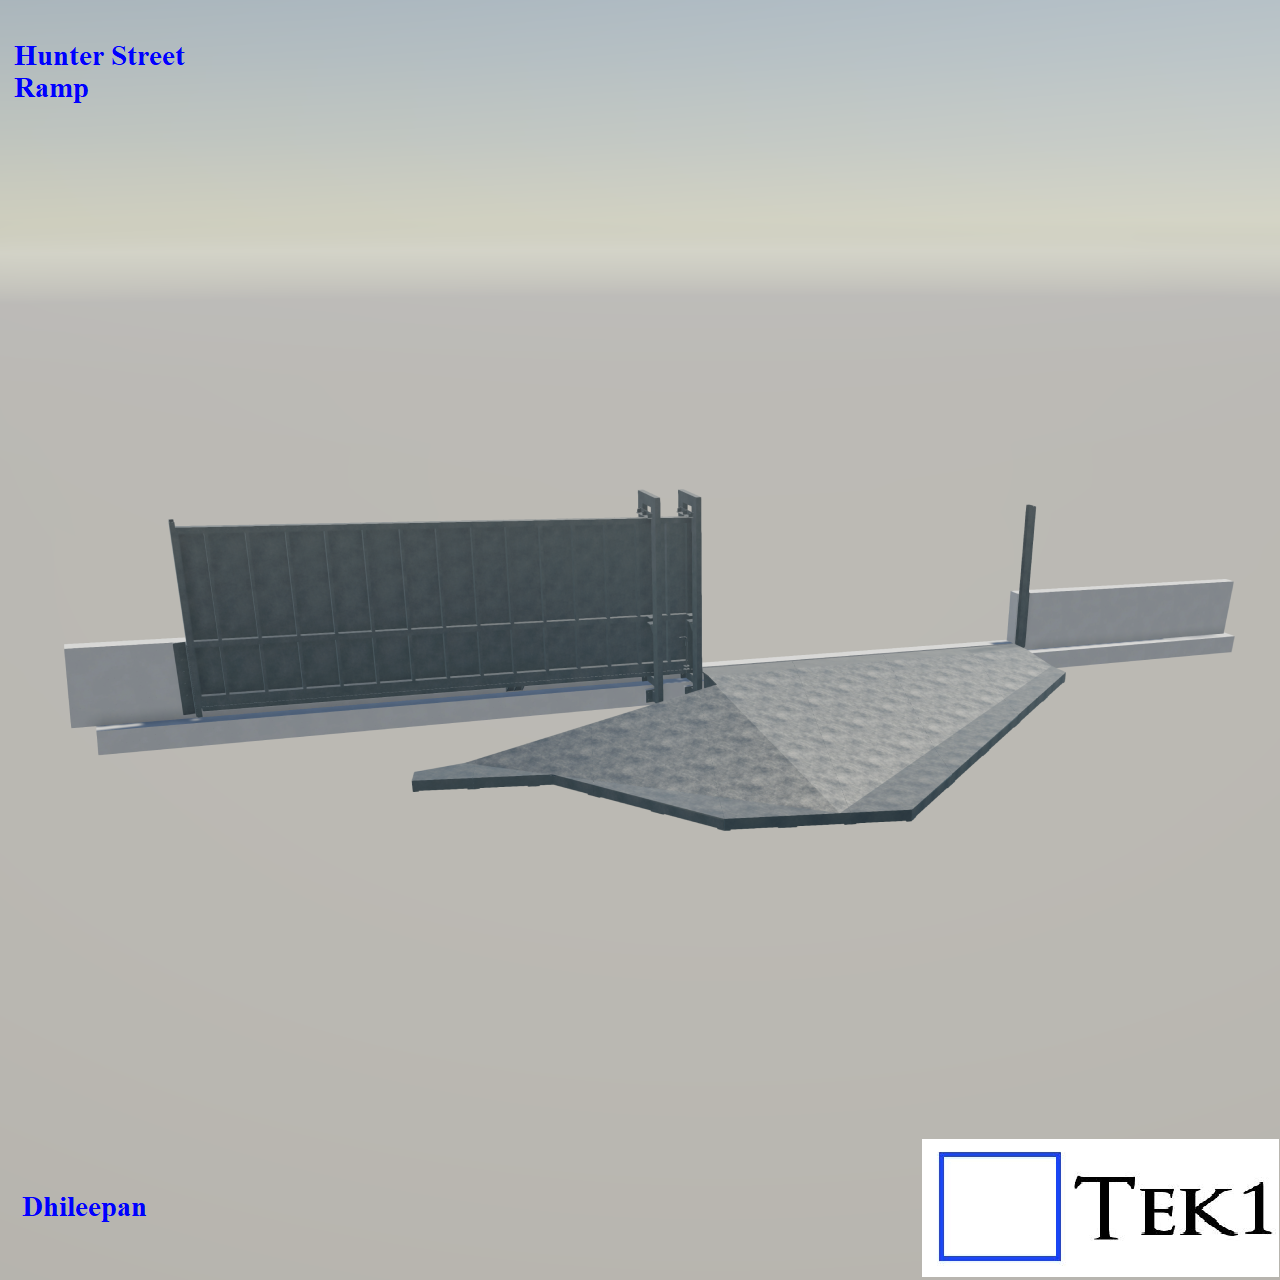
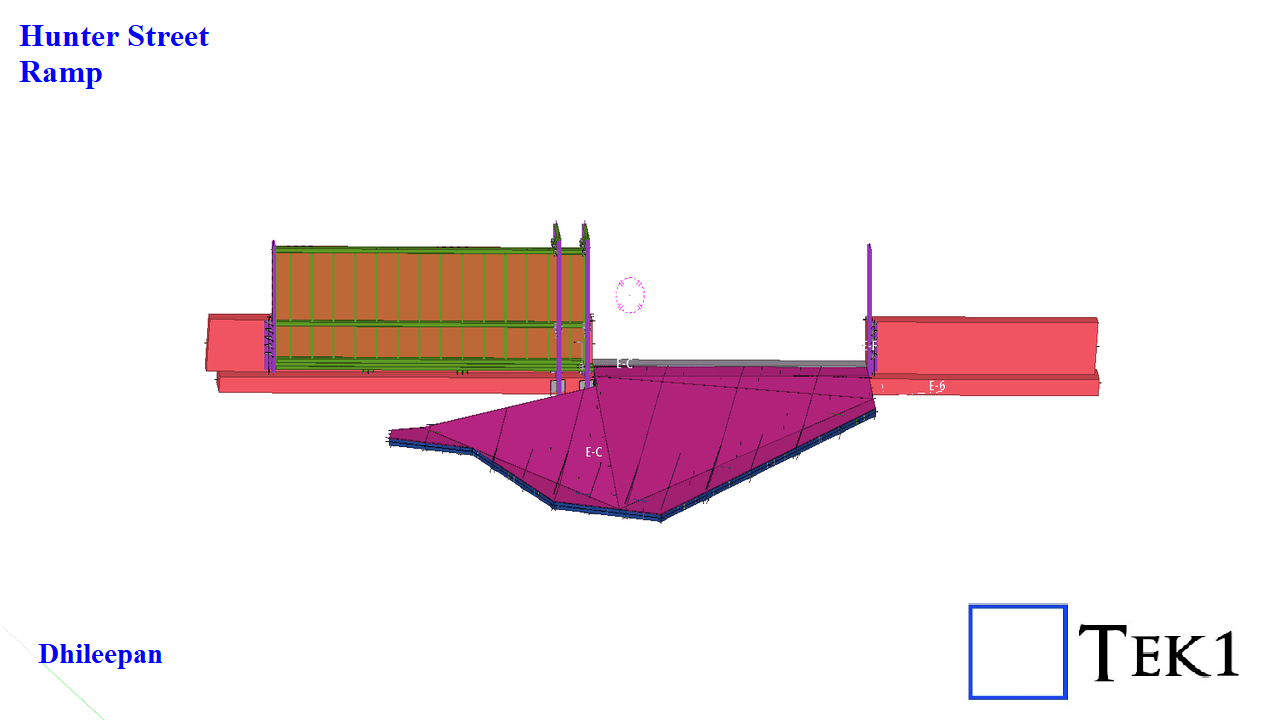
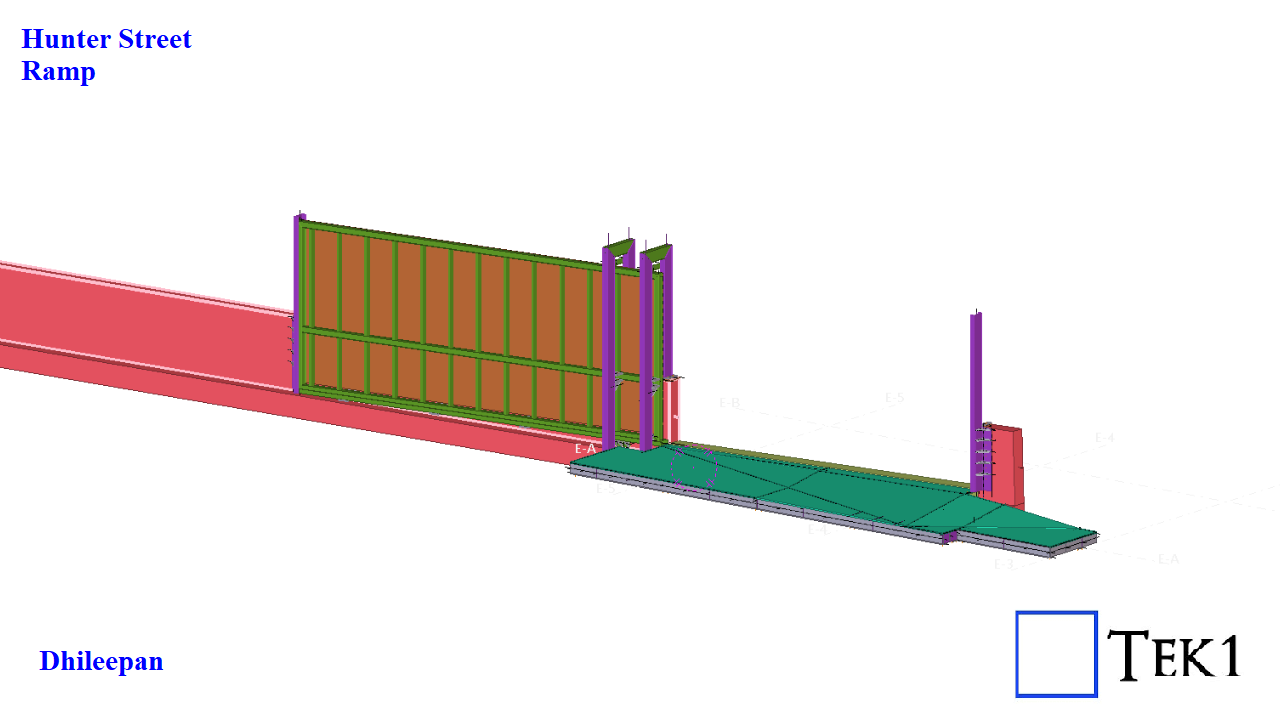
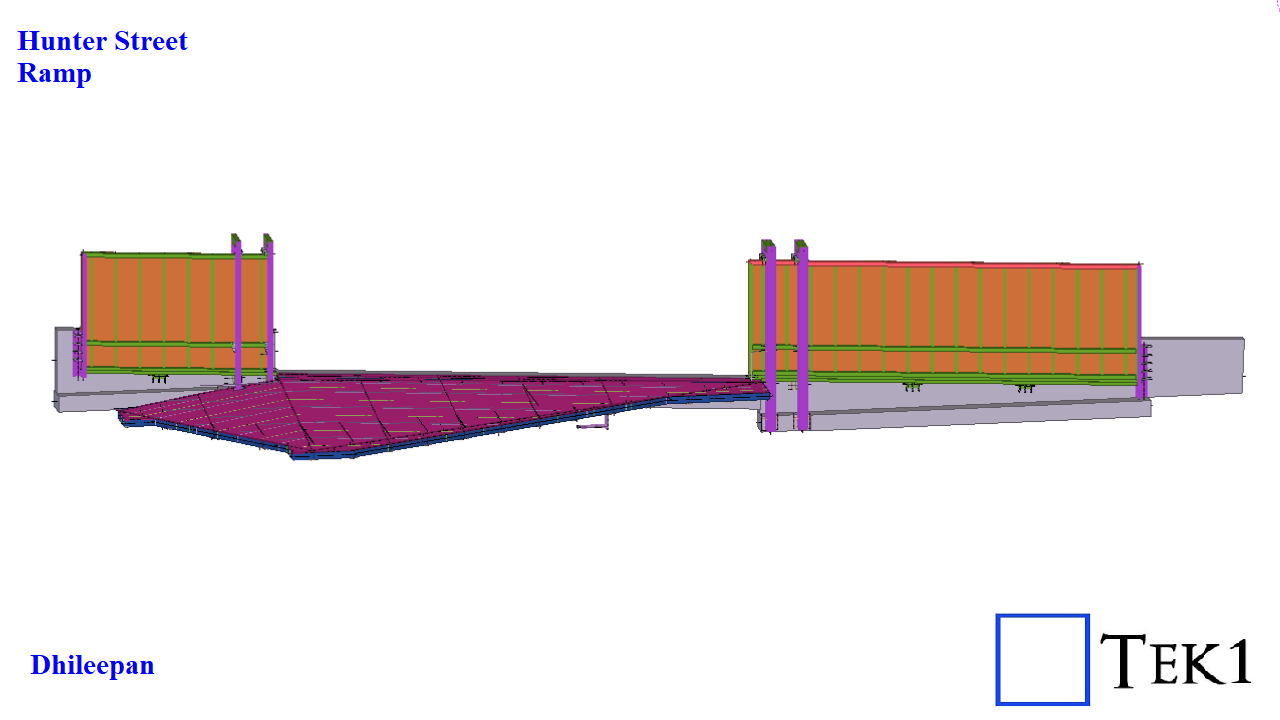
    The Hunter Street Project involves a total of three unique ramp and gate assemblies, each designed with a distinctive geometry and function.

    Unlike conventional ramps that slope in a single direction or follow a straight alignment, these ramps are far from ordinary. Each one features multiple slopes and apex lines, requiring precise modeling and coordination to achieve seamless transitions and accurate fitment on site.

    The associated gate systems include both single-leaf and double-leaf sliding gates, each integrated carefully with the ramp slopes to ensure smooth operation and proper clearances.

    Structurally, each ramp is composed of a series of 4 to 8 frames.
    Every frame includes:

    • A chequer plate deck at the top for slip resistance and durability.
    • A base plate at the bottom for connection and stability.
    • Waffle-type stiffeners sandwiched between, providing rigidity while minimizing weight.

    This setup requires engineering precision and modeling expertise. Tek1 had to provide inputs and suggestions to design the slopes in a way that ensures smooth operation of the sliding gates without imbalance.

  • TEK1’s Steel Detailing for Sydney Metro – Resolving Design Challenges – 5

    TEK1’s Steel Detailing for Sydney Metro – Resolving Design Challenges – 5

    We hope you found our previous blogs on the Sydney Metro project insightful. If you missed them, check them out.

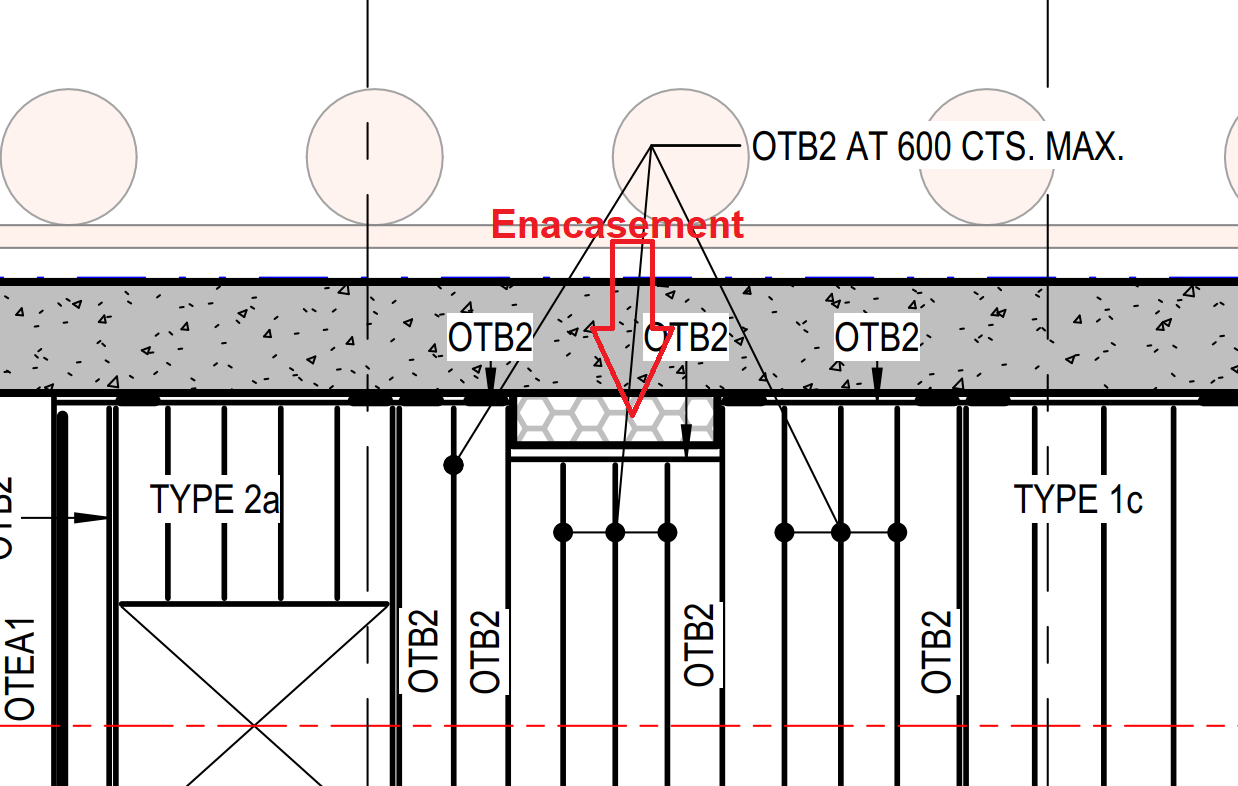
    In this blog, I’d like to share an important lesson about concrete encasement for conduits that every steel detailer should keep in mind.Normally, conduit encasement falls under electrical scope, so detailers don’t focus much on it. However, the encasement’s location and size can directly affect the steel layout — as we discovered in one of our projects.

    We detailed the steel as per design drawings, but on-site, the encasement dimensions varied. Some conduits were larger, others smaller, which caused clashes between the steel and the encasement, and in some areas, created unwanted gaps. This required on-site modifications to our steel.

    When detailing steel near conduit encasements, always verify the actual encasement size and location before releasing fabrication drawings. Small checks early in the process can prevent major issues and rework on-site.

  • TEK1’s Steel Detailing for Sydney Metro – Resolving Design Challenges – 4

    TEK1’s Steel Detailing for Sydney Metro – Resolving Design Challenges – 4

    We hope you found our previous blogs on the Sydney Metro project insightful. If you missed them, check them out.

    In this blog, I’d like to share another connection detail we proposed to the structural engineer on the Sydney Metro project

    Since this is a metro project, fireproofing sheets are required on steel members as per the structural engineer’s specifications. However, the original connection details provided by the engineer were not feasible interms of installation of fireproofing sheets — they would make installing the fireproofing sheets difficult and time-consuming.

    Please see the connection details below. These are the standard connection details typically used for the steel members.

    However, applying these as-is may create difficulties during the installation of the fireproofing sheets.

    We identified this issue early in the detailing stage and proposed alternate connection details that would allow easier installation of the fireproofing sheets without compromising the structural requirement.

    The engineer reviewed our proposal, suggested a few adjustments like thickness changes, and then approved our updated connection details.

    Catching these issues early during detailing avoids major headaches later for installers and saves valuable time on-site

    Stay with TEK1 for more updates on this sydney metro project

  • How TEK1 Solved the Complicated Star Node Puzzle in Great EMU in the Sky

    How TEK1 Solved the Complicated Star Node Puzzle in Great EMU in the Sky

    At TEK1, we believe great detailing is more than just precision—it’s about understanding real-world challenges and turning complexity into clarity.

    The Challenge

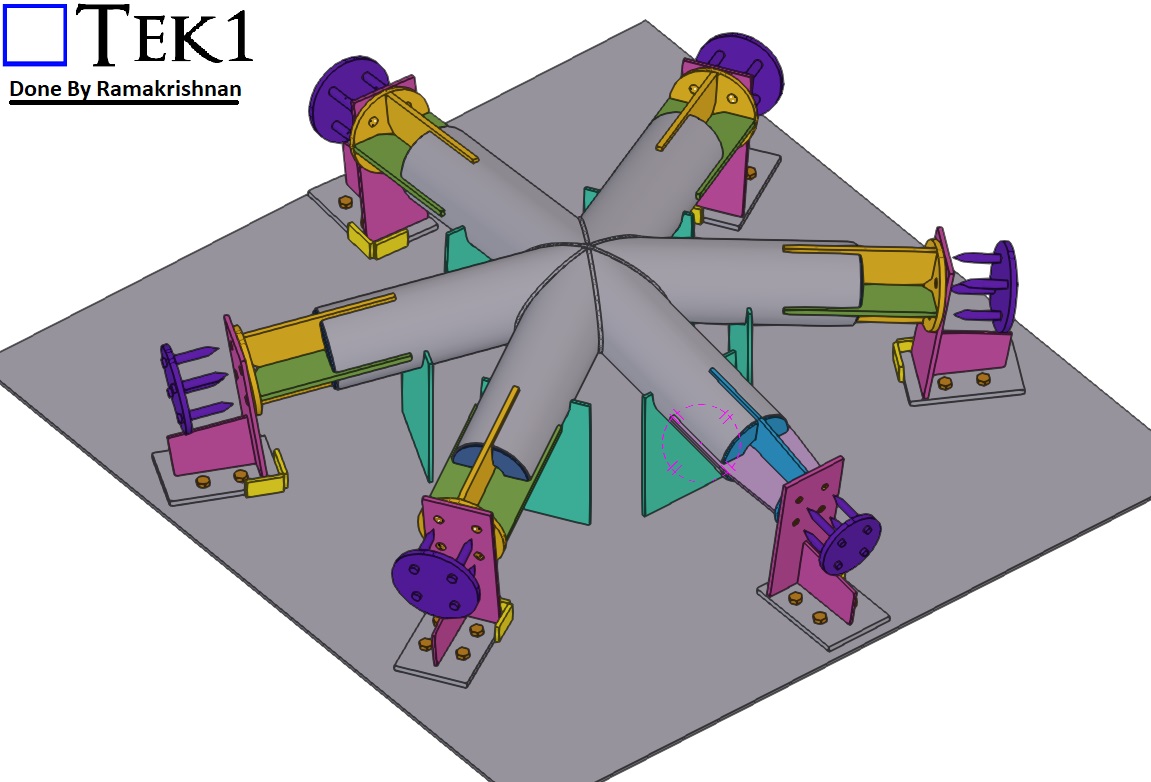
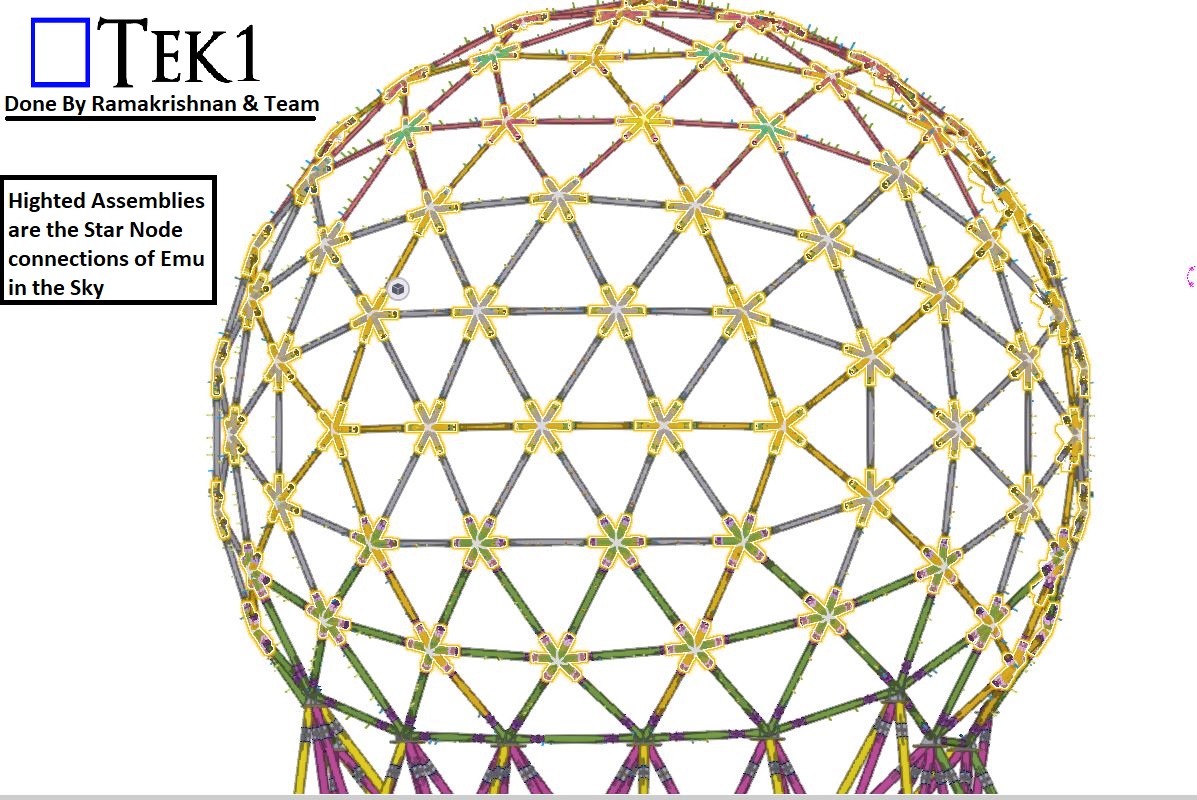
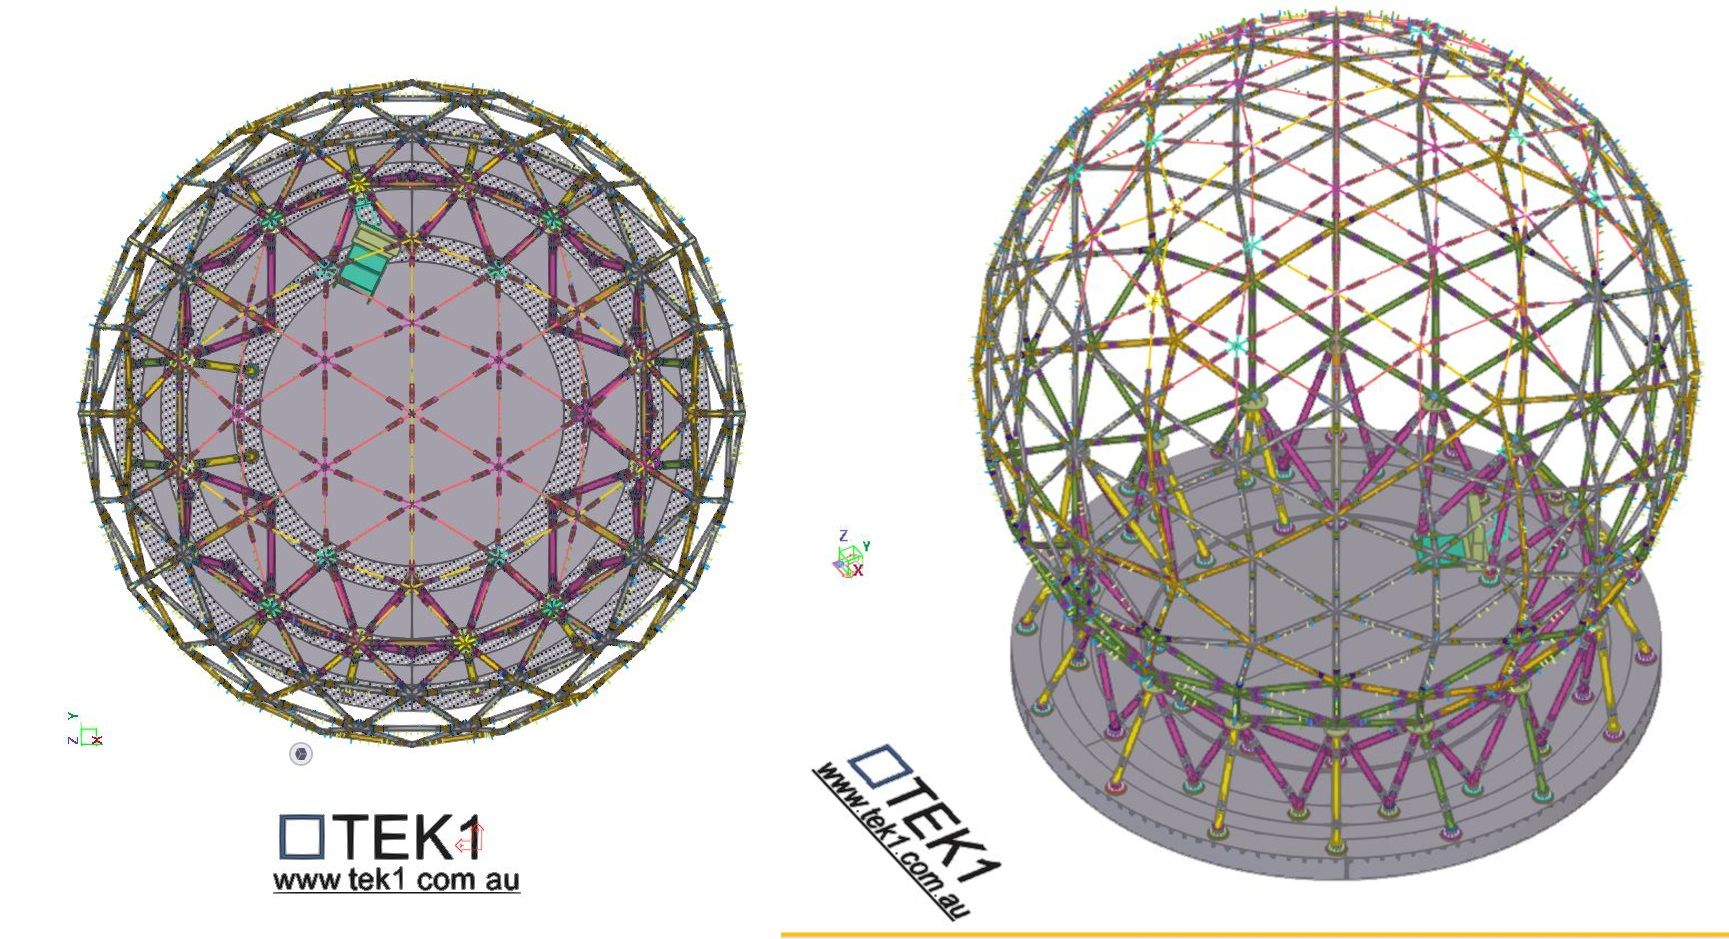
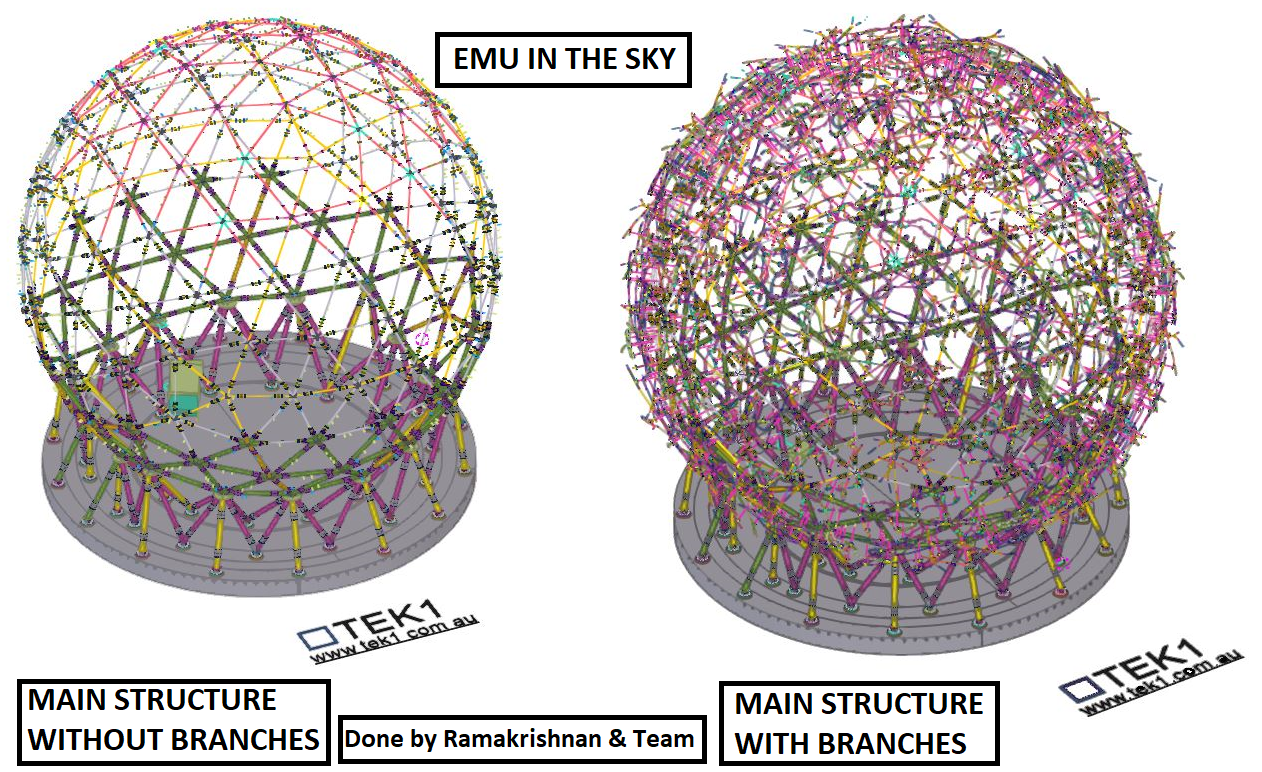
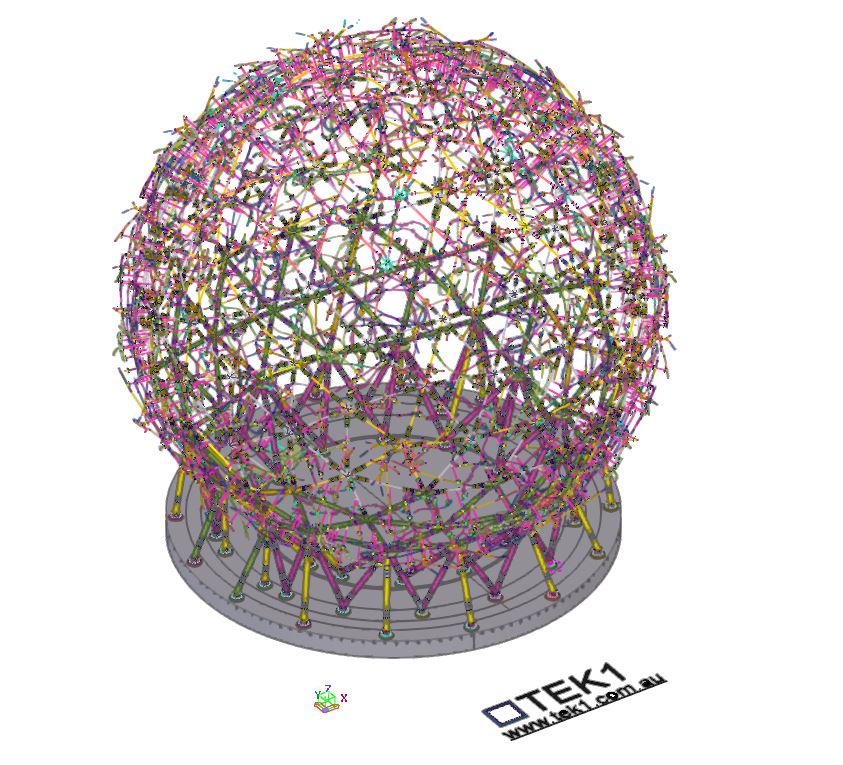
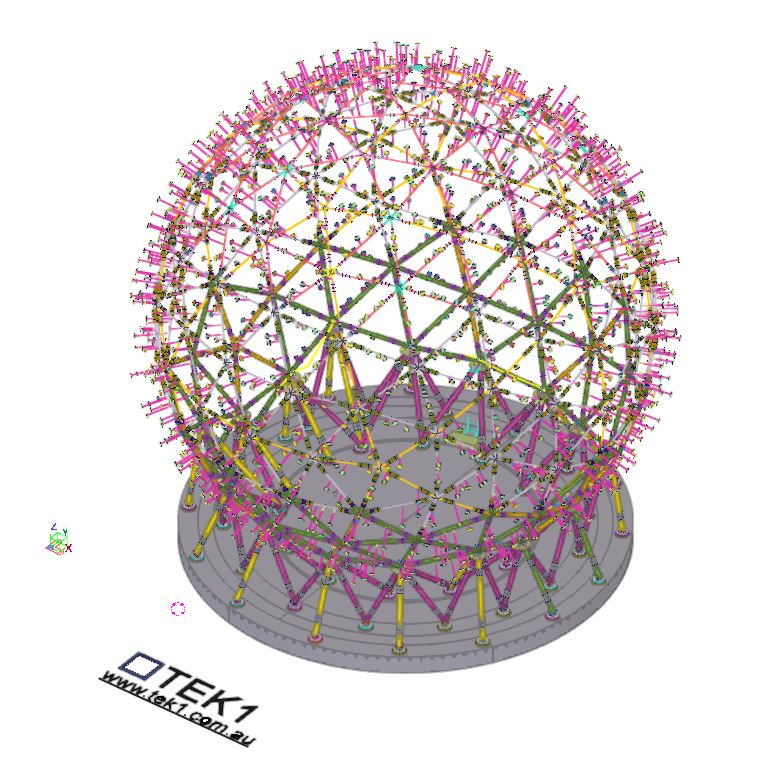
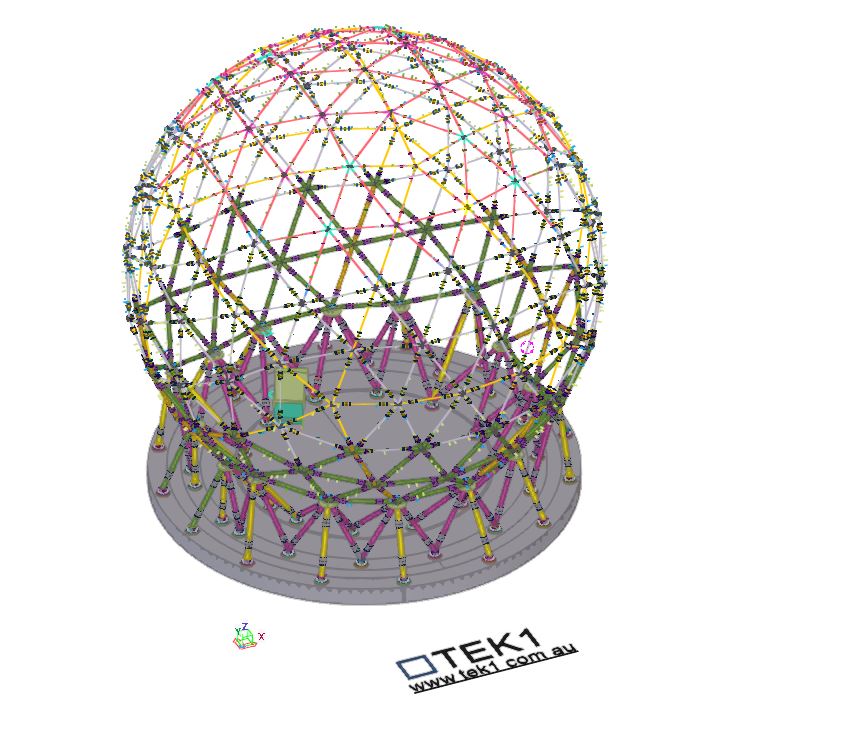
    The Great EMU in the Sky project presented one of the most unique and technically demanding structures we’ve ever worked on—a 30-metre-wide globe made up of 128 intricate “star nodes” connecting the bracing members.

    These nodes weren’t ordinary joints. Each featured 5 or 6 connection points and came in three different CHS sizes, with every arm set at unique, non-repeating angles.

    For the fabrication team, this posed a significant challenge:

    • 128 Complex Star Nodes, each with custom angles
    • Inconsistent geometries
    • Time-consuming and difficult to fabricate accurately

    Even with precise 3D modelling, the practicality of fabrication was proving to be a serious bottleneck. Something had to change.

    The Turning Point

    That’s when TEK1 took the initiative.

    Rather than simply delivering a model and walking away, we engaged directly with the fabricator to understand the issue from their perspective. We realized that even the most accurate detailing wasn’t enough—what the team needed was smarter, fabrication-friendly solutions.

    The Solution

    Our detailing team re-engineered how the star nodes were documented, presented, and ultimately fabricated. Key solutions included:

    • ✅ Custom fabrication jig design: We developed a dedicated jig that allowed star nodes to be fabricated with greater ease and precision, regardless of the angle configuration.
    • ✅ Standardized node sub-groups: We grouped similar nodes together to reduce variation and streamline production.
    • ✅ Detailed templates: For common angle types, we provided accurate templates to guide fabrication.
    • ✅ Visual fabrication aids: Clear drawings showing exact cuts, welds, and orientations for every node.

    The Result

    • ⚡ Faster fabrication times
    • 🎯 Improved accuracy and alignment
    • 🔁 Reduced rework and error rates
    • 🤝 Stronger collaboration between design and workshop teams

    Most importantly, the fabricators were able to work with confidence, knowing each node would come together exactly as intended.

    Taking Detailing to the Next Level

    This project reinforced one of TEK1’s core values: true excellence in detailing comes not just from precision—but from empathy. When we truly understand the needs of the people building the structure, we unlock practical, buildable solutions.

    The Great EMU in the Sky is more than a globe—it’s a powerful example of what happens when detailers and fabricators work together as one team.

    📢 Call to Action:

    🚀 Have a complex structure or fabrication challenge? Partner with TEK1—where technical expertise meets buildability.

  • TEK1 Brings the ‘Great Emu in the Sky’ Sculpture to Life for Sydney’s M12 Motorway

    TEK1 Brings the ‘Great Emu in the Sky’ Sculpture to Life for Sydney’s M12 Motorway

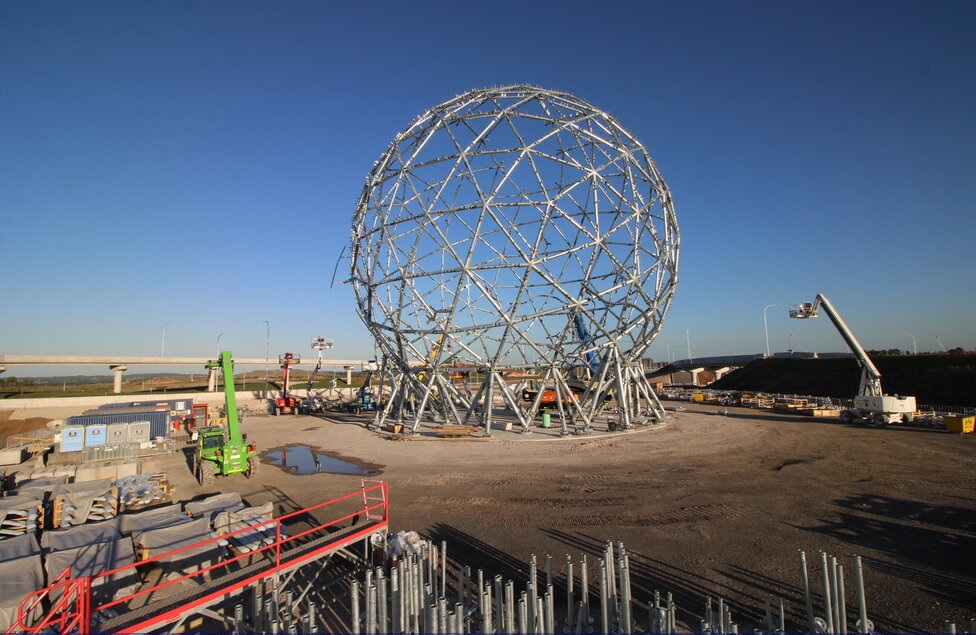
    TEK1 is proud to be part of an iconic project—the ‘Great Emu in the Sky’ sculpture, a monumental 30-meter-high emu nest that will stand as a cultural landmark along Sydney’s M12 Motorway.

    A Symbol of Dharug Heritage

    The peanic structure celebrates the Dharug Community’s sacred creation story of the Great Emu constellation.

    A Landmark Visible from Land & Sky

    Positioned for maximum visibility, the sculpture will be seen by:

    • Road users
    • Pedestrians
    • Sydney Metro passengers
    • Even planes approaching and departing Sydney Airport

    Blending Art, Culture & Engineering

    The steel artwork will take on different forms depending on the time of day and viewing angles:We look forward to seeing this one-of-a-kind sculpture take its place in Sydney’s landscape, honoring history while welcoming the future.

    • By day, it will resemble an emu nest, crafted from signature steel “sticks” that reflect the natural landscape and traditional materials of the Dharug people.
    • By night, it will illuminate and reveal two emu forms, visible only from certain perspectives—mirroring the Great Emu constellation as it shifts throughout the six Aboriginal seasons.

    TEK1’s Role in Detailing the Sculpture

    A lot of technical challenges were navigated to ensure that this complex structure, could be fabricated and erected, cheaply and efficient. We will document this on our blog if you’re interested.

    Please refer to the below video which represents the various stages of on-going erection