
Category: Precast Blogs

Tek1 has detailed over 100,000 precast panels over 19 years.
over 90,000 were detailed under a proxy name Advanced Pretty Pictures Pty Ltd

PRECAST PANEL DETIAILING
EXPERT PRECAST PANEL DETIAILING
  • Identifying Duplicate Panel Names (+Video Demo)

    How are you going to identify one duplicate in a sea where everything looks the same?
    How are you going to identify one duplicate in a sea where everything looks the same?

    Duplicates are a problem – an expensive problem, especially if you are dealing with hundreds and perhaps even over a thousand panels. Somebody cocks up – usually on the client side – but how are you meant to identify it?

    You could manually do it, but then that will more than likely take a long time. Or you could just employ Tek1 to do that sort of thing for you. Here is a video demonstration:

    Identify Duplicate Panel Names In Precast Panel Detailing from Tek1 on Vimeo.

    Features:

    • It can work for all clients with only very minor modifications. Very well abstracted out in the code.
    • It is super fast. Comparing the thousands of elements in each drawing takes a bit of computing power – but with smart algorithms, you can cut down the time.
    • It can work in the marking plan and elevation or layout. The same code, the same command, but x3 the power.


    Example of Well Abstracted Code:
     

  • Comparing Panels Demo – This Time from the Shop Drawing to the Elevation!

    Showing a sample elevation panel with deliberately misplaced panel elements.
    Showing a sample elevation panel with deliberately misplaced panel elements.

    This is big. Huuuuge! I’ve talked before about our ability to easily cross check between the Layout and Shop drawings. Now you can cross check from the other direction – when you are in the shop drawing, you can now check the corresponding panel which exists in the layout.

    You can clearly see any differences.

    So now if someone moves a ferrule or a cast in plate etc. you will be able to easily see those changes.

    It could save you from some expensive errors.
    Here is the demo. I hope you enjoy it!

    Compare and Import Difference From the Layout Into Shop Drawings from Tek1 on Vimeo.

    Features:

    • It can work for all clients with only very minor modifications. Very well abstracted out in the code.
    • It is super fast. Comparing the thousands of elements in each drawing takes a bit of computing power – but with smart algorithms, you can cut down the time.
    • It works for all sorts of edge cases – what if the panel was made up of arcs, polylines and straight lines – this plugin can handle all sorts of things. It can also handle voids.
  • Generating Bubble Deck Precast Order Forms From Excel To AutoCAD (Bubble Deck, AutoCAD .net)

    Ordering thousands of items in a layout is not easy. Order efficiently with Tek1!
    Ordering thousands of items in a layout is not easy. Order efficiently with Tek1!

    This is a demonstration of how we use Excel-Add ins and AutoCAD plugins to simplify the process by which order forms are created for Precast panel jobs.

    Please watch the below video:


    Print Bubble Deck Order Forms from Tek1 on Vimeo.

  • Checking for Panels with Nibs – Precast Detailing (+ Video Demo inside)

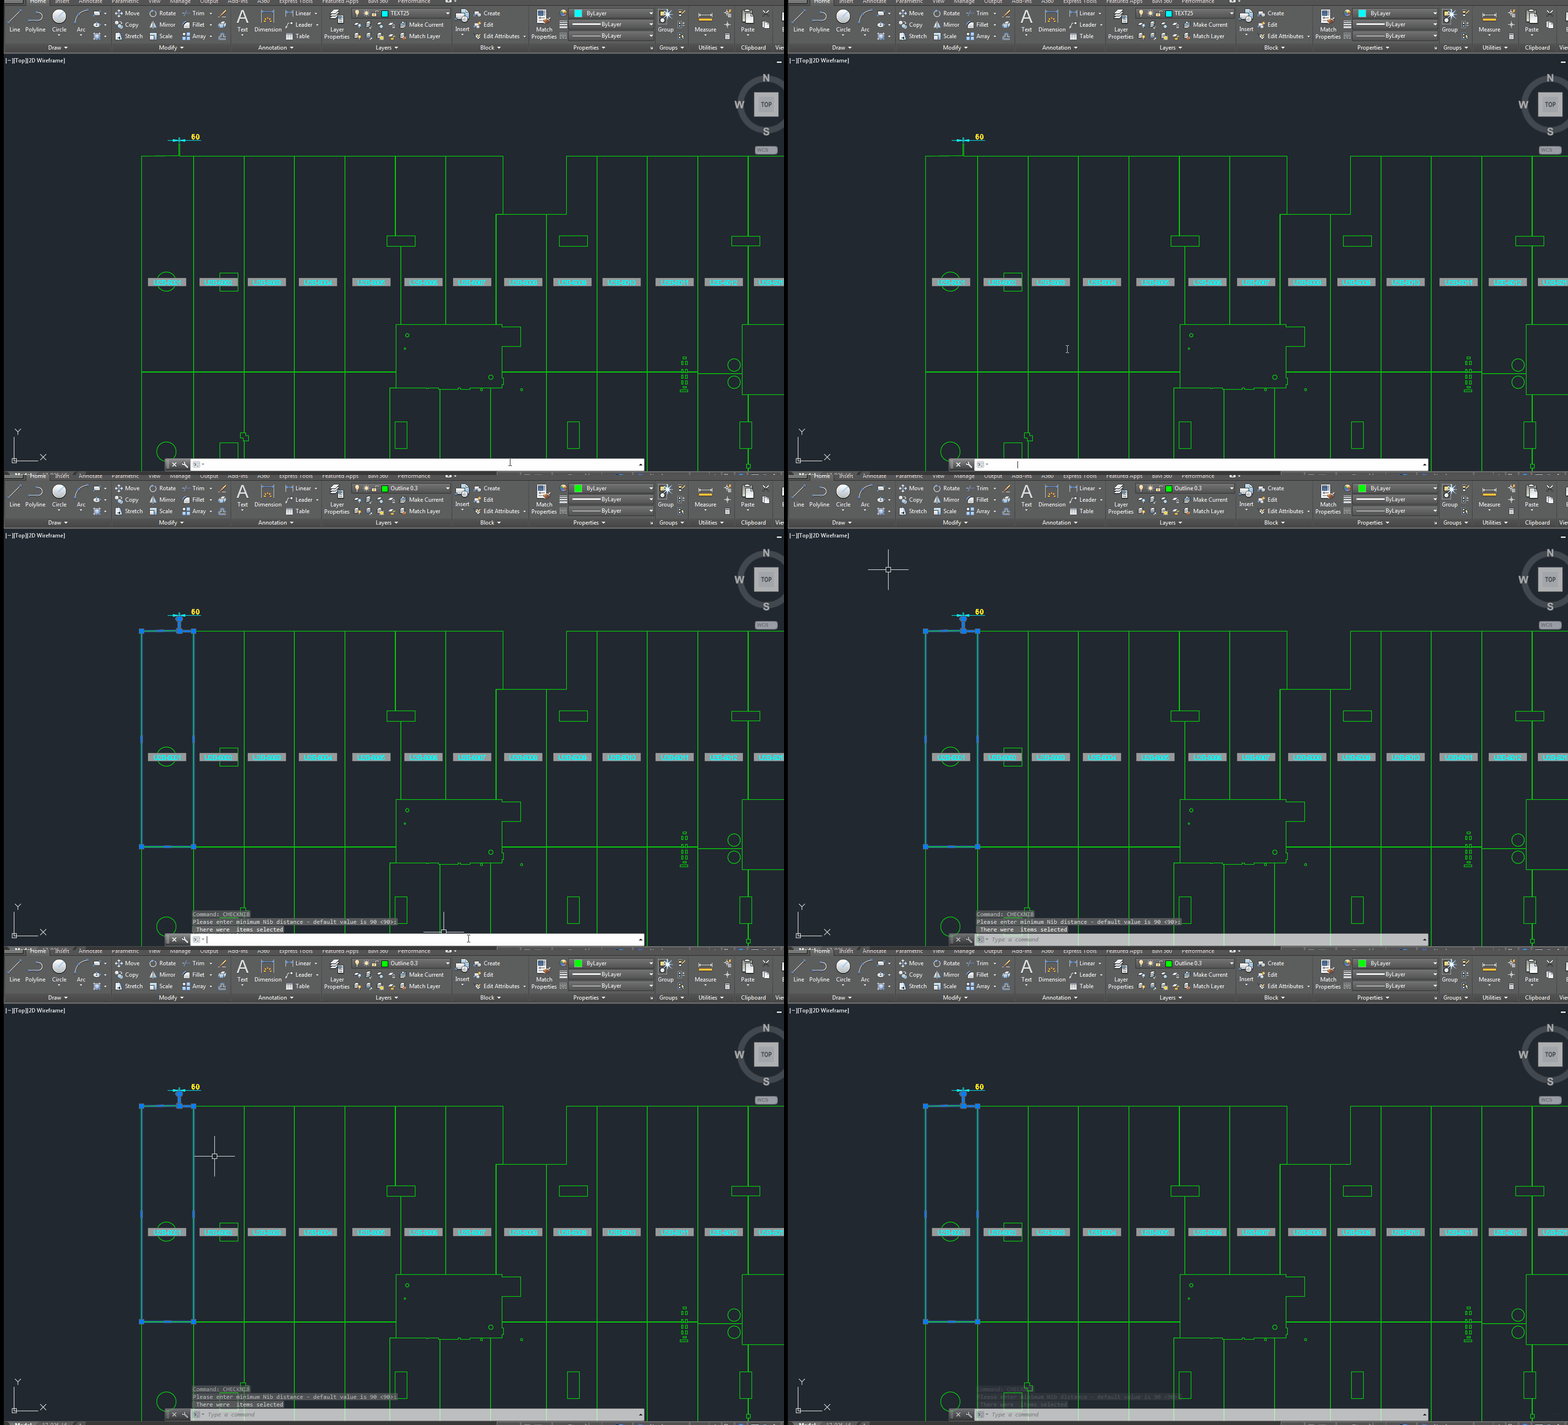
    A gif showing how easy it is to check for nibs on bubble deck slabs using my command.

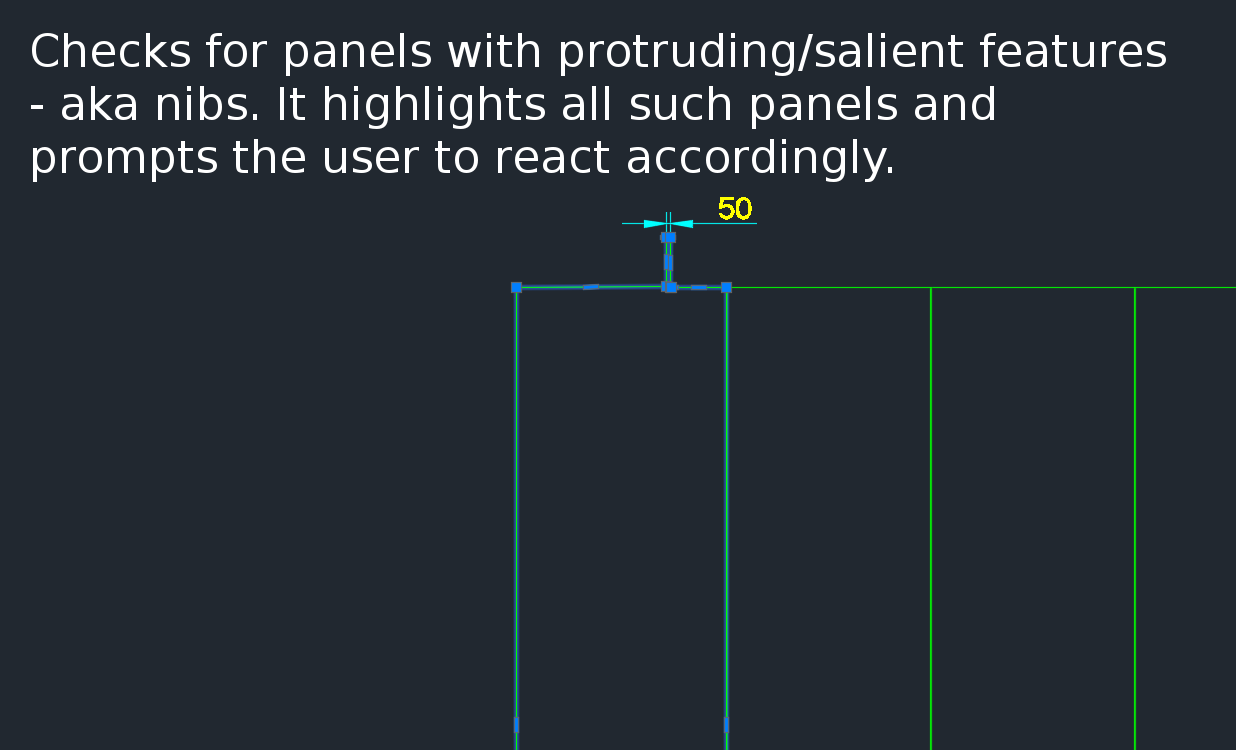
    A gif showing how easy it is to check for nibs on bubble deck slabs using my command. There are certain panels which we have that have protruding elements – salient features. These can be problematic if they go to production unnoticed. Given there are entire teams of people doing things, it can be hard to track – people forget that they cannot draw a panel with such a dimension.

    This is a plug in which enables one to easily identify all such panels with nibs like this:


    There is a need to identify panels with protruding features because they could be problematic if fabricated.
    There is a need to identify panels with protruding features because they could be problematic if fabricated.


    Here is a video demonstration:

    Bubble Deck Detailing – checking for panels with salient features from Tek1 on Vimeo.

    Summary:

    • This procedure and command saves us and the fabricator a lot of time and money.
  • Ferrule Comparison – How to check for clashes in the starter bars for two adjacent panels (Demo Video)

    How are you going to ensure that the starter bars do not clash? You’ve got 1000s of panels to detail and a dozen detailers working on different projects. How are you going to manage this?


    What is the problem?

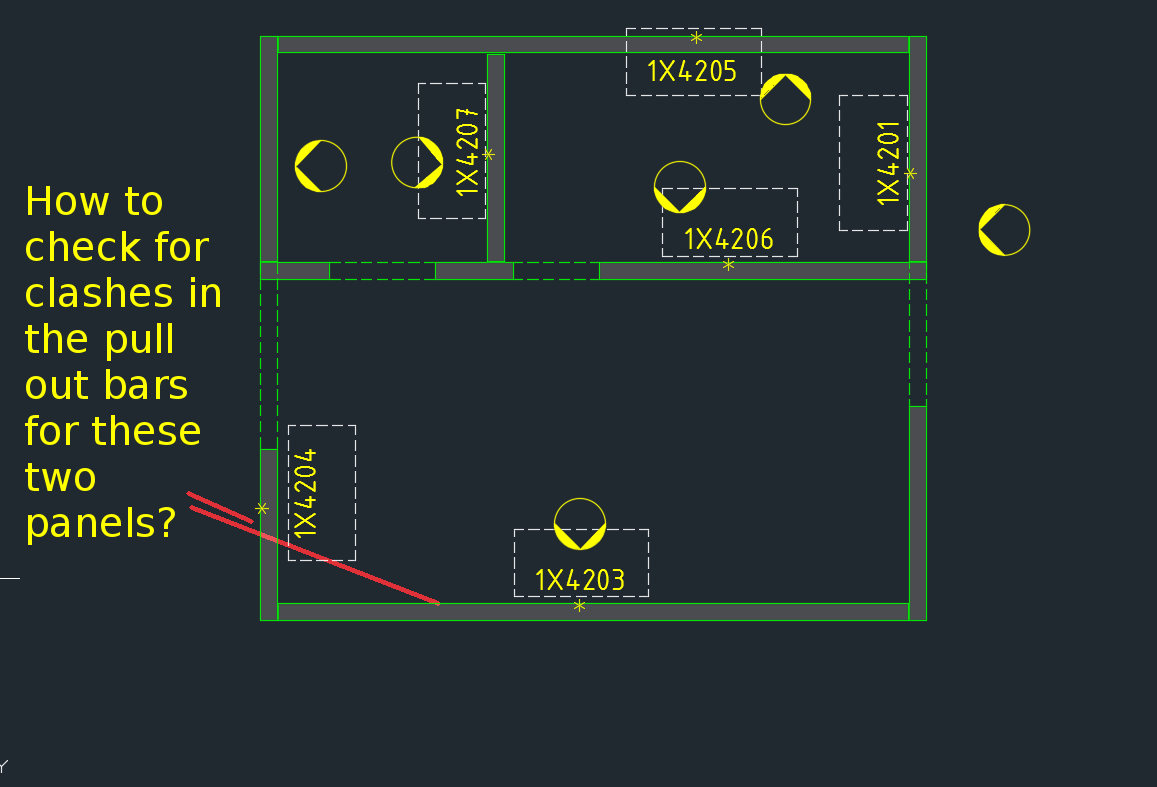
    Consider this situation – you’re got a marking plan in front of  you. You want to make sure that the ferrules in corner panels do not clash. How are you going to do that?

    How would you solve the problem?

    You’d have to find the corner panels, and then go to the appropriate drawing – both of them mind you – and you’d have to make sure that they are at different heights. That can get very tedious and it’s very time consuming, and more than likely, you’ll make some mistakes – because the panel elevations might not be adjacent to each other.

    It’s not the easiest thing to see and compare in AutoCAD.

    What is a better way to solve the problem?

    But now you have a tool which allows you to easily compare the heights of the ferrules in two panels, straight from the marking plan.

    There’s a lot of code and logic which goes with this. Perhaps I will outline it in another blog post.

    Code Synopsis

    For a very, very brief description of the overall route used, you can check out the code synopsis from my sister blog here. There I post the base class and interfaces used to derive the result – but have excluded all the implementation details.

    Video Demonstration

    Here is the video demonstration – and yet another example of the type of technologies and innovations you will have at your disposal if you work with us:

    Checking for Clashes in Starter Bars between different panels from Tek1 on Vimeo.

    We’re always pushing for better, faster and more efficient.

  • What is concrete cover? Why is it important? (Precast)

    What is concrete cover?

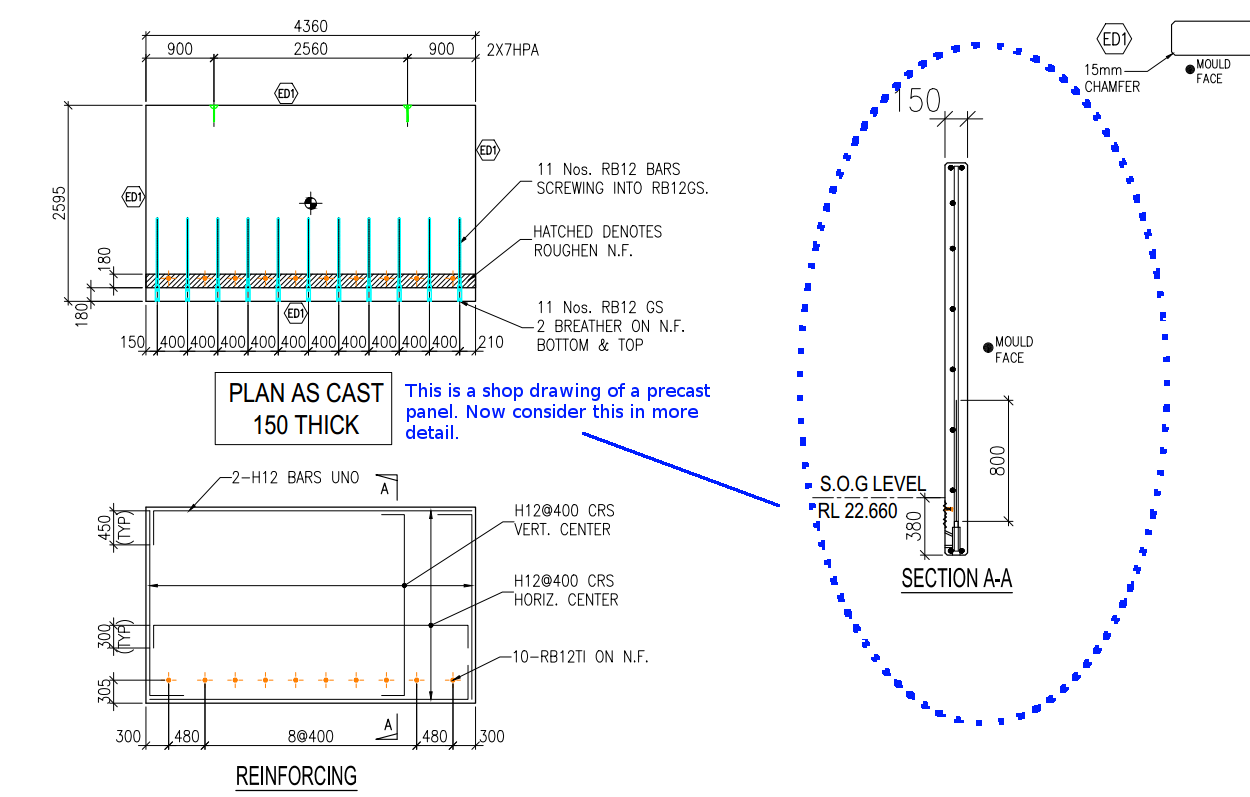
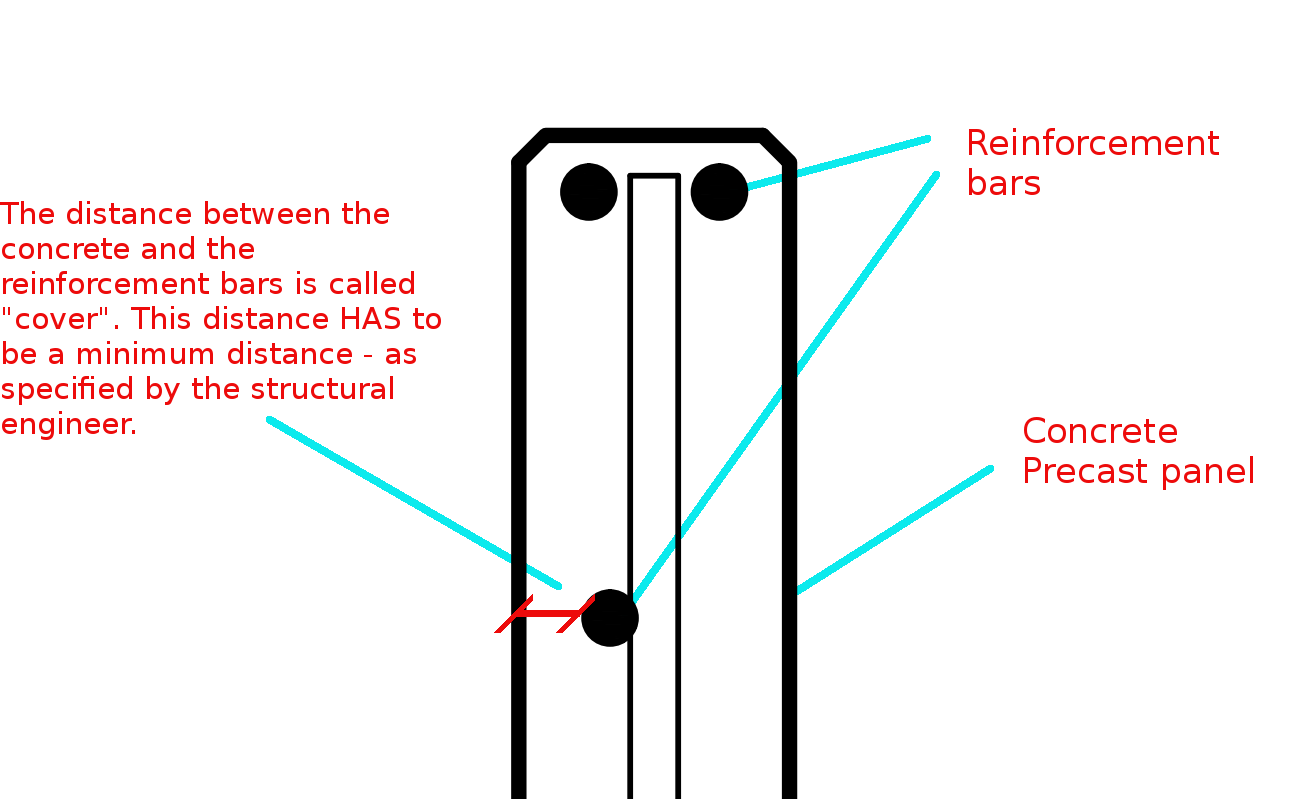
    Cover refers to the distance between the outside of a concrete structure and the reinforcement. Perhaps see  this from the diagram below:


    General overview
    This is a general overview. Now let us zoom in and see more detail.


    Concrete Cover Detail
    The distance between the concrete and the reinforcement bars is called “cover”. This distance has to be a minimum distance – as specified by the structural engineer.

    You need to  have a minimum cover:

    There needs to be a minimal distance between the reinforcement bar and the outside of the panel.

    Why do you need this?

    Reduces Corrosion
    • Having a decent amount of cover reduces the rate of the corrosion of those reinforcement bars. If you have only 5 mm of cover – if the bar is literally just below the surface of the concrete, then that reinforcement is going to corrode away very quickly – especially if you are close to the sea. This means that the concrete will lose its strength very quickly, and a catastrophic failure might be on the cards. That’s why it is very important that the concrete does indeed have some minimal cover.
    To Improve the Structural Integrity of the Concrete:         
    • If you have the reinforcement bar too close to the concrete, then the structural integrity of the structure will be somewhat compromised.
    Fire Protection:            
    • If at all there is a fire, you don’t want the reinforcement bars igniting. If it does then the fire is sure to blaze out of control. That’s another reason why it’s very important that the bars some minimal distance away from the surface of the concrete. That will better enable the structure to remain in tact if at all there is a fire.

    A Response to a Reader’s Question:

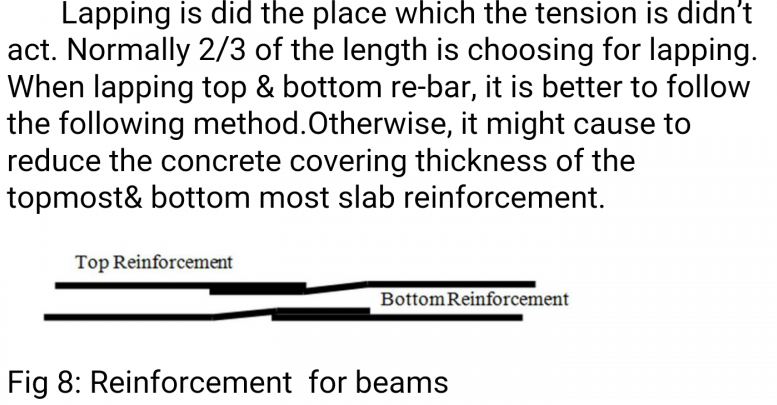
    A diagram attached with a question from a reader.
    A diagram attached with a question from a reader.

    “(Q1) It appears that one of the lapped bar is bent while the other isn’t. Or is it just a drawing convention problem?”

    (Q2) I don’t get why the lapped bars have to be positioned differently when placed on the top vs at the bottom in order to ensure that the concrete thickness will not reduce, as stated in the figure. My thought is that both positioning ways occupy the same volume.

    The answer to this question is best understood by studying the below diagrams:

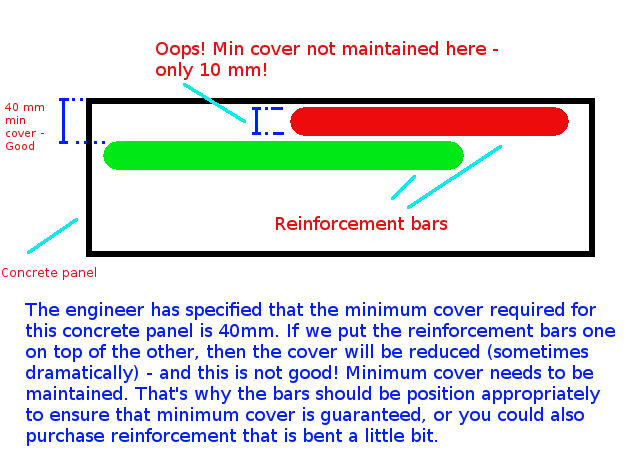
    Minimum Concrete Cover
    Caption: The engineer has specified that the minimum cover required for this concrete panel is 40mm. If we put the reinforcement bars one on top of the other, then the cover will be reduced (sometimes dramatically) – and this is not good! Minimum cover needs to be maintained. That’s why the bars should be position appropriately to ensure that minimum cover is guaranteed, or you could also purchase reinforcement that is bent a little bit.
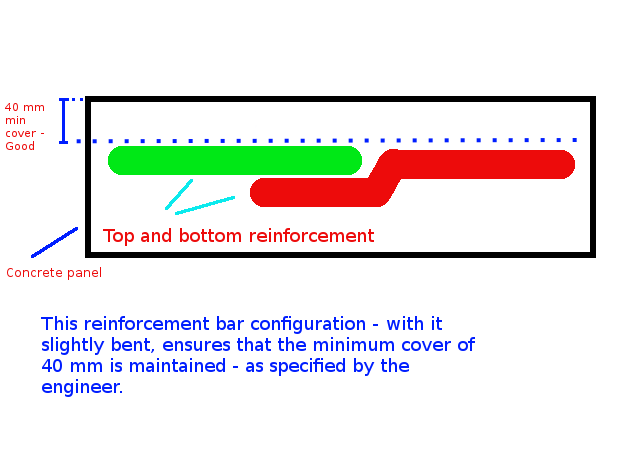
    Cover with Bent Reo
    Caption: This reinforcement configuration – with the reo slightly bent, ensures that the minimum cover (in this case 40mm) is maintained – as specified by the engineer.

    The Answers to the Questions

    (A1) When I draw reinforcement, I do not add a lot of the essential details which are assumed to be standard workshop practice. We are required to maintain a minimum cover. The diagram you have posted above is an example of what actually occurs in practice (but is almost never drawn that way). The reason it is bent is to ensure that the minimum cover requirements are not compromised.

    (A2) That is absolutely correct – the panel’s thickness will not be reduced, but the thickness of the cover will change, depending on how one places the “reo” (reinforcement) rods.


  • Bubble Deck Panel Outline – Fire Collar Clash Check (Precast – Bubble Deck)

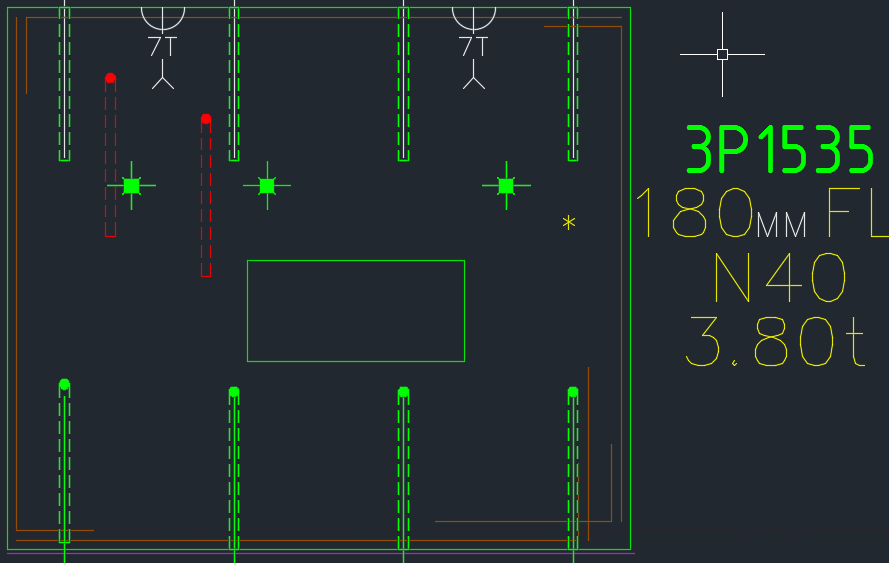
    We’ve been noticing an increasing problem in that certain items are clashing with BubbleDeck Panel outlines. In order to eliminate these types of errors we’ve instituted a new check in our procedures. Everyone is now required to specifically check for this type of situation. This adds to our check list which is already quite long. I go into further explanations below in a video.

    Fire Collar Clash Check with Panel Outline. This is becoming a problem so it is now a check against it.


    Bubble Deck – Clash Check With Panel Outline from Tek1 on Vimeo.


  • Finding Blocks “Colliding” with Shear Lig Points (AutoCAD .net, Precast – Bubble Deck)

    Showing Blocks Close To Shear Lig Points

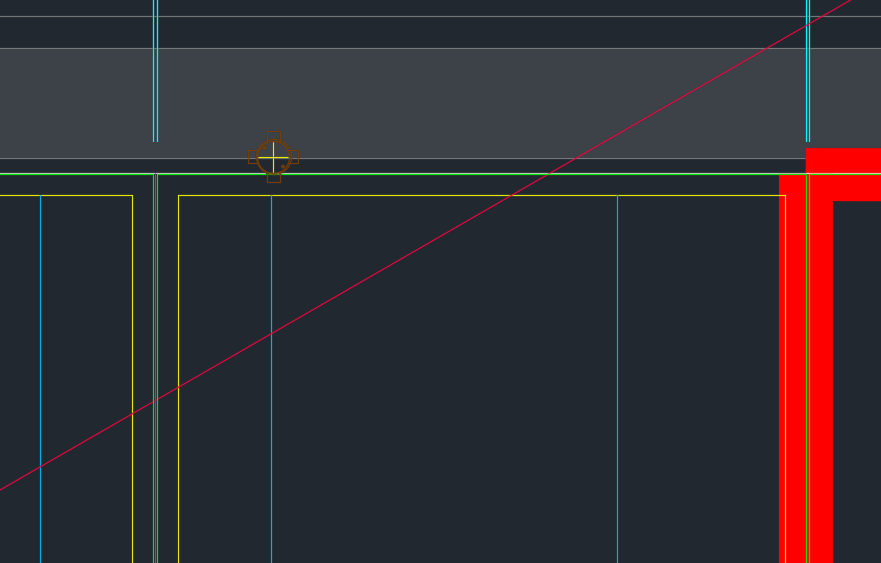
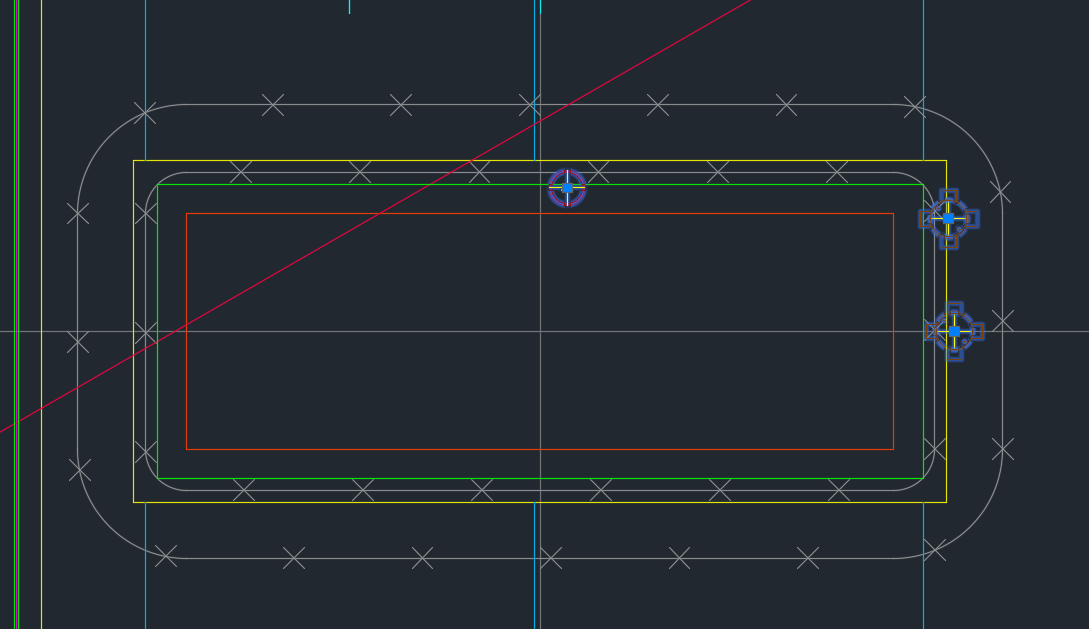
    It’s a common problem apparently. There are far too many block references placed a little too close to those pesky shear lig points. It takes discipline, but when you have 5-10 people all working on the same drawing, with different practices, it’s something that’s really easy to miss, but really expensive to discover.

    So I developed a tool to take care of it.

    Here is the video demo:

    Checks for Clashes against Shear Lig Points from Tek1 on Vimeo.

    Thanks for stopping by!

  • How Tek1 solves the problem of Ordering Items in Precast Panel Detailing Projects (Precast)

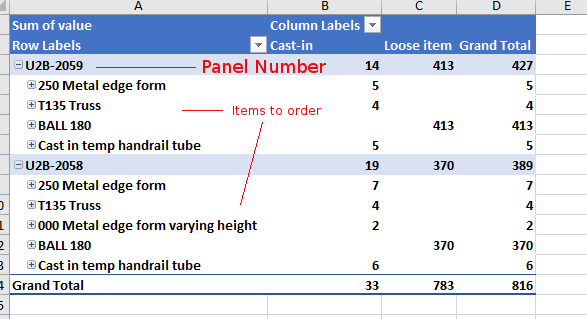
    Demonstrates the output of Tek1 Order forms – in precast projects.
    Counting Items is difficult

    Ordering parts in precast panel projects is tricky. You need a BOM (Bill of Materials). You need to know what you need and how much. When there are thousands upon thousands of parts – that can be a very tricky endeavour.

     Why should you bother counting inventory?

    It all comes down to money. And how much of it you tie up in your inventory. And how quickly you’re gonna use it. Financial liquidity is like blood and oxygen. Without it, no organisation can survive. And you can maximise your liquidity (and profits too) if you manage your inventory well. You should be able to answer these questions:

    • How much inventory did you pay for?
    • How much inventory is in your shop?
    • How much did you use up in your projects?
    How Tek1 solves inventory problems: Demo Video

    We give you accurate numbers about what you’ve ordered. And what you need to order. This is how we come up with a Bill of Materials: