Have you ever created NC files for curved beams in TEKLA?
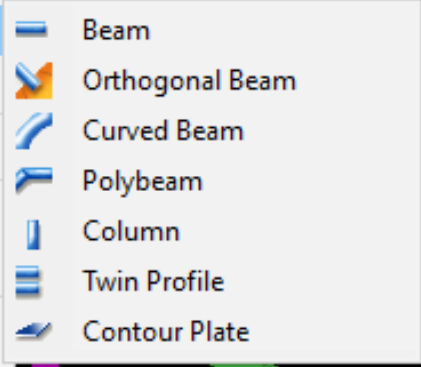
Generally, if you want to create an NC file for curved beams, the beams should be modelled using the Polybeam option. Because TEKLA will not create NC files for curved beams if you model them using the curved beam option.
Let’s consider the situation where you’ve done all the work using curved beams. But, If the fabricator asks for NC files for those beams, you will not be able to create NC files. You’ll have to rework the entire model.
To eliminate this kind of rework, we suggest you model the curved beams using Polybeam option in TEKLA.
Summary: “the DSTV standard does not support curved beams, so Tekla Structures does not create NC files for curved beams. Use polybeams instead of curved beams”