Category: Tekla API

A series of blog posts exploring the Tekla API.  Code examples, explanations and (where relevant) videos will be provided.

  • How to Debug a Tekla Plugin Without Restarting Visual Studio (Tekla Open API Tutorial)

    How to Debug a Tekla Plugin Without Restarting Visual Studio (Tekla Open API Tutorial)

    To my surprise, debugging is not a trivial exercise. Please watch the video to guide you on where to click etc.

    Source code – github repository of the tekla beam plugin.

    You need to follow the instructions listed here: https://developer.tekla.com/tekla-structures/documentation/debug-plugin-without-restarting-tekla-structures with the following notes and amendments:

    1. Add “set XS_PLUGIN_DEVELOPER_MODE=true” to the teklastructures.ini file and open Tekla Structures. – Trimble Documentation

    In order to add the flag above, you need to locate the ‘teklastructures.ini’ file: on my PC: it is here: `D:\Program Files\Tekla Structures\2019.1\nt\bin` (refer to the above URL) – it might be in the C: drive on your computer.

    Post Build Events

    For more information on post build events: https://learn.microsoft.com/en-us/visualstudio/ide/how-to-specify-build-events-csharp?view=vs-2022

    As you can see they are basically .bat files. Which means you can use “MS-DOS Batch File Language” or batch commands in there. The MSFT documentation suggests you can also use PowerShell (https://learn.microsoft.com/en-us/powershell/scripting/overview?view=powershell-7.4) script commands.

    Here is the post build event I used:

    The Tekla documentation is confused about where to paste the DLL – in some cases they say the ‘plugins’ folder, but in others, it is the ‘extensions’ folder. Yet elsewhere, different Tekla versions have different places where you can paste it. In my case, I have focused on the “extensions” directory.

    Warning: If you paste it into multiple locations, you may find that you cannot hit break points! The above link suggests the files should be copied into the .environments/common/extensions folder. I am taking that to mean, in actuality: the `Environments/common/extensions` folder. I am not pasting it into the `plugins` folder, but have opted for the `extensions` folder.

    If you want to use the plugins folder, follow these instructions: The dll containing the plug-in has to be copied into: \<Tekla Structures installation folder>\<version>\nt\bin\plugins. A sub-folder could also be created to store the dll. In my case, the plugin files are located here: D:\Program Files\Tekla Structures\2019.1\nt\bin\plugins\TestWPFBeamPlugin

    Setting up a macro:

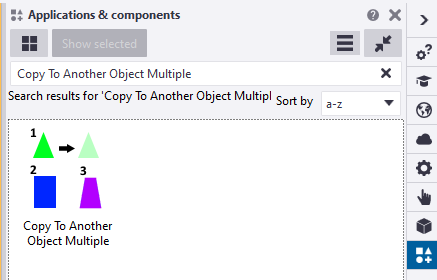
    Run the UI macro (Reloadplugins.cs) in the Applications & Components catalog on the side pane. We must set it up. In my system, the location is at the following:

    D:\Program Files\Tekla Structures\2019.1\Environments\common\macros

    Go there and copy the code noted in the above git gist. You can add an image if you wish to.
  • How to Get Drawing Revision Numbers

    How to Get Drawing Revision Numbers

    Couldn’t do it, because it’s not exposed. This is a hack that I used to circumvent:


  • Tekla API – how to select model objects via a picker

    Tekla API – how to select model objects via a picker

    Pretty simple: just selects a simple model object


  • Exploring a New Approach to Copying Objects in Tekla


    copy to another Object in Tekla


    Normally in Tekla, if we want to copy objects or components from one object to another, we have to follow these steps :


    • Select the objects and components you want to copy.
    • Execute the “Copy to Another Object” command.
    • Choose the source object.
    • Select the destination object.
    • The objects will be copied by reference, aligning their coordination system with that of the source object to the destination object’s coordination system.


    Please note that the coordination system is used to ensure the accurate positioning of the copied objects in relation to the source and destination objects.


    Macro: Copy to another object multiple


    The command “Copy to Another Object” poses an issue when used in Tekla. It does not allow the selection of multiple destination objects at once; instead, we can only choose them one by one. This limitation can be time-consuming, particularly when working on large projects.


    Tekla offers a macro called “Copy to Another Object Multiple” that fulfills the requirement of selecting multiple destination objects. This macro functions similarly to the command mentioned earlier. First, we need to select the objects before running the macro. Once the macro is executed, it prompts us to select an object. Then, we select one source part, after which we can conveniently use drag selection to choose multiple destination objects. Finally, press the mouse middle button.


    the snapshot was taken on Tekla version 2022


    You can find this macro in the Applications & Components catalog of Tekla Structures.


    Introducing a New Approach: The Modified Implementation for Copying Objects in Tekla


    The ‘Copy to Another Object‘ command works by copying objects in relation to the source object and pasting them according to the destination objects


    • The coordination system plays a crucial role in defining the position and rotation of a part in Tekla
    • It is primarily based on the start handle of the part
    • Altering the coordination system of a part is not possible


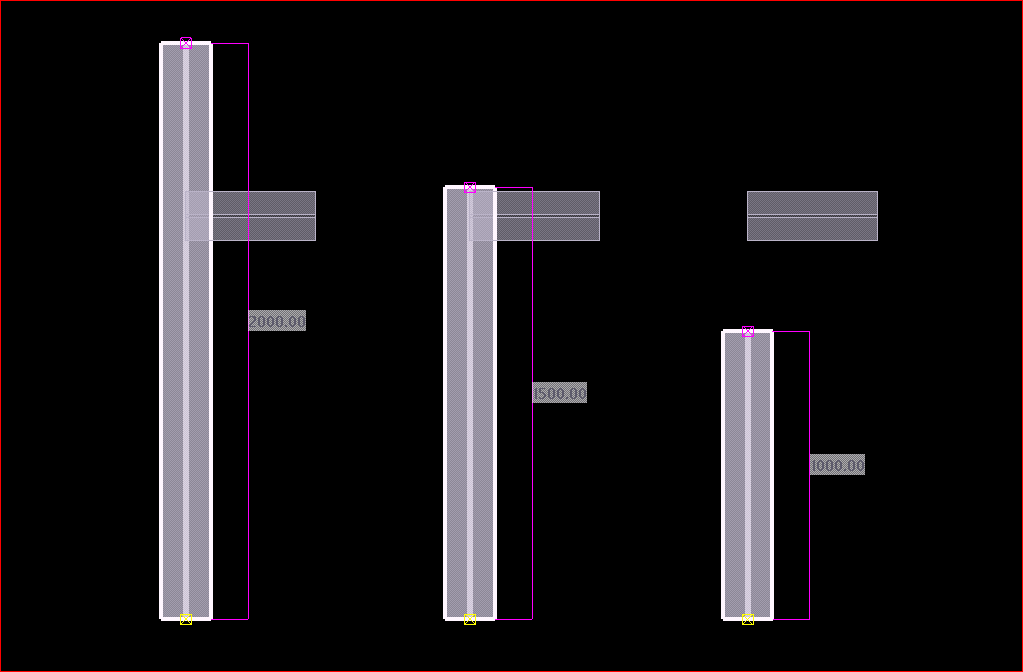
    If the destination object’s lengths differ from the source object, a problem arises where the objects are positioned based on the start point


    After copying the small beam to other destination objects of varying lengths


    In many situations, we often find ourselves having to manually utilize the ‘Copy Linear’ or ‘Move Linear’ commands to perform copying tasks.


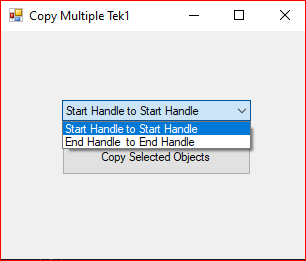
    We utilized the Tekla API to Create a new macro that helps to copy objects in relation to the end handle of the part. When executing this macro, it prompts the user to select the desired handling method for copying objects


    This is the dialog box that appears while running the modified “Copy Multiple Tek1” macro.


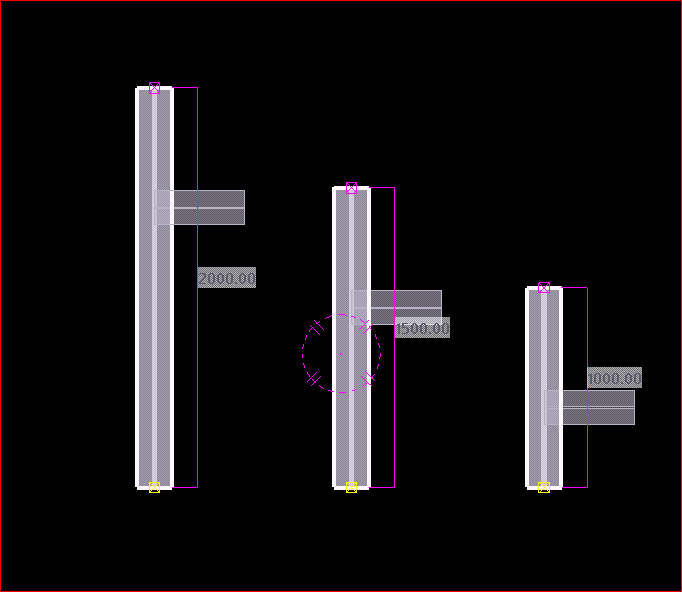
    When the “End Handle to End Handle Copy” option is selected, the operation produces an outcome that is similar to the image shown.

    members of the Tek1 organization can download the tsep installer file of the above macro by clicking the download button

    Here is the code of the macro. if anyone wants to have a look around and find out how things work, just go through the code:

    https://gist.github.com/ansonsuhesh/582062d65e83fad2a74540e2fddd795c

    Here is the video to explain the process of the newly created macro. Check this out:

    GitHub/ansonsuhesh

    LinkedIn/ansonsuhesh

  • Blog Test Post

    Blog Test Post

    THIS IS A TEST POST

  • Tek1 – Tekla Tools

    Dimension Bolts

    Set up Instructions

    • Source code (sorry folks it’s a private repository).
    • Download program here.
    • Only works for: Tekla version: 19.1i
    • Run Installer.
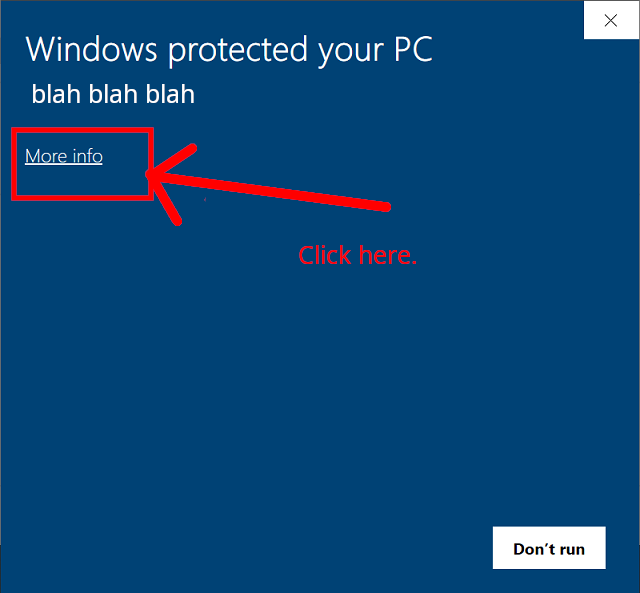
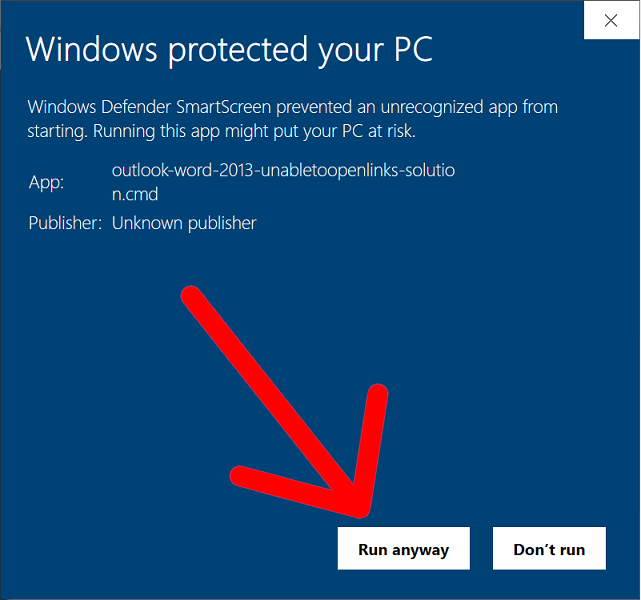
    • SmartScreen may warn you about this program – by pass SmartScreen.

    Instructions:

    • Only dimensions horizontally and vertically. This means if you use some crazy views / angles it won’t work – and it will give the wrong dimensions.
    • You must select a window from within the view, or else it will crash.

    Trouble shooting: it doesn’t work!

    • Please check that “Toggle crossing selection” is on.
    • Allow “Select points”.

  • How to Get Bolt Information From A Tekla Part (Tekla Open API)

    Given a Tekla Part (regardless of how it was obtained, we want to obtain the bolt information. We can do so as follows (see the hello world example):

  • How to programmatically create bolt list reports from selected model objects (Tekla Open API)

    You want to programmatically create reports. Here’s how

    Reports can be generated fairly easily, manually. But how do you do it programmatically using the Tekla Open API?

    Please see below for a code sample:

    Programmatically Extracting Report Values

    • Now, if you want to generate the values programmatically, in memory, and then process them somehow into an excel output, consider the following code sample here.
    • If you want to programmatically select model objects, refer to the code pasted above.
    • The question: how to generate generate excel files given a particular hash table – this is not an issue pertaining to the Tekla Open API specifically though. I would use a library like CSV Helper to create a series of rows from the hash table.
  • How to Create a Curved Beam using the Tekla Open API (c#)

    The key to this is to specify a chamfer value, and at least three points using the PolyBeam class. You must also provide a profile type that Tekla understands – otherwise you’ll get a bunch of straight lines.

    Here’s some basic code to get you started:

    You should be able to easily import, into Tekla, any curved Beam you want. The principal requirements are: (i) start point, (ii) end point, and (iii) also rotation. Start point and end point and centre point – this will not do: you will also need a third vector if you are going down this route, and I feel that it needlessly complicated. This can be obtained via any any means: CSV files, or directly with Rhino APIs (this might require programming in both Tekla and Rhino).

    It is best to control your data source

    If you read our past blogs re: CSV files – everything is contingent on how it is obtained. If you have rubbish in, you get rubbish out. We worked extensively with a party on the Westgate Tunnel, who promised .CSV files, but then provided me with corrupt and inaccurate data points, and did not provide the data in the agreed upon format. This makes for headaches and recriminations — and ultimately dissatisfied customers — but what can you do if they provide you with rubbish data that you cannot verify? So if you’re going down the CSV file route — then you need to know how the CSV files are being produced, and that there are not mistakes in them: e.g. missing columns, nonsensical data values, and that they are being produced programmatically etc. or at the very least have excellent lines of communication with your client to resolve these types of issues. Controlling the data source obviates these problems.

    Or another problem I faced – you’ve agreed on CSV files, but the format changes each time an update happens. Someone changes the name of a column header – or they give you a file with irrelevant stuff in there. Every time you have to manually edit something, you’re introducing the possibility of errors. All of this can be solved by controlling the data source.

    The Devil is in the Details

    Again, as with most things, they seem simple at first but the devil is in the details: you gotta tackle the problem of rotation and also profile mapping and weird gotchas in Tekla – that are not documented. Then another important thing to manage:

    Revisions and changes

    How are you gonna manage this? How are you going to document variation hours? Likely you might have to add IDs to each member. This will have to be incorporated into CSV files from the outset. Or if you have the Rhino model in hand — then you could just see what has been changed programmatically: (i) are they IDs all the same, and (ii) if so, have they been moved. Now this will entail persistence of an old model to be compared with a new model, and a form of documenting these changes. This takes extra time, extra programming, and extra documentation management.

    By Ben Koshy