
The object of a Tekla Application is to ensure that things go smoothly on the construction site. You can see the organised chaos that is here. Avoid the real chaos. Plan ahead.
For the newbie this post shows how to set up a Tekla Project.
Let us assume that you are creating a WPF desktop Application. You could also just as easily create a console application – I often do this if I simply want a quick and dirty way to test code.
- Go to Visual Studio.
- Create a new WPF project.
Follow this gif:
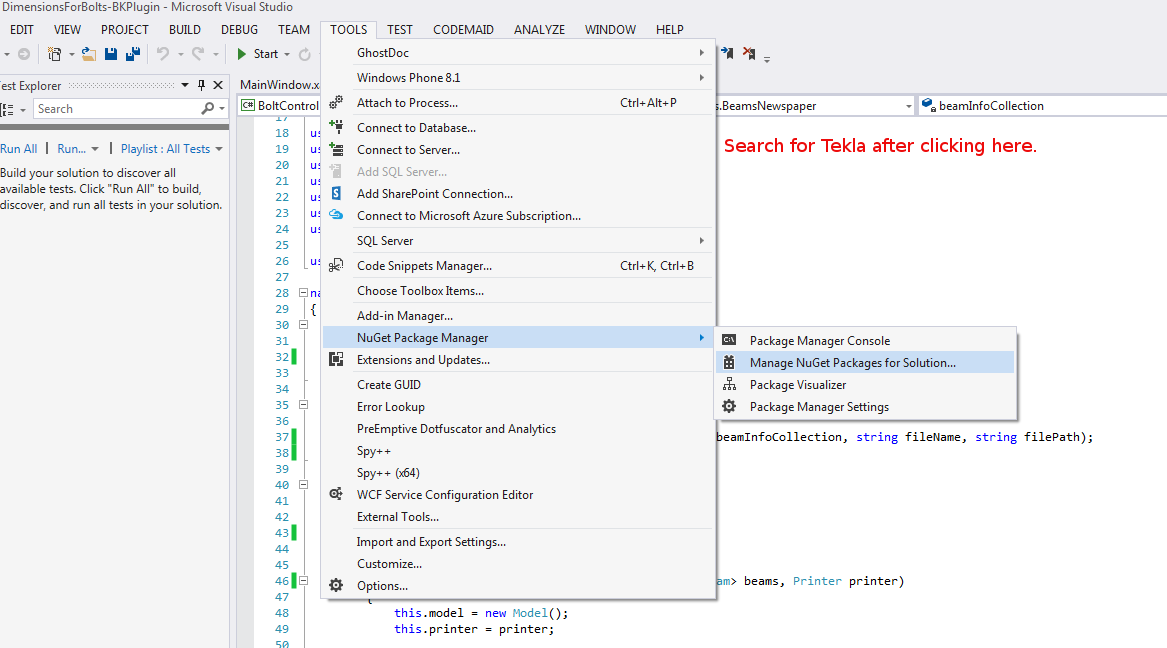
- Next you need to add references to Tekla DLLs. They are contained at this location on my PC. C:\Program Files\Tekla Structures\19.1\nt\bin\plugins\ .They may be in a different version on yours. You can also download these dlls using Nuget in your Visual Studio.
- If you are using 19.1i version – then you can download Trimble’s nuget package named thus: 2019.1.50434
Follow this Gif:
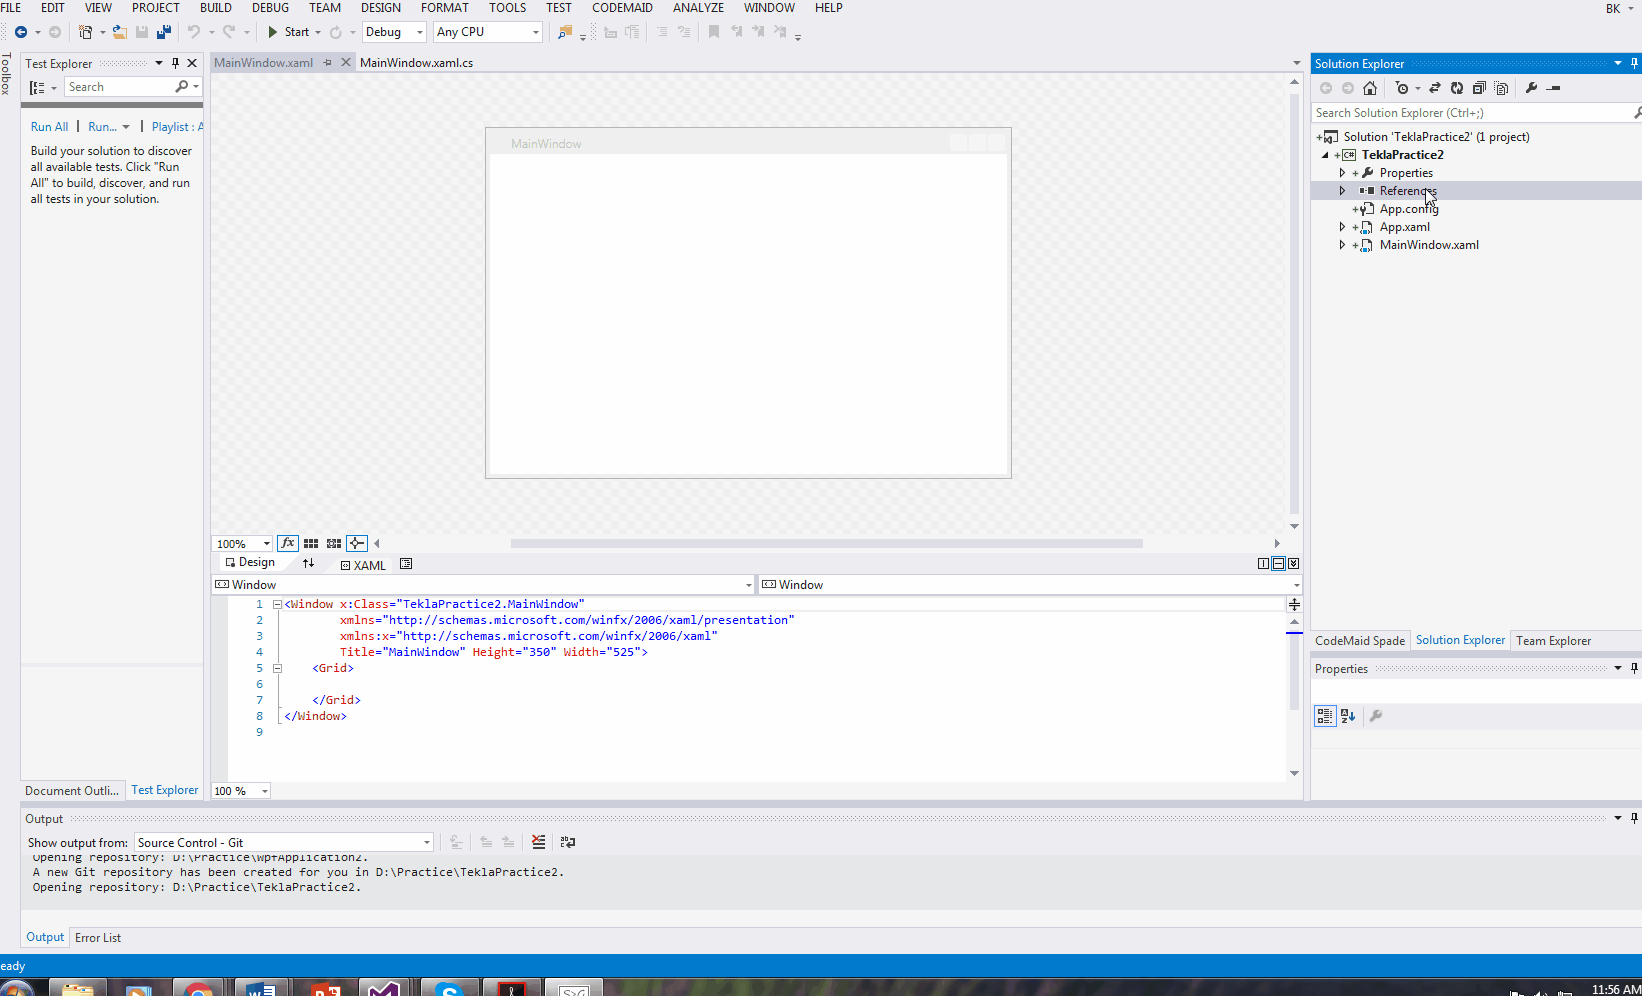
Shows how to add references to a Tekla API WPF Project.
- The fourth and final step is to add directives and to then get coding.
Some common directives and aliases that I use:
I hope this post helps you!
Leave a Reply